One more keezer build post

Beware of friends bearing gifts and of compliments. :slight_smile:

After many years of bottling, a friend gave me 2 corny kegs, with picnic taps, along with an old CO2 tank and regulator that he was no longer using. That was all it took to get me going down the kegerator / keezer path. I started by learning a ton from this forum - thanks all for that.

In response to another post where I happened to include a picture. @sneezles61 was nice enough to say

Thank you.
So, here comes, another keezer build post.

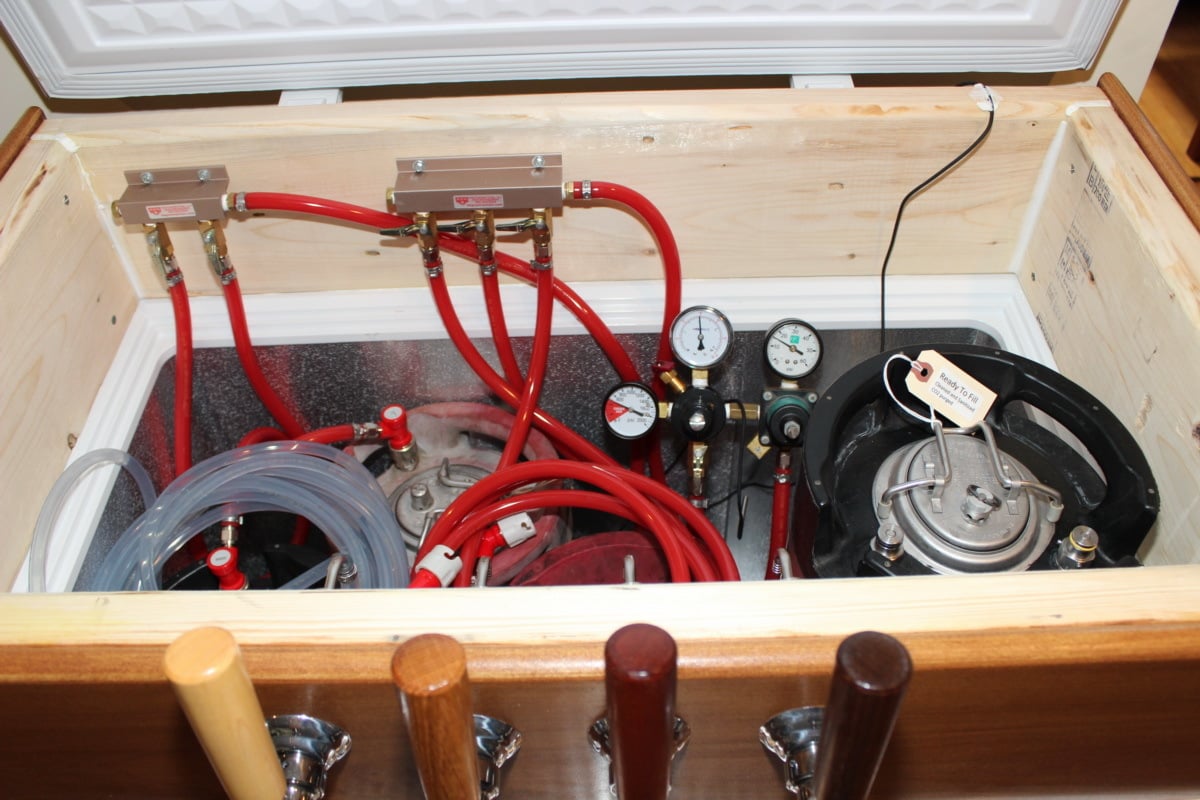
The freezer, a 6.9 cu ft Magic Chef, will hold 3 corny kegs without a collar added. The 2 x 8 collar allows a 4th keg on the compressor hump. The kegs are 5 gallon pin lock. The 5lb CO2 cylinder is behind that 4th keg, also on the hump.

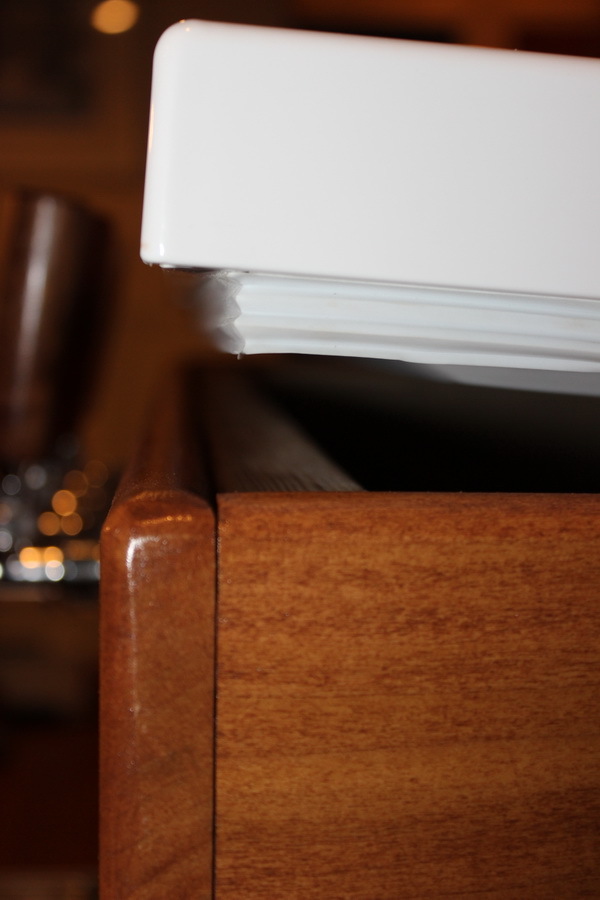
The outside of the collar is cherry stained 1 x 8 poplar. The faucets are stainless steel Perlick 630s spaced at 3-1/2" on center. I bought the hardwood tap handles.

The drip tray is stainless and removable for easy cleaning. It’s shelf, also made of cherry stained poplar, is attached with strong magnets.

The tubing, all thick wall Bevlex, is 5/16" red for the gas and 3/16" clear for the liquid. Stainless steel MFL connectors with barbs matching the tubing sizes are used on most tubing ends. Oetiker clamps (15.7 mm and 13.3 mm respectively) hold all tubing ends. One gas line is long enough to do initial forced carbing, with lots of shaking, outside the keezer.

Shanks are 4-1/8" with 90 degree 3/16" barb tail pieces - all stainless steel.

The temp controller is an inkbird, mounted on the back of the collar out of sight.

I’m still trying to decide on the design for a menu board or label holder of some sort to identify the offerings.
I may add a 3rd regulator so I can properly carb and serve, porter / stout, most other ales and soda water.

A batch of bourbon barrel porter is in the works to fill that empty keg. I need to get ahead and have a keg or two on deck.

I’d be happy to share further build details if anybody wants or has questions. I’m no expert, this is my first attempt.

6 Likes

Very nice build, simple and effective! I wonder about your magnet (great idea) with a style of brew at each tap handle? Thank you for sharing! Sneezles61

More thanks. I got the magnetic drip tray idea from some other posts. Your labeling suggestion has me thinking …

1 Like

Very nice! You’re obviously one of those detail guys that I am so envious of LOL Love the Poplar wood. I have a friend who used it as trim inside his house and it looks fantastic! Nice work!

Nice work man! Love the tap handles!

Awesome work @Steve! I have the same chest freezer! Happen to have the dimensions of the collar? I made a rough “prototype” collar with cheap materials to test and I wasn’t happy with the fit. I couldn’t get it flush with the outside plastic trim and still seal well below and above on the lid. I just got a used regulator and CO2 tank from a friend to complete my system. Problem is I’m using it as a fermentation chamber. Might not work out well as a dual purpose unit. Again great job!

Also what’s on the top? Some sort of mat / rubber material?

Thanks all. @mhall2013 The 2 x 8 collar, excluding the poplar, has outside dimensions of 36" even by 20-1/2". It is sized so that it’s outer edge matches the outer edge of the freezer top’s gasket, providing a good seal (first picture below). The poplar sits just outside the gasket. It is 1/4" higher than the 2 x 8 with its inner and outer top edges rounded off (with a router). I lined up based on the gasket rather than the outer edges of the freezer thinking that the seal was more important than a perfect appearance. The lower edge of the poplar ends up just inside the front of the freezer and just outside the sides of the freezer (2nd picture below). On the sides, I rounded the outer lower edge of the poplar too just to avoid any sharp edges.

Funny you ask about the mat on top - it is just tool box shelf liner. I’ll probably upgrade that at some point but its functional and does not look too bad.

4 Likes

Perfect thanks for the detailed information! Looks like it lines up great with the seal. I like the tool box liner top idea.

That is a work of art! Beautiful job on that.

1 Like

I measured the 2x4 collar I put together and I cut it at 36-3/4" × 21-1/2". I was trying to make it so the finish wood would wrap around the top of the chest freezer to keep it from sliding around. I didn’t want to actually glue the top onto the freezer just use a foam seal under the collar. That way down the road still have a chest freezer. Is yours glued down? I see caulk around the inside seams.

First, I screwed the 2x8 collar together, making sure it was square and sealed it with white silicone caulk. Next, I used the caulk to seal the bottom of the 2x8 collar to the freezer, positioning it so that the top of the collar aligned with the gasket. Caulk is easier to remove than glue if needed. The poplar was then wood glued to the 2x8s. I used a few screws of just the right length through the 2x8s, from the inside, into the poplar to hold it until the glue dried. So overall, the collar itself is a permanent assembly but it is held to the freezer only with caulk, so it can be removed if needed.

1 Like

I would also think you could do about the same on the inside, then use butyl caulk to secure it. Its not as permanent ask a liquid caulk… We use it to waterproof seams on sheet metal siding/roofing. Sneezles61

2 Likes