First Brew Day

I brewed my first batch of beer on September 17, 2013, took lots of notes and pictures, and have a lot of questions. I appreciate any feedback and help. (Not sure why my images aren’t showing up, but I’ve left them inline here anyway.)

I followed the instructions for making a Pale Ale in the book, “Beer Craft”, by William Bostwich and Jessi Rymill.

Here’s the recipe:
Grains:

2.25 lb Maris Otter
0.25 lb 20L Crystal malt

Bring 5 qt strike water to 163F
Mash for 60 minutes at 153F

Sparge:
Target pre-boil gravity: 1.035

Boil & Add Hops
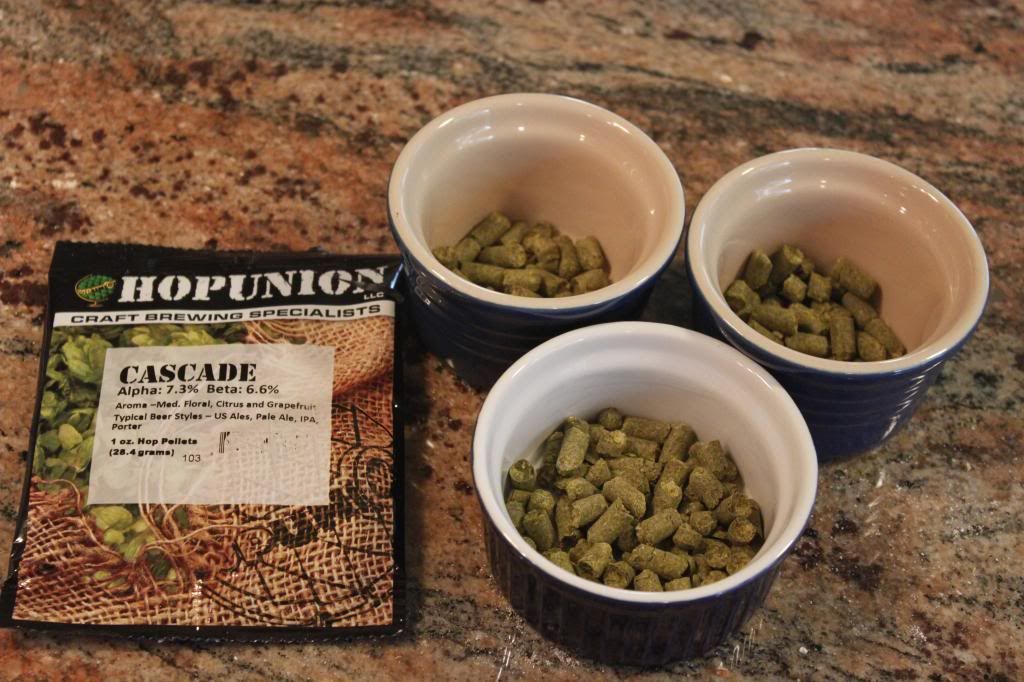
20g Cascade @ 60 minutes
10g Cascade @ 20 minutes
10g Cascade @ 1 minute

Chill:
Target original gravity: 1.055

Ferment:
Yeast: California Ale (WLP001), 1/2 tube
68F for 2 weeks
Target final gravity: 1.012

Bottle:
Bottling sugar: 22g

Here’s what I did, with pictures and video:

Night Before Brew Day:
I filled the large (12Q) Le Creuset stockpot with tap water. Let it sit out, uncovered, overnight (about 15 hours).

My water report says that we have 0.4 ppm Chlorine in our supply.

[color=#BF0000]Question 1: Is 15 hours long enough to get rid of any chlorine?

Question 2: I left it uncovered. Would it be better to cover, and if so, how much of a gap should I leave to allow for gas to escape?

Question 3: Is this a low level for chlorine? Do I even need to do this step?[/color]

Brew Day:
7:30am – took yeast and hops out of fridge, and put on counter to warm up to room temperature. [Yeast says to take out of fridge 3-6 hours before using.]

Started assembling equipment.

Took measurements on 12Q Stockpot (measured from top metal rim):
23cm = 0 gallons (empty)
16cm = 1 gallon (4 quarts)
12.5cm = 5 quarts
8.5cm = 2 gallons (8 quarts)

Used 12Q Le Creuset stock pot as mash tun and boiling kettle
Used 16Q aluminum stock pot for sparge water / lauter tun.

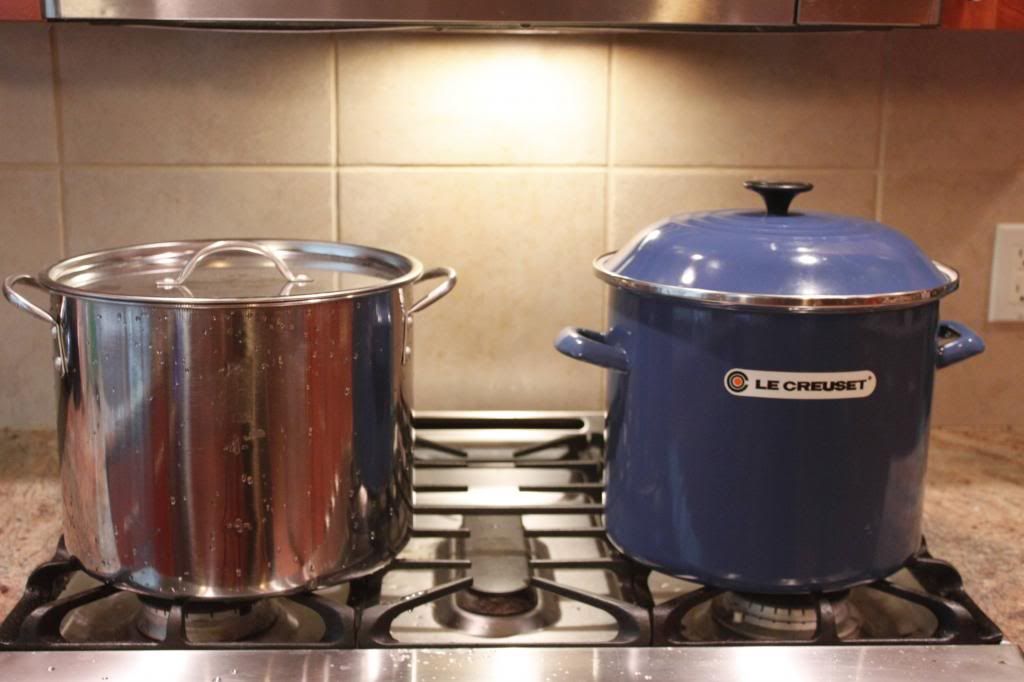
Filled big Le Creuset with 5 quarts of the water I left out overnight. (as directed in the recipe).

Calibrated refractometer since this is the first time I’m using it. (yes, I have a refractometer rather than a hydrometer) Added a few drops of distilled water, and calibrated to SG of 1.000

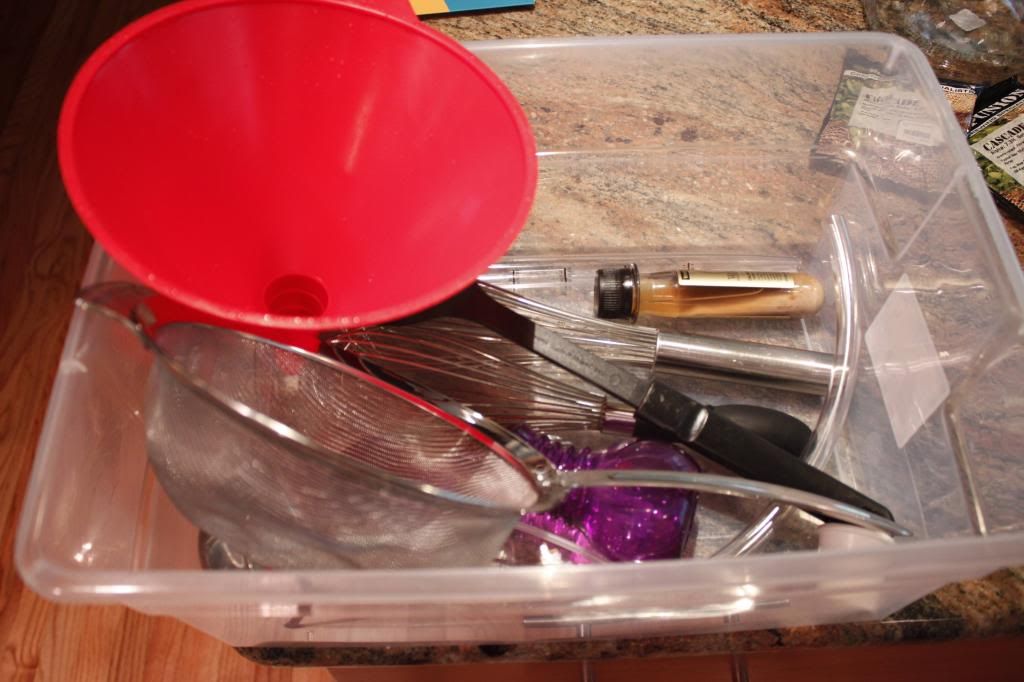
Put equipment in bin, filled with 2 teaspoons of Star San + 2 gallons of water. Let sit for 1 minute. Since I put the stockpot lid and big funnel in too, and they only fit half way, rotated it and let sit for another minute. I didn’t take these out until I needed them later, didn’t rinse, and didn’t dry them.

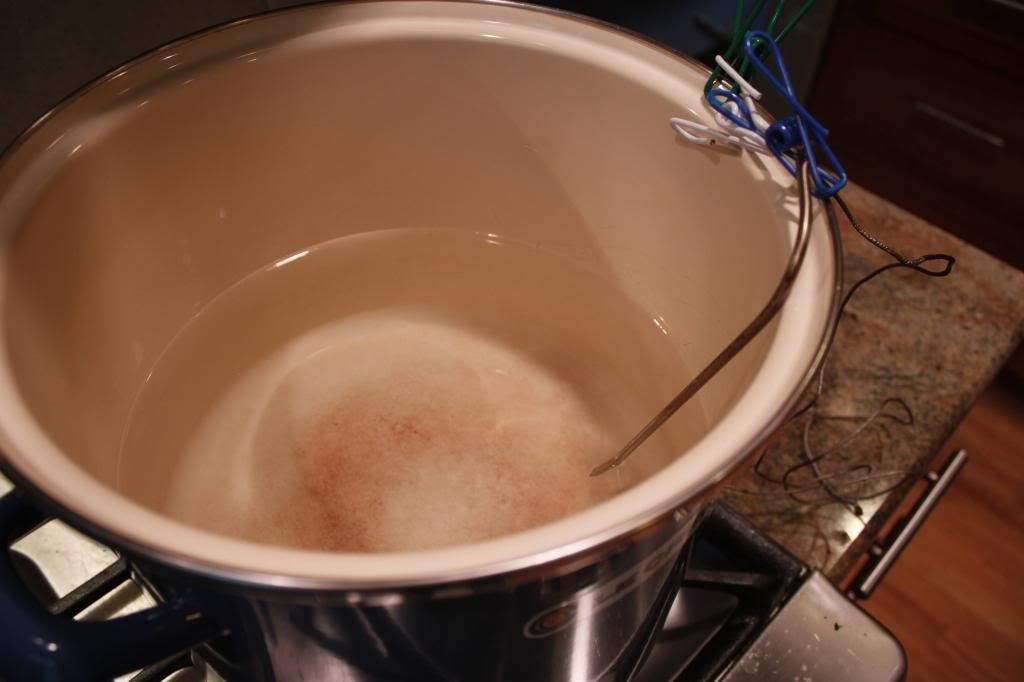
10:05am: Started to warm strike water to 163F. Put probe in to watch temp. Probe secured to side of pot with 3 clips to keep it off the side.*

While warming, I measured out the grain:

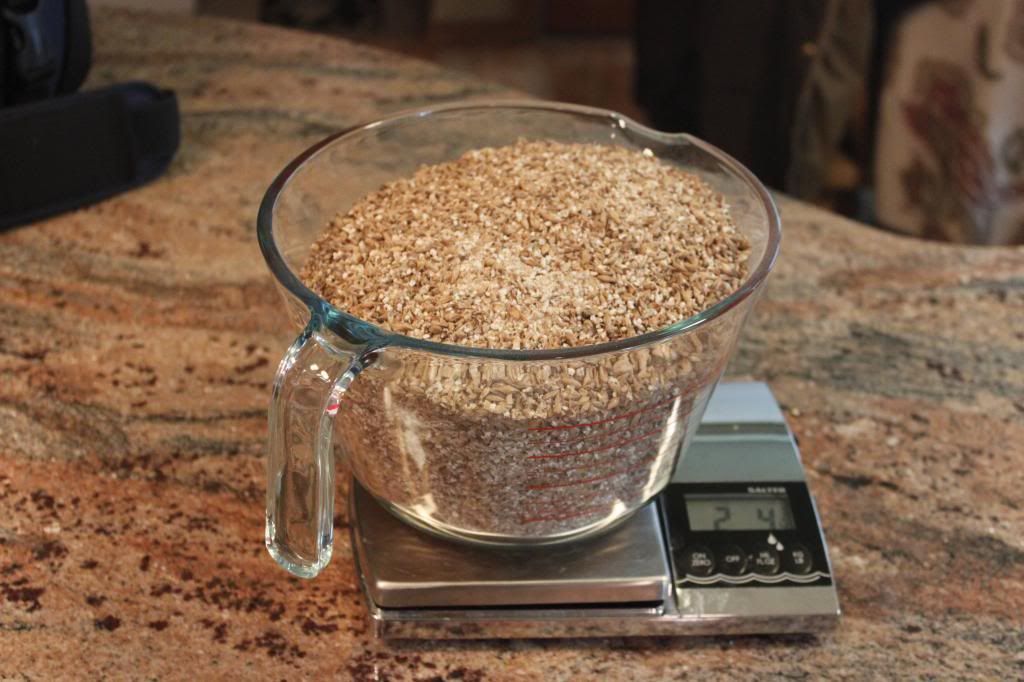
2 lb 4 oz Maris Otter
4 oz 20L Crystal Malt

Made the mistake of putting the paper bag full of crystal malt on the counter, which was wet with sanitizer. Poured all of my crystal malt into a plastic bag (I had more than what I needed for this recipe, and by pouring it into another bag, I could isolate the damp grain on top of the amount in the new bag), and used some of the slightly damp grain (it wasn’t very damp at all.)

10:18am: Strike water reached 163F. This was on probe thermometer. Thermapen measured lower, so waited until it reached the correct temp with Thermapen measurement.

Question 4: Does anyone else find a big difference between the Thermapen and the probe-type digital thermometers? The probe thermometer I have is from the same company that makes the Termapen, so I’m guessing it’s pretty high-quality.

Put grain in bag, and bag into pot. Secured with clips. Stirred. Temp 160.5F (too high?)
Turned off flame, since I thought it was too high. Stirred for about 10 minutes to try to get temp down. After 10 minutes, got to 158F. (using Thermapen for all these measurements)

Added 1/2C room temp water from sparge water to try to bring down temp. Got down a little bit (156F) [Note: Probably not enough water. What else could I have done?]

[color=#BF0000]Question 5: Is 160.5F too high for the mash? Temperature didn’t drop as much as it should have (most sources say it should drop about 10F after grain addition).

Question 6: If it is too high, what should I do to adjust the temperature? Is adding room temperature water the best thing to do here?

Question 7: How much stirring can I do here? Is it possible to over-stir, and somehow release tannins or oxidize the grain?

Question 8: John Palmer’s “How To Brew” suggests putting the pot in a warm oven to maintain temperature. This pot fits in my oven. Should I do this? Has anyone done this?[/color]

Covered with lid (on top of clips, so not completely covered, and with probe in) at 46 minutes. Thermapen reads 153, probe 162

41 minutes remaining. Temp fell below 150F in spots. Turned on heat on low for 1 minute. Temp around 153F at end. Recovered.

31 minutes remaining, dropped to 143F. Turned on heat for 5 minutes to get back to 153F. Recovered.

Realized that I didn’t need to sanitize the aluminum stockpot lid. Since I’m doing the boil in the Le Creuset, I need to sanitize that lid instead. I’ll do that while doing the sparge.

21 minutes remaining. Still at 153F.

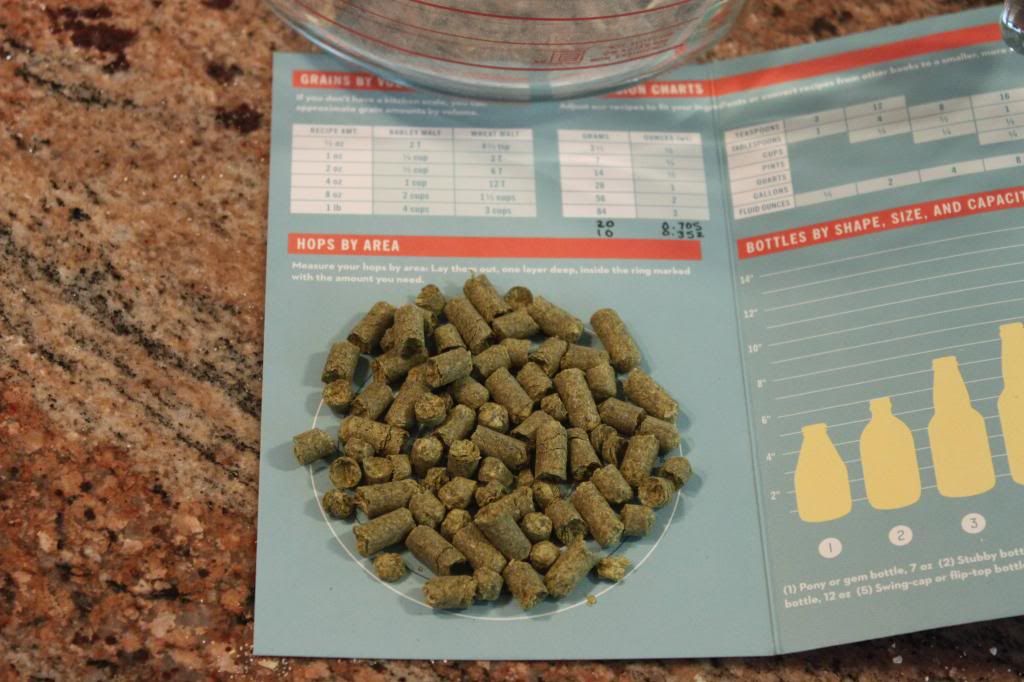
Measured out hops using “Hops By Area” in beer craft, since I don’t have a gram scale yet.
20g Cascade at 60 minutes
10g Cascade at 20 minutes
10g Cascade at 1 minutes

13 minutes. Still at 153F

7 minutes remaining, temp at 151F. Turned on heat for a minute. Back at 153F. Recovered

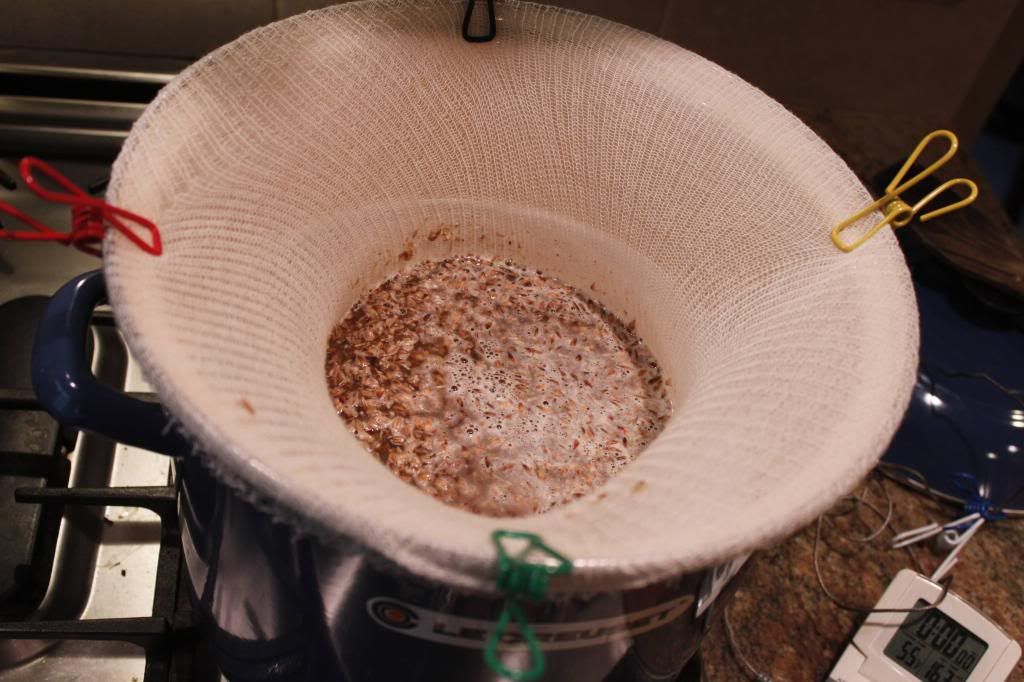
0 minutes. At 152.6F. Here’s a look focused on the wort, and another focused on grain bag.

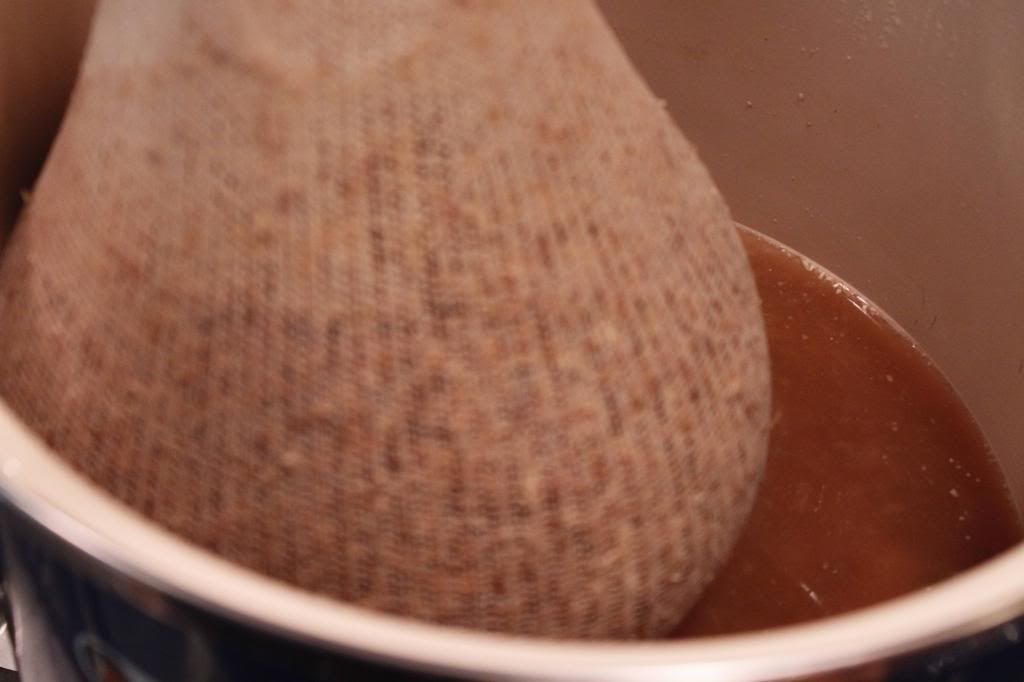
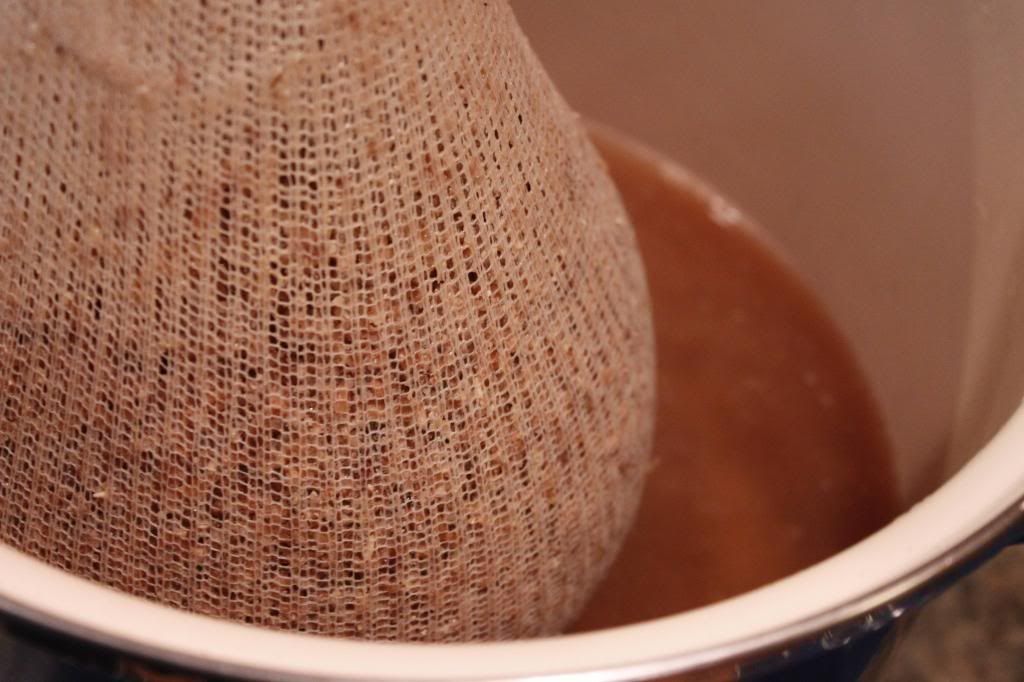
Question 9: Should I use a finer-mesh grain bag?

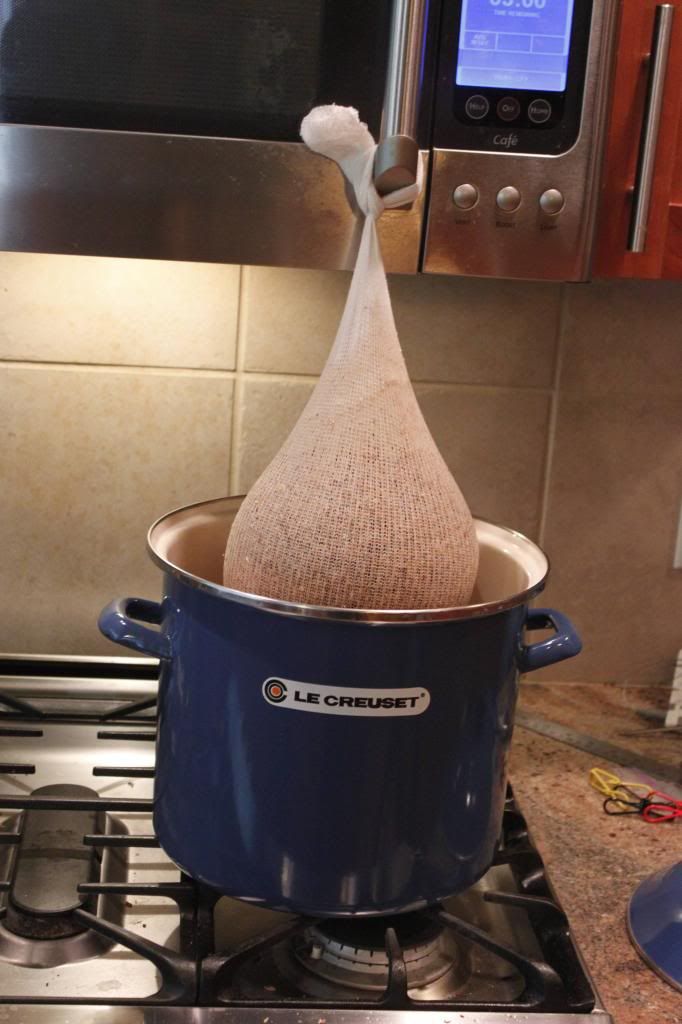
Tied bag to microwave handle and hung over top of mash tun for 5 minutes.

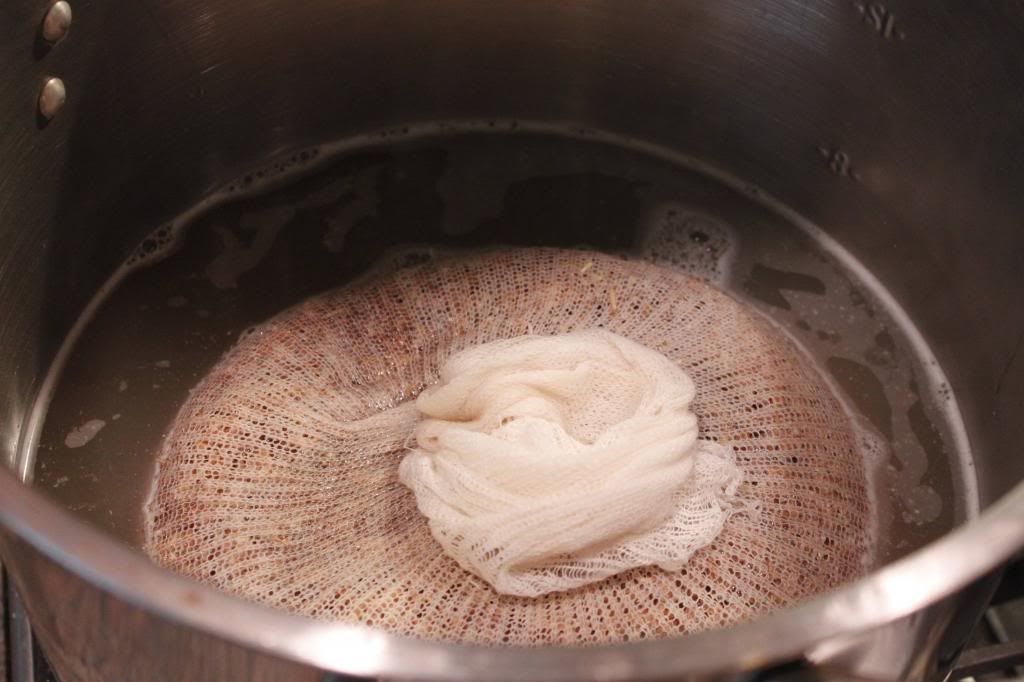
Measured wort quantity. It was 15 cm below rim. This is a little more than a gallon of water. Need to get to 2 gallons, so brought 1 gallon sparge water up to 163 in the aluminum stock pot. [Had to add 2 qt room-temp Crystal Geyser bottled water to what I had since I didn’t have enough from what I left out overnight.]

Added grain bag to sparge water. Sloshed around (water didn’t fully cover bag), and let sit for 15 minutes. Temp after adding: 157. At first, I thought it was 5 minutes. Left uncovered for 4 minutes, then covered with a lid for the rest of the time.

Wort smells delicious! Tasted it (prior to adding second runnings.) Pretty sweet.

At end of rest in sparge, final temp was 149F.

Hung grain bag over lauter tun for a few minutes to drain.

Question 10: I know there are lots of ways to sparge. Would it have been better to slowly pour the water over the grain in this pot? I could have easily done this, but just followed the directions in the book. If pour-over, how many times should I repeat?

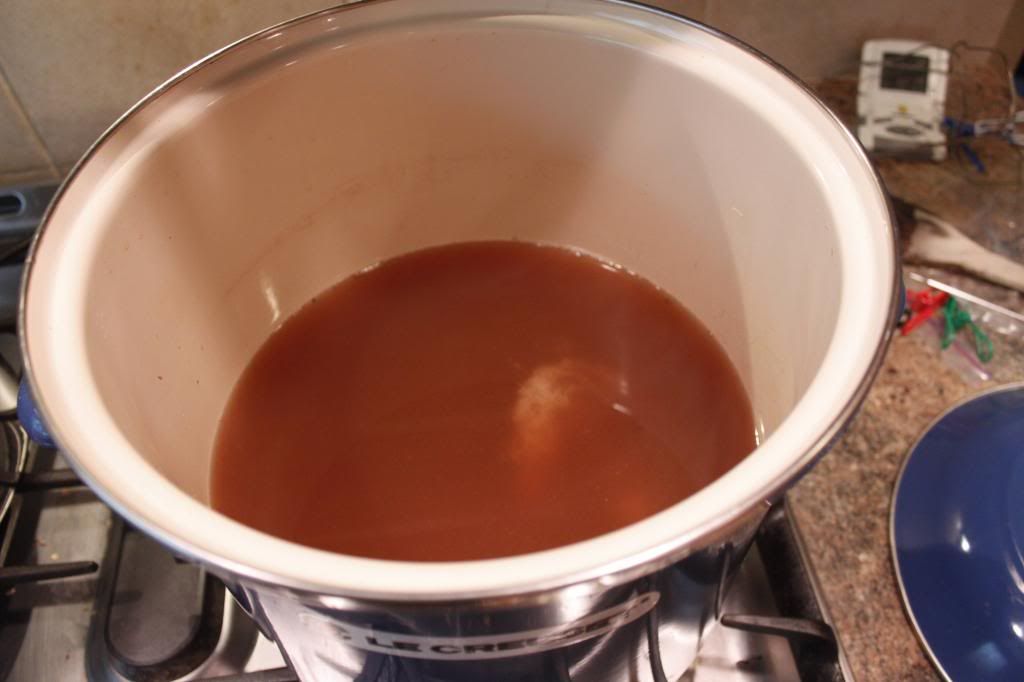
11:52am – Added all of second runnings to mash tun (now boil pot), and turned up heat to high to get to a boil.

Question 11: I did not take a SG reading at this point. Should I have done this? (Target was 1.035) If so, water was still hot. Is it ok to take a refractometer reading or hydrometer reading with hot wort? And, what should I have looked for? What corrections could I have made at this point?

Tried some of the second runnings. More mellow, but still sweet. Reminded me of the mugi tea I had in Japan (which I though was made of corn, but after looking it up online, I found it’s made of barley, so it figures it would taste like this.)

12:06pm (14 minutes in) – still not boiling. Stuck Thermapen in (sanitized). Temp 192F

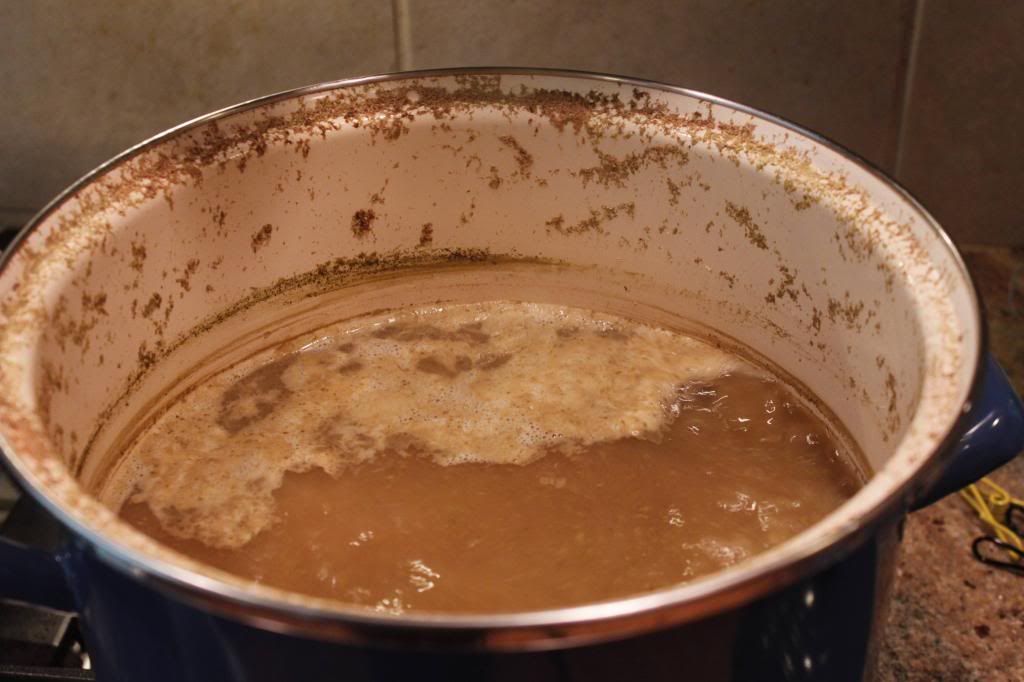
~12:12 (20 minutes in)-- reached boil. Saw hot break. Here’s a video:

Added hops at 12:14, started timer (and almost boiled over, so I turned off burner…)

Question 12: what can be done to prevent boilover? I wanted to stir it, but didn’t. Wasn’t sure that was correct. Left a bunch of sludge on the upper sides of the pot. Should I stir this back into the wort?

Question 13: How much stirring should be done during the boil, if any?

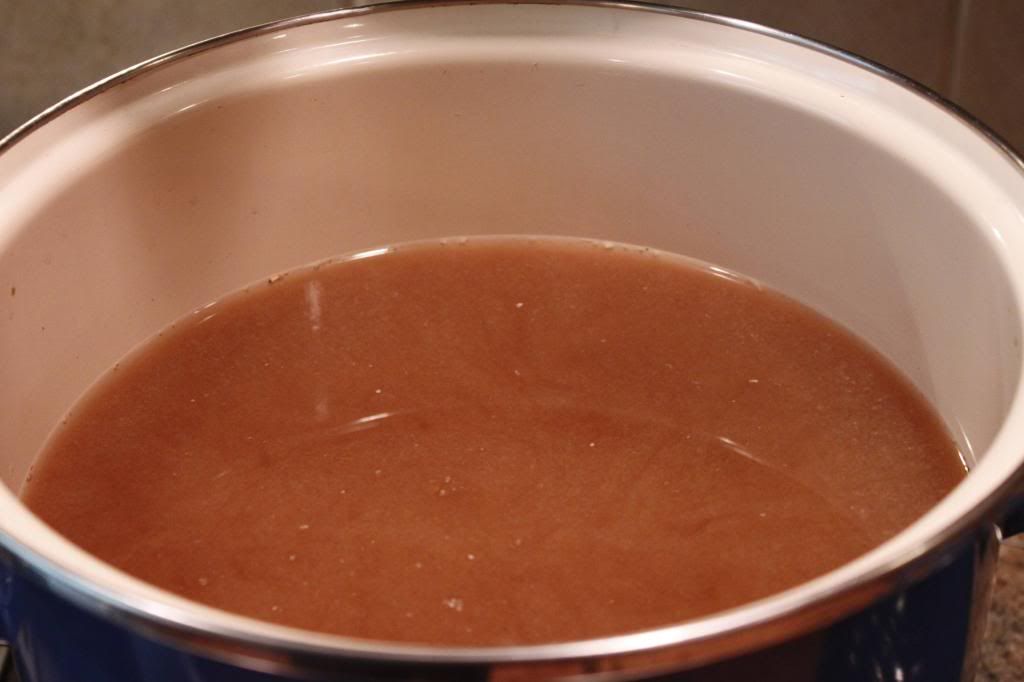
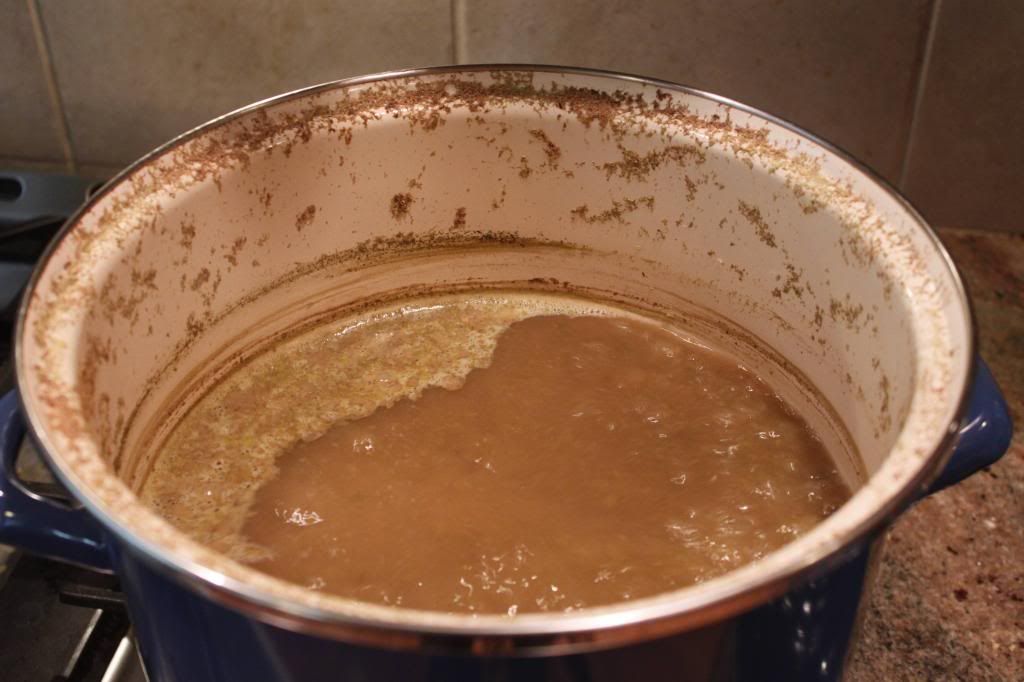
@ 12:28 (14 minutes of boil)

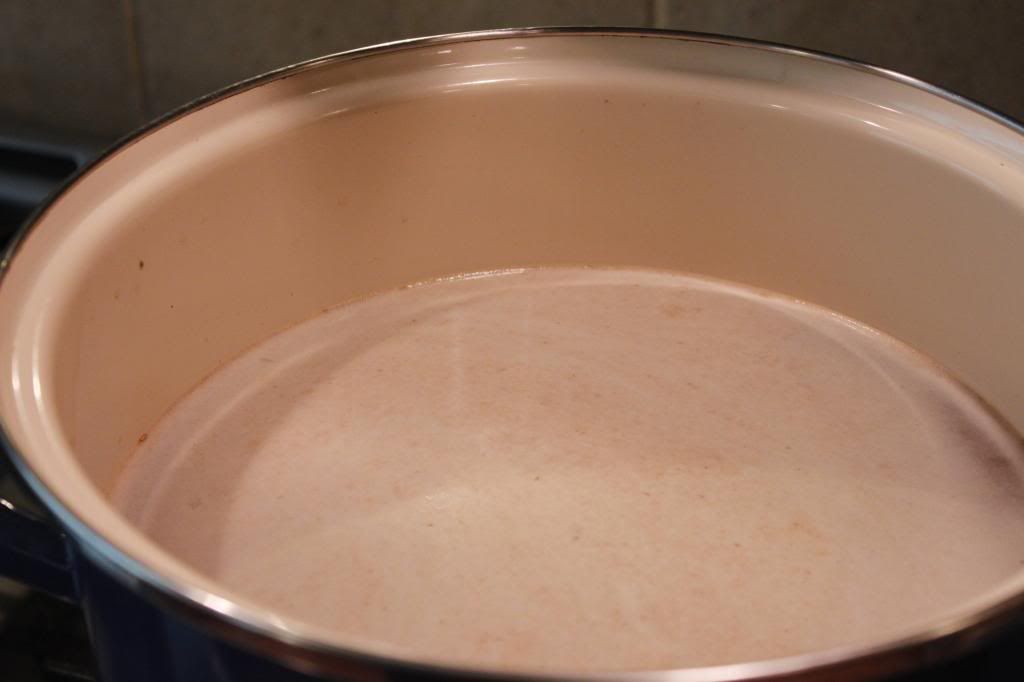
@ 12:46 (32 minutes of boil)

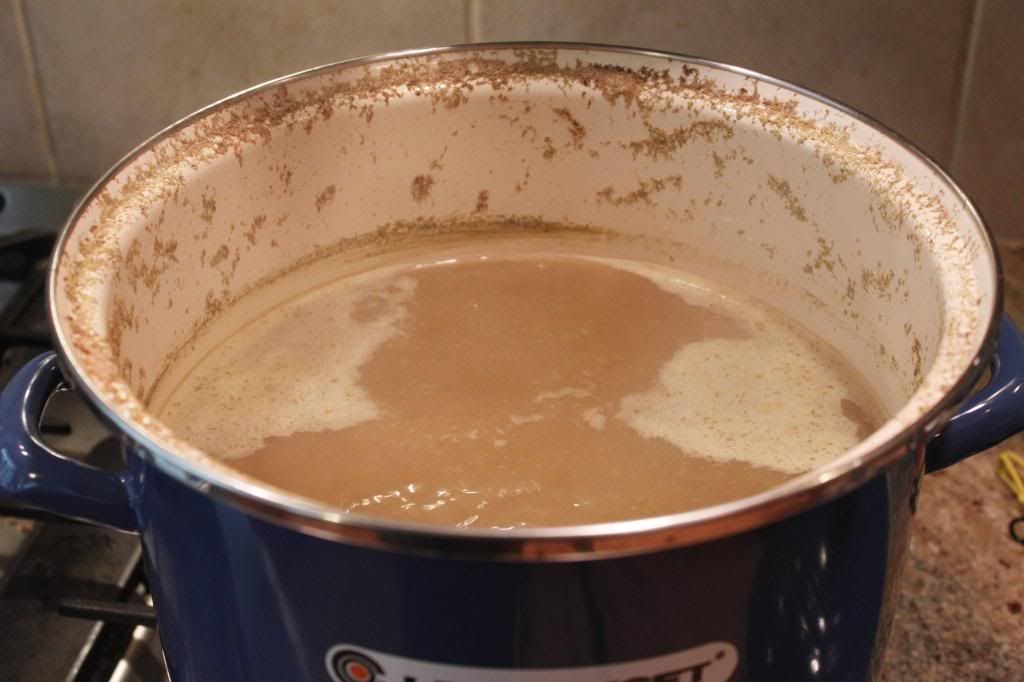
@ 1:00 (46 minutes of boil)

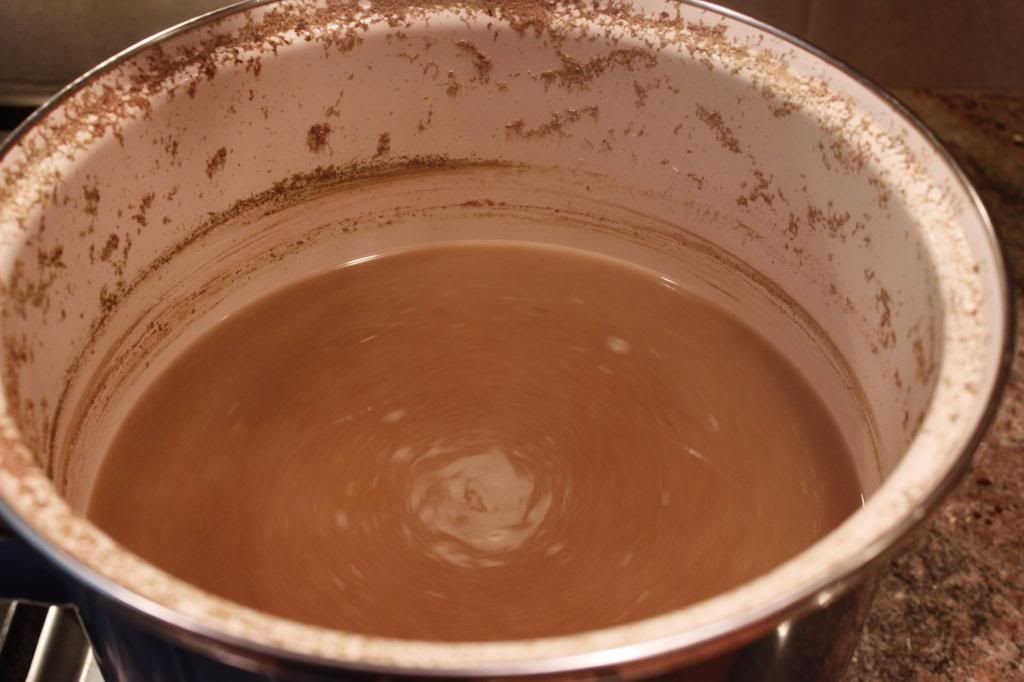
@ 1:14 – end of 60 minute boil. Stirred with a sanitized plastic spoon in a clockwise direction for 30 seconds. Didn’t measure quantity at this point, but should have [Next time!]

1:15pm – put in sink with 10lb ice, plus whatever I had in fridge.

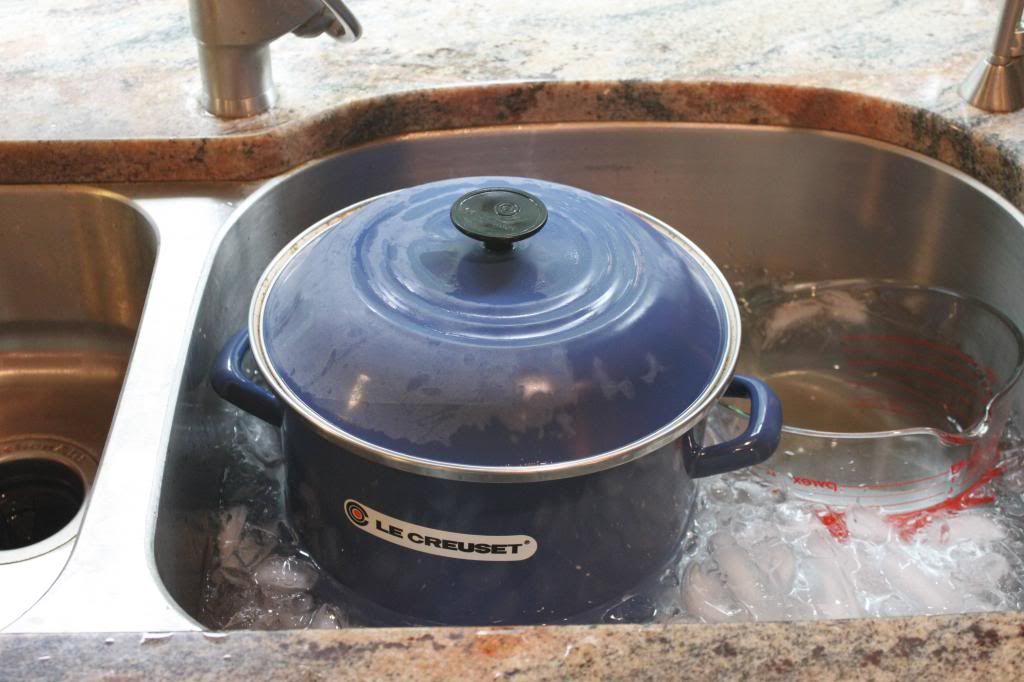
1:24 – added 14 lb ice, since most of the ice in the sink melted. Wort temp 118F. Now i can see why a wort chiller would be nice.

OG: 1.042 (measured with hot wort. Didn’t take a pre boil gravity. do this next time.) Target was 1.055, Is this bad? If so, what could I have done to fix it?

[color=#BF0000]Question 14: OG was 1.042, but the book recipe lists target of 1.055. Is this bad? What could I have done to fix it?

Question 15: Since I didn’t take the pre-boil gravity, what should i have done to try to reach that gravity? When should I have measured, and what should i have done? More mash time? [/color]

At 30 minutes (1:45pm), temp just below 70F.

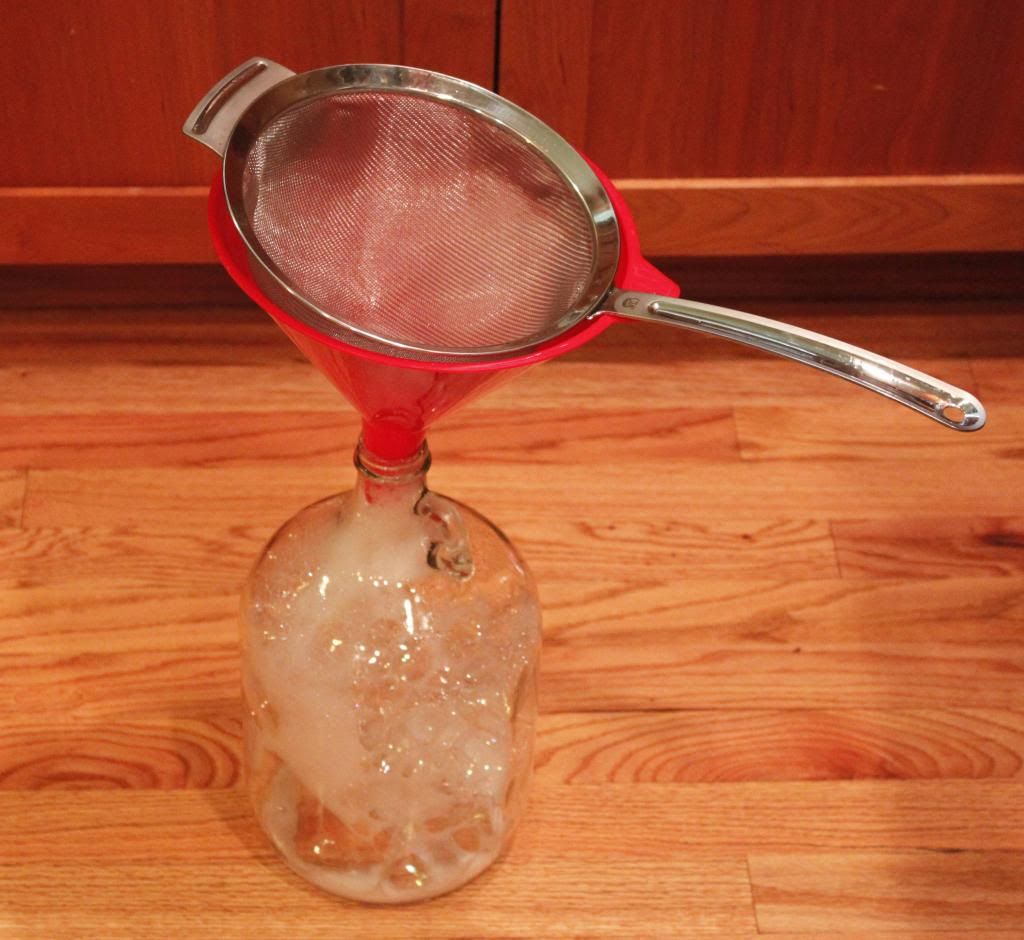
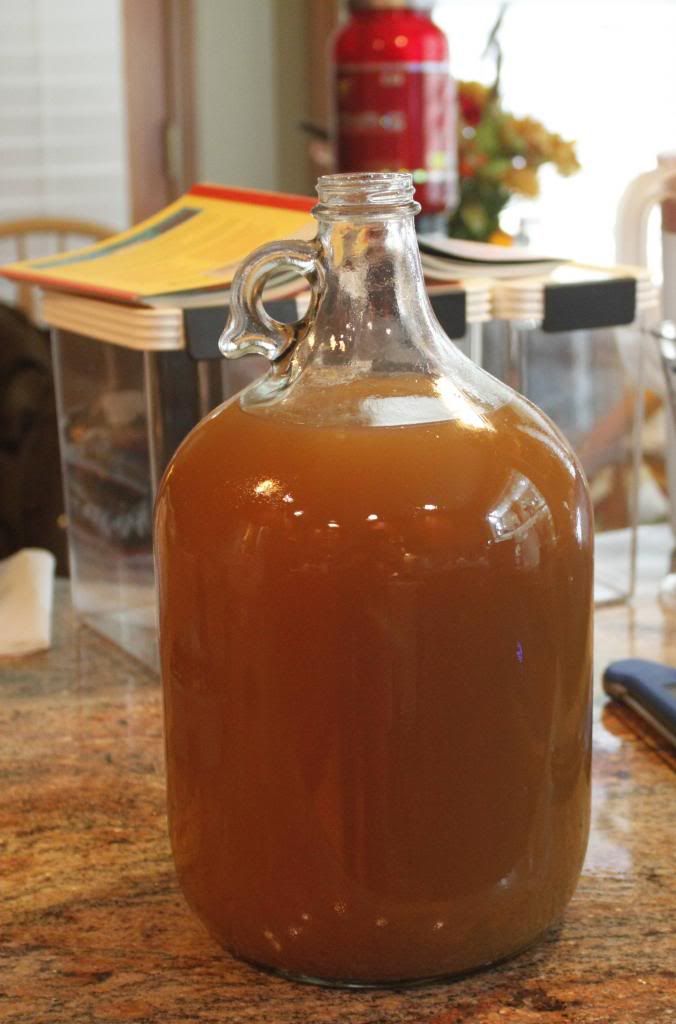
Poured in 1 gallon fermenter through a fine mesh sieve and big funnel. Had more than 1 gal. (The fermenter didn’t have a 1-gallon mark. Fix this.).

Sanitized hands. Covered end of fermenter with right hand and shook for 30 seconds.
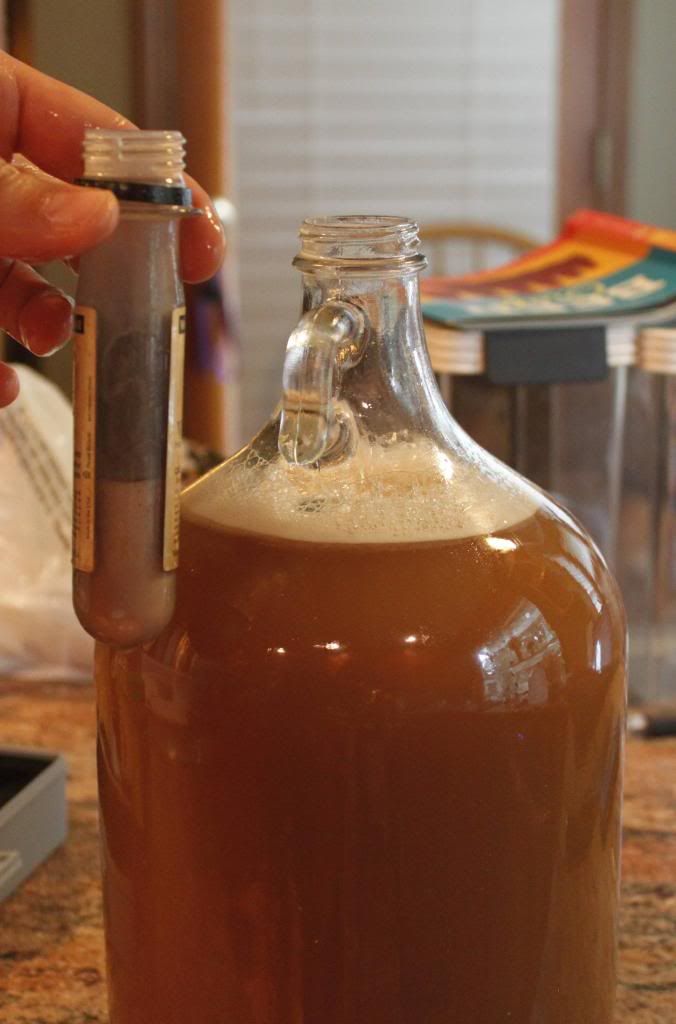
Took OG reading again with refractometer: 1.041

Shook yeast…opened. It foamed over a bit (open slowly next time.) Added to fermenter. Used 3/4, though i was supposed to use half. (it’s hard to tell how much I’m pouring out of the tube.) After adding the yeast, I sanitized my hands again, covered the opening in the fermenter with one sanitized hand, and shook vigorously for 1 minute.

[color=#BF0000]Question 16: I used more than half of the tube (which was called for in the recipe, more like ¾ of the tube. Will this be a problem? Use by date is 11/22, which means it was produced 7/22. Some viability has been lost in this time, so maybe not a big problem?

Question 17: Is there a better way to measure out “half” of the tube? Maybe shake, pour into a sanitized beaker first, then pour half back into the tube, and pitch what’s left in the beaker? If I do it this way, will the yeast be harmed by the sanitizer, going back into the tube?

Question 18: Can I re-use the ½ tube of yeast that I poured back into the tube? Is there a way to grow it into a full tube again?

Question 19: Should I shake the fermenter to aerate before adding the yeast, or after, or both? How long? (I only did for 30 seconds prior to adding yeast, and 1 minute after. I’ve seen elsewhere to do it for 5 minutes, after adding yeast. I’m guessing more is better here.)

Question 20: Should I just sanitize a piece of foil or plastic wrap and place over fermenter opening prior to shaking, rather than sanitize my hand? [/color]

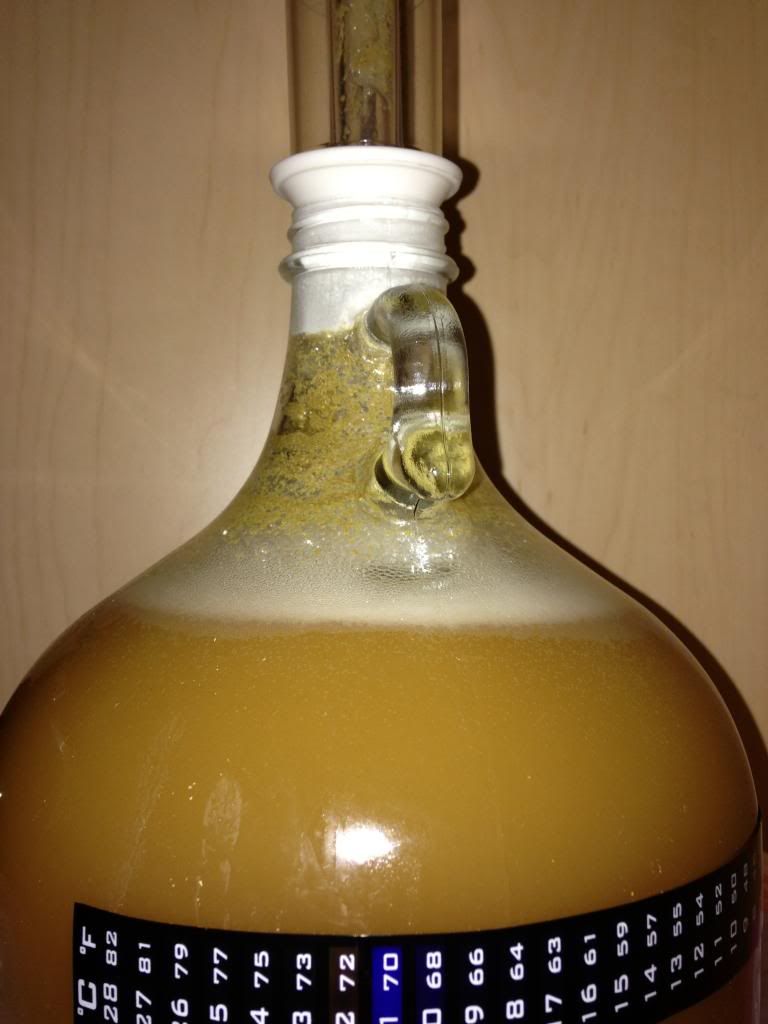
Topped fermenter with rubber stopper (push all the way in, otherwise it will pop out), then inserted lower part of 3-part airlock, connected a tube to it, and put the other end in a growler nearly filled with sanitizer.

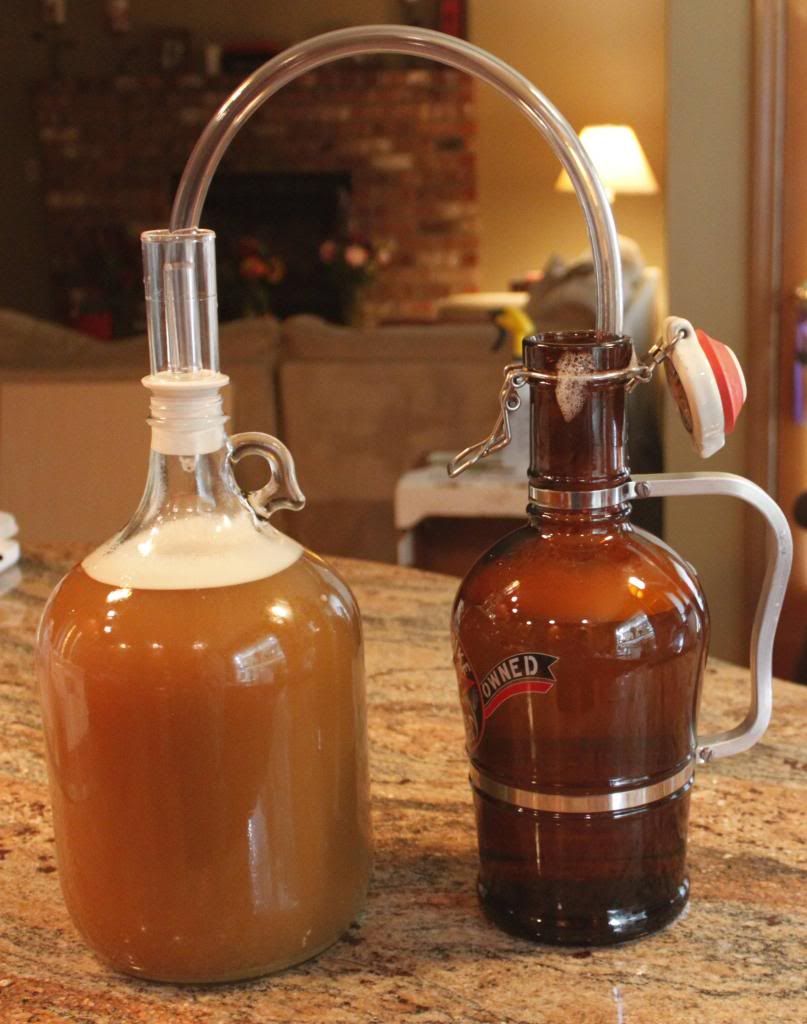
Question 21: I used the airlock + a smaller tube for the blowoff tube because I couldn’t find a 1-3/4” tube to fit directly in the mouth of the 1 gallon jug. I’m concerned that the tip of the airlock will get krausened-up and be ineffective. Is this method ok?

Tasted what remained in the pot (without getting any of the trub.) Bitter and sweet. Quite bitter, actually, but also quite sweet.

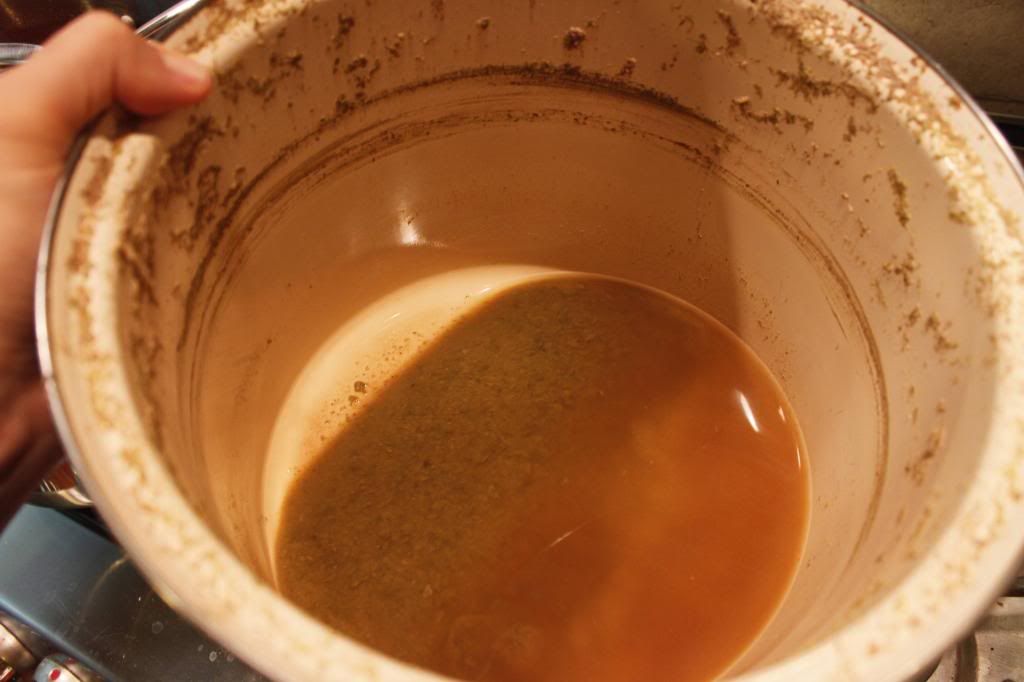
Question 22: Any suggestions on what I should do with the leftovers. Seems a shame to pour down the drain.

At 4:51pm (several hours after putting in the fermenter), I put on the temp strip. It’s at 72F.

Also put a plastic garbage bag around the fermenter bottom to catch any spills.

12:00pm the next day: Still at 72F, and bubbling away in the blowoff tube.

Wow. That’s a lot of questions in one thread. A NB record perhaps?

Let’s make this a team effort. I’ll take the first few.

Q1 - The problem is that chloramine is often used in municipal water supplies instead of chlorine, because it is less volatile. Unfortunately, the thing that water utilities like about chloramine also makes the method you used less effective at removing it. Your best bet would be to use campden tablets to precipitate out the chlorine/chloramine. It’s a chemical reaction that I understand occurs very rapidly, so no need to wait. You also have the option of using bottled drinking water since you’re brewing such a small batch. Most people who use bottled water use reverse osmosis water or distilled water, but you need to put minerals back in, blah, blah blah. Either way, you really need to adjust the pH to get into the right range for brewing. Check out https://sites.google.com/site/brunwater/.

Q2 - see Q1
Q3 - see Q1
Q4 - trust the thermapen
Q5 - Don’t worry about 160 on your first one, but don’t make a habit out of mashing that high. The sweet spot, depending on what you’re trying to achieve would generally be between 148 and 154. At 160, you’ll get a less fermentable, lower strength, sweeter beer with a heavier body.
Q6 - Lookup infusion calculators on the internet to more accurately calculate the strike water temp given the volumes and the grain temp. If you don’t hit your target temp exactly, but are in the range noted above, I wouldn’t lose sleep over it.
Q7 - No worries if you need to stir a little to help drive the temp down. You can also add a bit of room temp water to expedite the process. But as said above, if you’re in the range I wouldn’t worry about it until you feel you’re at a place that you require precision for some reason. Eventually you will get your process down to were you land very close to your target temp consistently. Will just take practice.

[quote=“kcbeersnob”]Wow. That’s a lot of questions in one thread. A NB record perhaps?

Let’s make this a team effort. I’ll take the first few.

Q1 - The problem is that chloramine is often used in municipal water supplies instead of chlorine, because it is less volatile. Unfortunately, the thing that water utilities like about chloramine also makes the method you used less effective at removing it. Your best bet would be to use campden tablets to precipitate out the chlorine/chloramine. It’s a chemical reaction that I understand occurs very rapidly, so no need to wait. You also have the option of using bottled drinking water since you’re brewing such a small batch. Most people who use bottled water use reverse osmosis water or distilled water, but you need to put minerals back in, blah, blah blah. Either way, you really need to adjust the pH to get into the right range for brewing. Check out https://sites.google.com/site/brunwater/.

[/quote]

Thank you for the quick reply and the advice! I’m still waiting for my water report, but my understanding is that it is actually chlorine, not chloramine that is added to our water. In this case, would my approach (leave water uncovered for 15 hours) be ok to remove chlorine at a level of 0.4ppm?

I have campden tablets (potassium metabisulfite, rather than sodium). Wondering a) when I should add this, b) how much for 2 gallons of water, and c) whether or not this will add any off-flavors or aromas to my beer.

Hopefully others can answer my remaining questions.

[quote=“SeattleBrews”]Thank you for the quick reply and the advice! I’m still waiting for my water report, but my understanding is that it is actually chlorine, not chloramine that is added to our water. In this case, would my approach (leave water uncovered for 15 hours) be ok to remove chlorine at a level of 0.4ppm?

I have campden tablets (potassium metabisulfite, rather than sodium). Wondering a) when I should add this, b) how much for 2 gallons of water, and c) whether or not this will add any off-flavors or aromas to my beer.

Hopefully others can answer my remaining questions.[/quote]
The most helpful answer I can give you is to recommend reading section 4.1 here: https://sites.google.com/site/brunwater/water-knowledge.

Given how easy, harmless and cost-effective campden tablets are for removing chlorine/chloramine, I’m not quite sure I understand why any other approach would be considered–but patience is not something I possess in abundance. Don’t worry about precise measurement in this case. I use one tablet to treat 8-9 gallons for a 5 gallon batch. I would not hesitate to use ~1/4 tablet to treat 2 gallons of water.

Wow it must of took you all day to type that up? Unfortunately I have traumatic brain injury from a high speed car wreck back in march and I can’t read that much without going into information overload. Had to comment on the size of it though. Congrats on making your first batch of beer.

I would of added some could water to the mash to bring the temp down then just boiled longer before any hop additions to bring the volume to where I wanted it.

Bottom line, it looks like you did everything just fine. My experience has proven that this is really a trial and error hobby and eventually you will get into the best routine/methods that work for you and your setup. Check out youtube.com, read some books and listen to a few podcasts and it is amazing how quickly your methods will evolve. No one has ever made their best beer ever on the first try. I have made quite a few really good beers and my last batch (I think #20 or so) is pretty crappy. Live and learn. I will make some adjustments and try again.

Questions 16, 17 & 18:

16: Not a real big deal. That is a lot of yeast for a 1 gallon batch but not too much in my opinion. It is much harder to over pitch yeast than it is to under pitch.

17: Eyeball is going to be the easiest way to measure half the tube. Sloshing the yeast between different vessels just adds to the risk of contamination.

18: You can definitely use the other half of the yeast. Just use it soon or make an appropriate starter. You could also rinse/wash the used yeast and reuse that as well. I have brewed all but one of my last 6 beers from one packet of yeast.

Most of all - RDWHAHB :cheers:

Wow! This is a great post!

It sounds like you made beer and that it will probably come out close to what you intended it to be. Wish I could say the same for all my beers.

I’ll pick up where kc left off. Please note that what I pass on are my opinions informed by a bit of reading, personal experience, and my prejudices. I hope this helps.

Question 10: As you stated, there are lots of ways to sparge. The goal is to rinse the sugars out of the grain. As long as you get the sparge wage water mixed into the mashed grain and let it drain out again, it will do its job. Relax. Don’t worry. Have a home brew (or a craft beer, since this is your first batch).

Question 11: I take a lot of gravity readings. They tell me how I’m progressing toward getting the sugar out of the grain. I use a temperature-correcting refractometer. If you’re using a hydrometer, you can use a temperature correction chart; I’ve never been comfortable with the charts and prefer to use an ice bath to cool the sample to the temperature the hydrometer is calibrated for - that’s why I bought the reftactometer. Relax. Don’t worry. Have a home brew (or a craft beer, since this is your first batch).

Question 12: The only way I know to be certain you won’t get boil-overs is to not brew. You;re not a brewer until you’ve boiled over and had to clean up a mess and heard your wife ask what that terrible smell is. Don’t worry about the sludge on the sides. It’s mostly precipitated protein (I think). Relax. Don’t worry. Have a home brew (or a craft beer, since this is your first batch).

Question 13: Stir as much as you feel is necessary to prevent scorching. Theoretically, splashing will encourage oxidation, but I suspect reducing stirring and risking scorching is being a little overly cautious. Don’t worry. Have a home brew (or a craft beer, since this is your first batch). Relax. Don’t worry. Have a home brew (or a craft beer, since this is your first batch).

Question 14 and 15: Congratulations on checking your OG. You came in a little low because every system is different and the amount of water called for in the recipe was a bit high for your system. Once you know where the losses are in your system, you can use them to calculate the amount of water needed for mashing and sparging to get the OG you want. Until you have the info for those calculations you can be prepared to add water to reduce the OG or boil longer to increase the OG. Had you taken a pre-boil gravity, and had you known your boil-off rate, you could have predicted the length of boil needed to hit your desired OG. It’s a little late to tell you this, but to prepare for your first brew, you could have run a test boil to estimate your boil-off. You can also add extract to bring your OG up. You can also let your gravity fall where it may; it’ll still be beer and you can probably find someone to come over and drink it. Relax. Don’t worry. Have a home brew (or a craft beer, since this is your first batch).

Question 16: Not a problem for exactly the reason you stated. Good call. It would also not be a problem had the vial been hand-carried from packaging to your door 2 minutes before you pitched it and had you used the whole vial. Over pitching is no doubt a potential problem, but on your first batch, worrying about it is really a waste of time. There are other issues that deserve more effort; a complete list of those issues follows: everything else. Relax. Don’t worry. Have a home brew (or a craft beer, since this is your first batch).

Question 17: Eyeball it. Relax. Don’t worry. Have a home brew (or a craft beer, since this is your first batch).

Question 18: Yes and yes. Check http://www.mrmalty.com/calc/calc.html and http://www.brewersfriend.com/yeast-pitc … alculator/ Relax. Don’t worry. Have a home brew (or a craft beer, since this is your first batch).

Question 19: I always oxygenate (with an O2 injection system) before adding yeast except when I forget. Yeast aren’t very smart and they don’t seem to get dizzy. There may be a good reason for shaking at a particular point, but I don’t know what it is. I’ve read that the maximum O2 concentration achievable with shaking is about 8 ppm. Don’t remember where I read that or how much shaking was required to achieve that concentration… Sounds like a job for Google. Hopefully, someone else who understands yeast better will comment. Relax. Don’t worry. Have a home brew (or a craft beer, since this is your first batch).

Question 20: I suspect sanitized foil of plastic film would be more sanitary than your sanitized hand, but it’s a question of how far you want to carry your sanitizing methods. With good aeration/oxygenation and plenty of healthy yeast your yeast will out-compete the bacteria that will get into the wort - and some bacteria will get into it. Also, if you use your hand, you can assert that you know the beer is contaminated and will spoil fast; you are therefore required to drink it fast, before it spoils. Relax. Don’t worry. Have a home brew (or a craft beer, since this is your first batch).

Question 21: Yep, that’s pretty much the standard blow-off set up. There’s an infinite number of other configurations that will work also. If it clogs, the airlock base will blow off and spray krausen all over the ceiling. I’m pretty sure it’s a requirement that everyone who brews beer experience a blown up blow-off and be able to show the resulting stains on the ceiling to the homebrew police on demand. Relax. Don’t worry. Have a home brew (or a craft beer, since this is your first batch).

Question 22: You can save the leftover wort for starters when you follow the steps in Question 18. Relax. Don’t worry. Have a home brew (or a craft beer, since this is your first batch).

Enjoy the hobby! And, Relax. Don’t worry. Have a home brew (or a craft beer, since this is your first batch).

Thank you for answering so many of my questions. I’ll try to relax. I’m an engineer. It’s in my nature to evaluate & question!

Is that why you chose a single hop? If so, good on you! Stick with that hopping schedule until you have your bearings. As you know, one variable at a time is the quickest way to learn a complex system.

Regarding the water issue, you’re brewing small. Why not take the water out of the equation? That will allow you to focus on more tangible things like hops and barley. At your scale, you can do grocery store reverse osmosis water and be done with the water thing. Your extract is your mash, so you really don’t need to screw around with water until you find it necessary to augment your hops with mineral additions.

I’d also eliminate the MO base malt, let your extract do the work (for the time being) and concentrate on learning your specialty malts and hops. Marris Otter extracts are available, if you’re set on MO. Right now, steeping a base malt is a dubious complication.

This concludes advice from a scientist to an engineer. :cheers:

Q6: yes you can get closer strike water temp, but a quick adjustment could’ve been some ice cubes. I had to do this once early on.

Congrats on your first brew!

What a nice first post! I too am an engineer, so I can appreciate a bit of detail… although I must admit I’m suffering from some overload.

Overall, I think you did fantastically for your first time out. Just a few comments in no particular order:

  1. Figure out which thermometer is most accurate. You don’t want to have to guess as to which one is right – you need to be able to know and trust one of them.

2a) Your OG was low because your final volume was high. Figure out what your boiloff rate was so that you can hit the desired volume perfectly in the future. If you’d concentrated your wort all down to 1.0 gallons this time (or whatever your goal was), your OG probably would have hit the mark pretty darn close.

2b) And if OG is still too low, then it’s typically because you need to crush the grains harder than your LHBS will do for you – I mean, what’s in it for your LHBS if they crush hard? They sell less grains and make less money?! They don’t want to do that! They have the gap on their mill super wide so that you’ll buy more grains. If you crush the grains on your own mill, or a mill borrowed from a friend, then you have complete control over how hard you crush. Or you can also ask your LHBS to double-crush to increase efficiency.

2c) Don’t throw away any extra volume! That’s still good wort / good sugars in there! You can save it in your freezer for emergencies, or ferment in a second container – even run experiments with different yeast, different hops, etc.!

  1. You can prevent boilover simply by cutting way back on the heat the moment you see any gurgling. There is also a product available (I forget the name) where you add a couple of drops of a chemical that prevents boilovers. I don’t have this but a lot of my friends swear by it.

  2. You don’t need to use any ice for your chill-down. I am a small-batch brewer myself. I have brewed about 90 batches in my lifetime and I do not own a chiller. With small 1-3 gallon batches, you don’t need a chiller or ice. Just a cold water bath is good enough. After 15-20 minutes, if the water in the bath is warm, drain and put more cold water in. If you make your own ice or you don’t care because it’s real cheap, go ahead and use ice. But it’s not necessary. I can get my 2-3 gallon batches down to pitching temperature in about 45 minutes with a cold water bath alone. Good enough IMHO.

That’s really the primary comments that I had. I wouldn’t change much of anything else. A finer meshed bag? Sure, that might be nice. Ensure you don’t have chloramine in your water? Yeah, that’s important. But that’s about it. You did great. You are going to love this beer.

The only thing I am going to add is that the 70 degree fermentation temp is 6-10 degrees too high.

Try to keep the temperature on the fermometer strip in the low 60s.

Higher fermentation temps can cause some off flavor in certain styles. It also creates a faster and more vigorous fermentation. For you, will a 1 gallon jug filled almost to the brim, it leaves little room for krausen to form and you run higher risk of a blowoff.

On a side note, as I was reading through your post, I thought to myself, “Self, this guy must be a developer, engineer or accountant.”

:cheers:

[quote=“kcbeersnob”][quote=“SeattleBrews”]Thank you for the quick reply and the advice! I’m still waiting for my water report, but my understanding is that it is actually chlorine, not chloramine that is added to our water. In this case, would my approach (leave water uncovered for 15 hours) be ok to remove chlorine at a level of 0.4ppm?

I have campden tablets (potassium metabisulfite, rather than sodium). Wondering a) when I should add this, b) how much for 2 gallons of water, and c) whether or not this will add any off-flavors or aromas to my beer.

Hopefully others can answer my remaining questions.[/quote]
The most helpful answer I can give you is to recommend reading section 4.1 here: https://sites.google.com/site/brunwater/water-knowledge.

Given how easy, harmless and cost-effective campden tablets are for removing chlorine/chloramine, I’m not quite sure I understand why any other approach would be considered–but patience is not something I possess in abundance. Don’t worry about precise measurement in this case. I use one tablet to treat 8-9 gallons for a 5 gallon batch. I would not hesitate to use ~1/4 tablet to treat 2 gallons of water.[/quote]

I agree that campden is easy. Like you said, RO might be easier for a 1 gal. batch.

Awhile back there was a discussion about campden, and Martin Brungard said it’s an oxygen scavenger. Overdosing can be detrimental to yeast growth.

SeattleBrews, pictures really help with answering problems, nice. Long post, but you’ve covered every concern. Welcome to the forum. :cheers:

Update: I bottled this on October 6. FG: 1.010, so I calculated an ABV of 4%.