No updates for quite a while due to the crazy busy holidays and awesome vacation time! So…I’m posting LOTS of photos - enjoy!
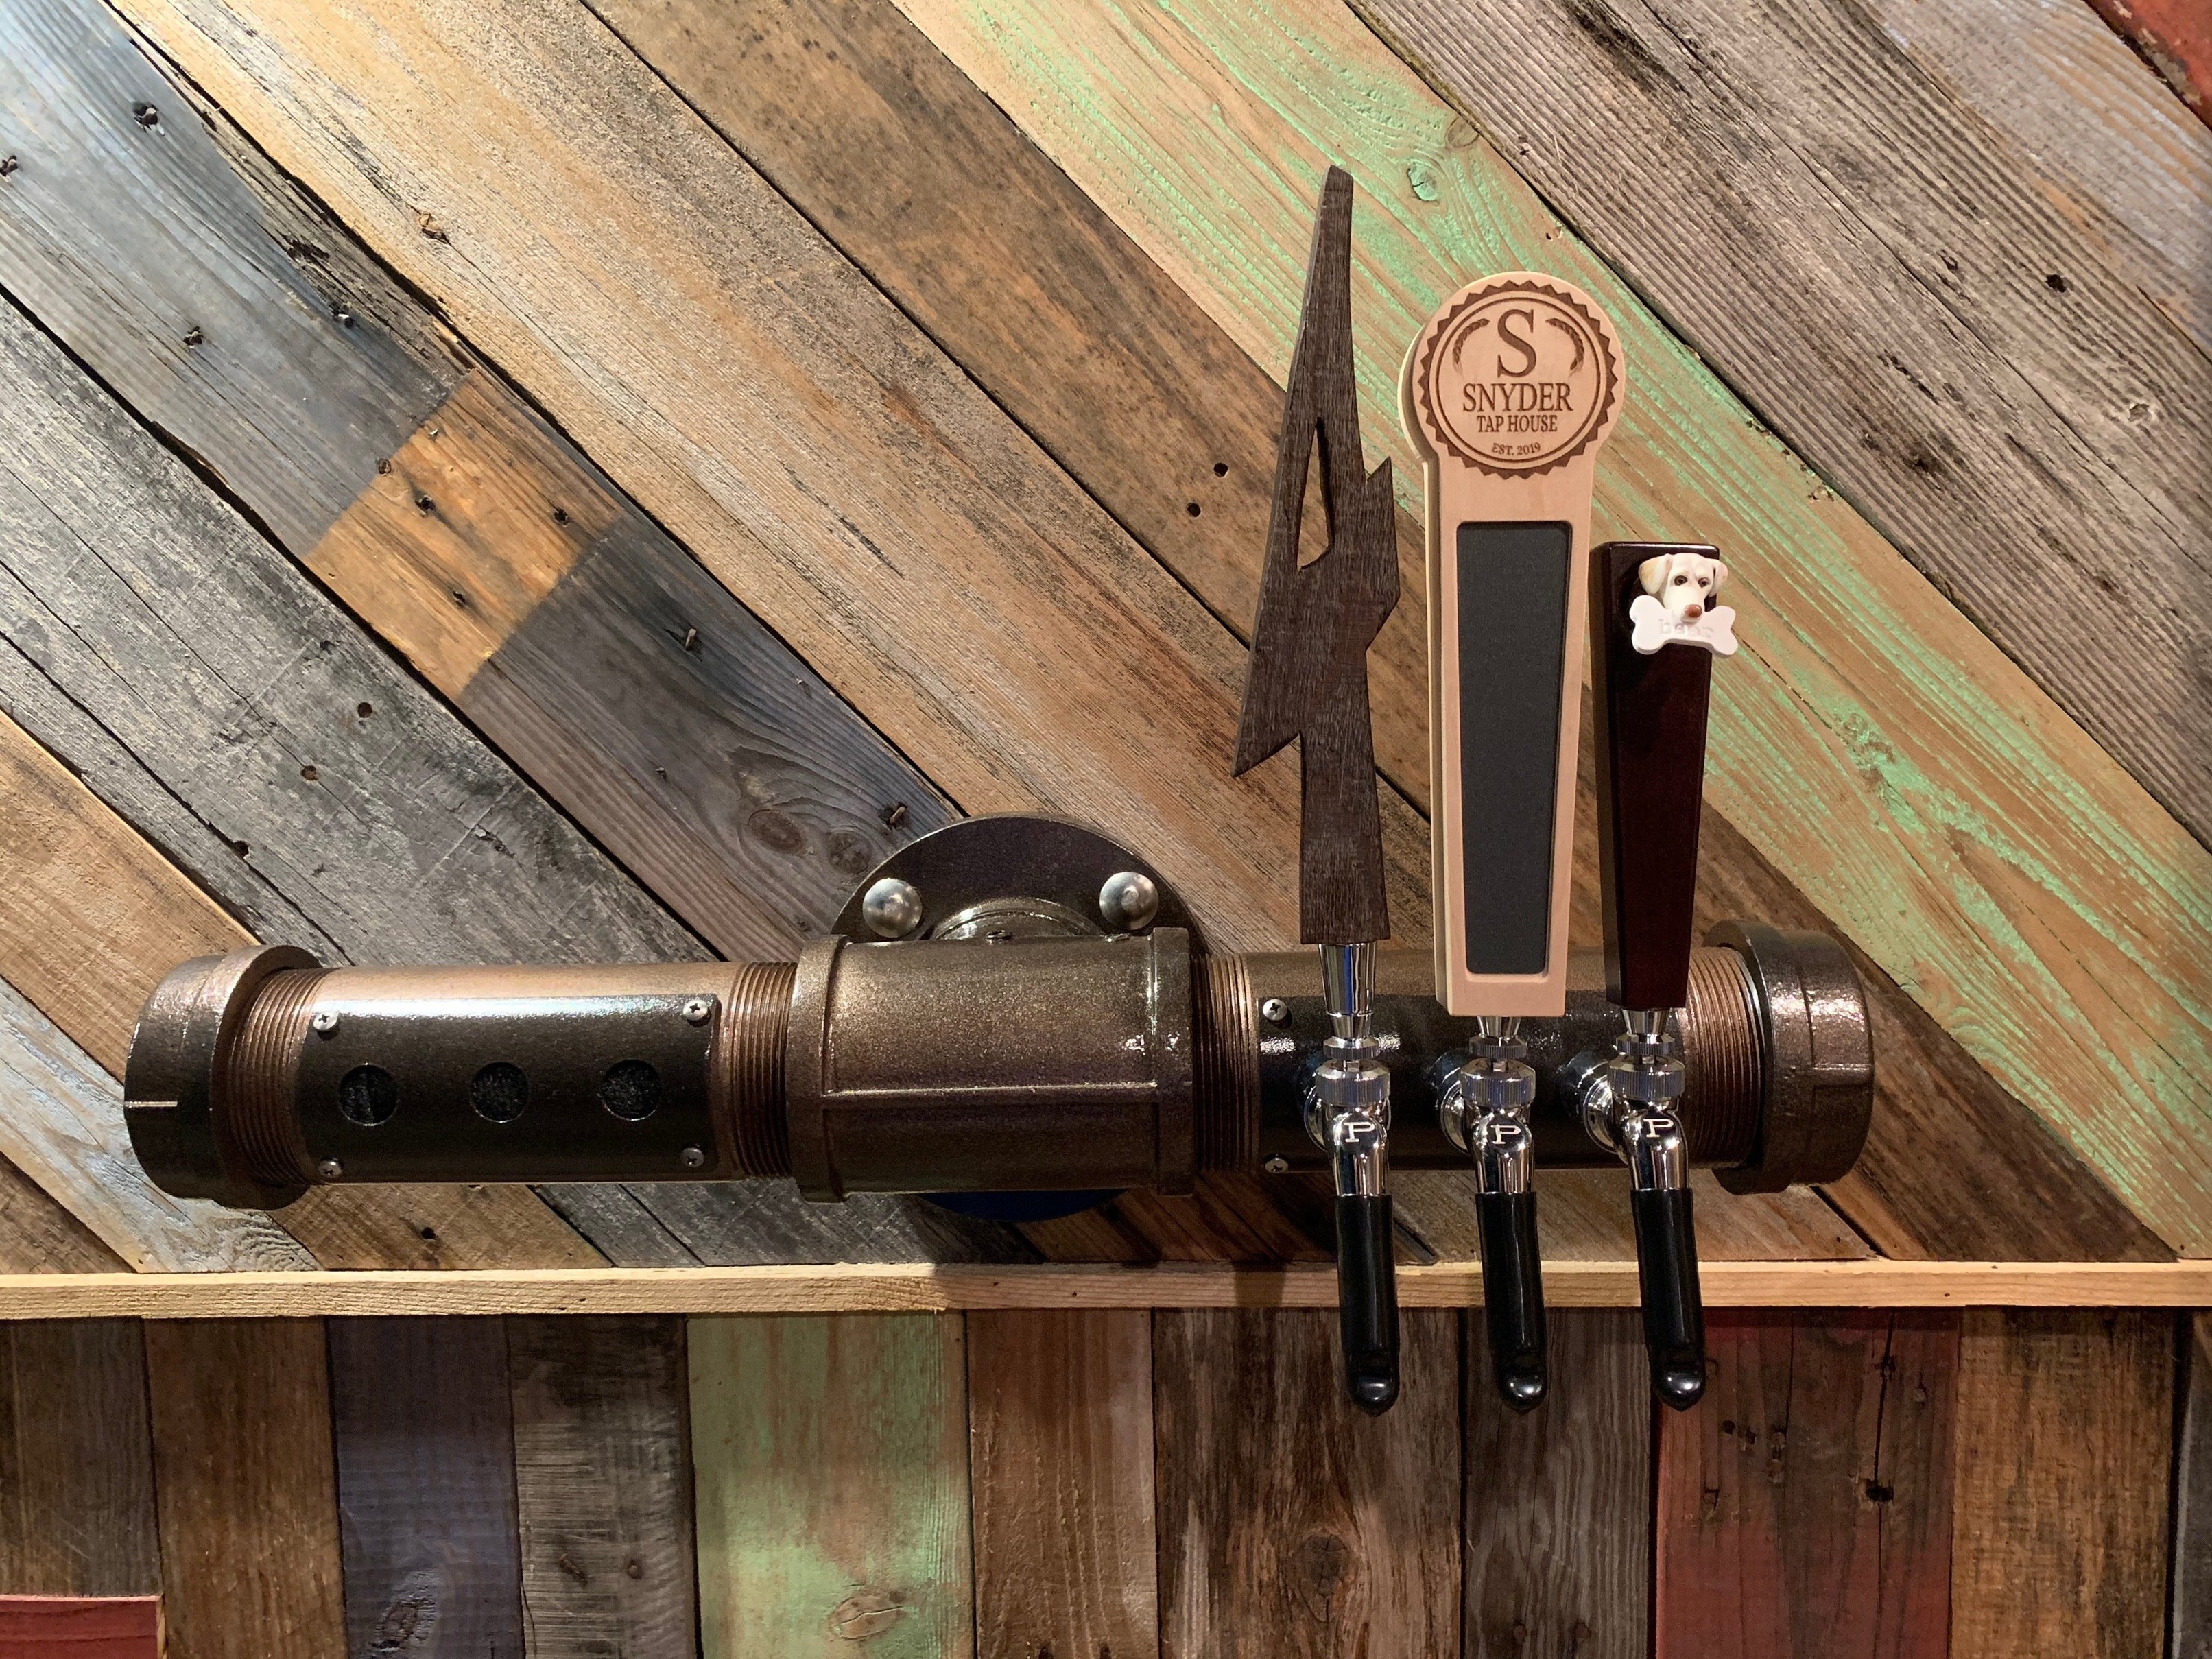
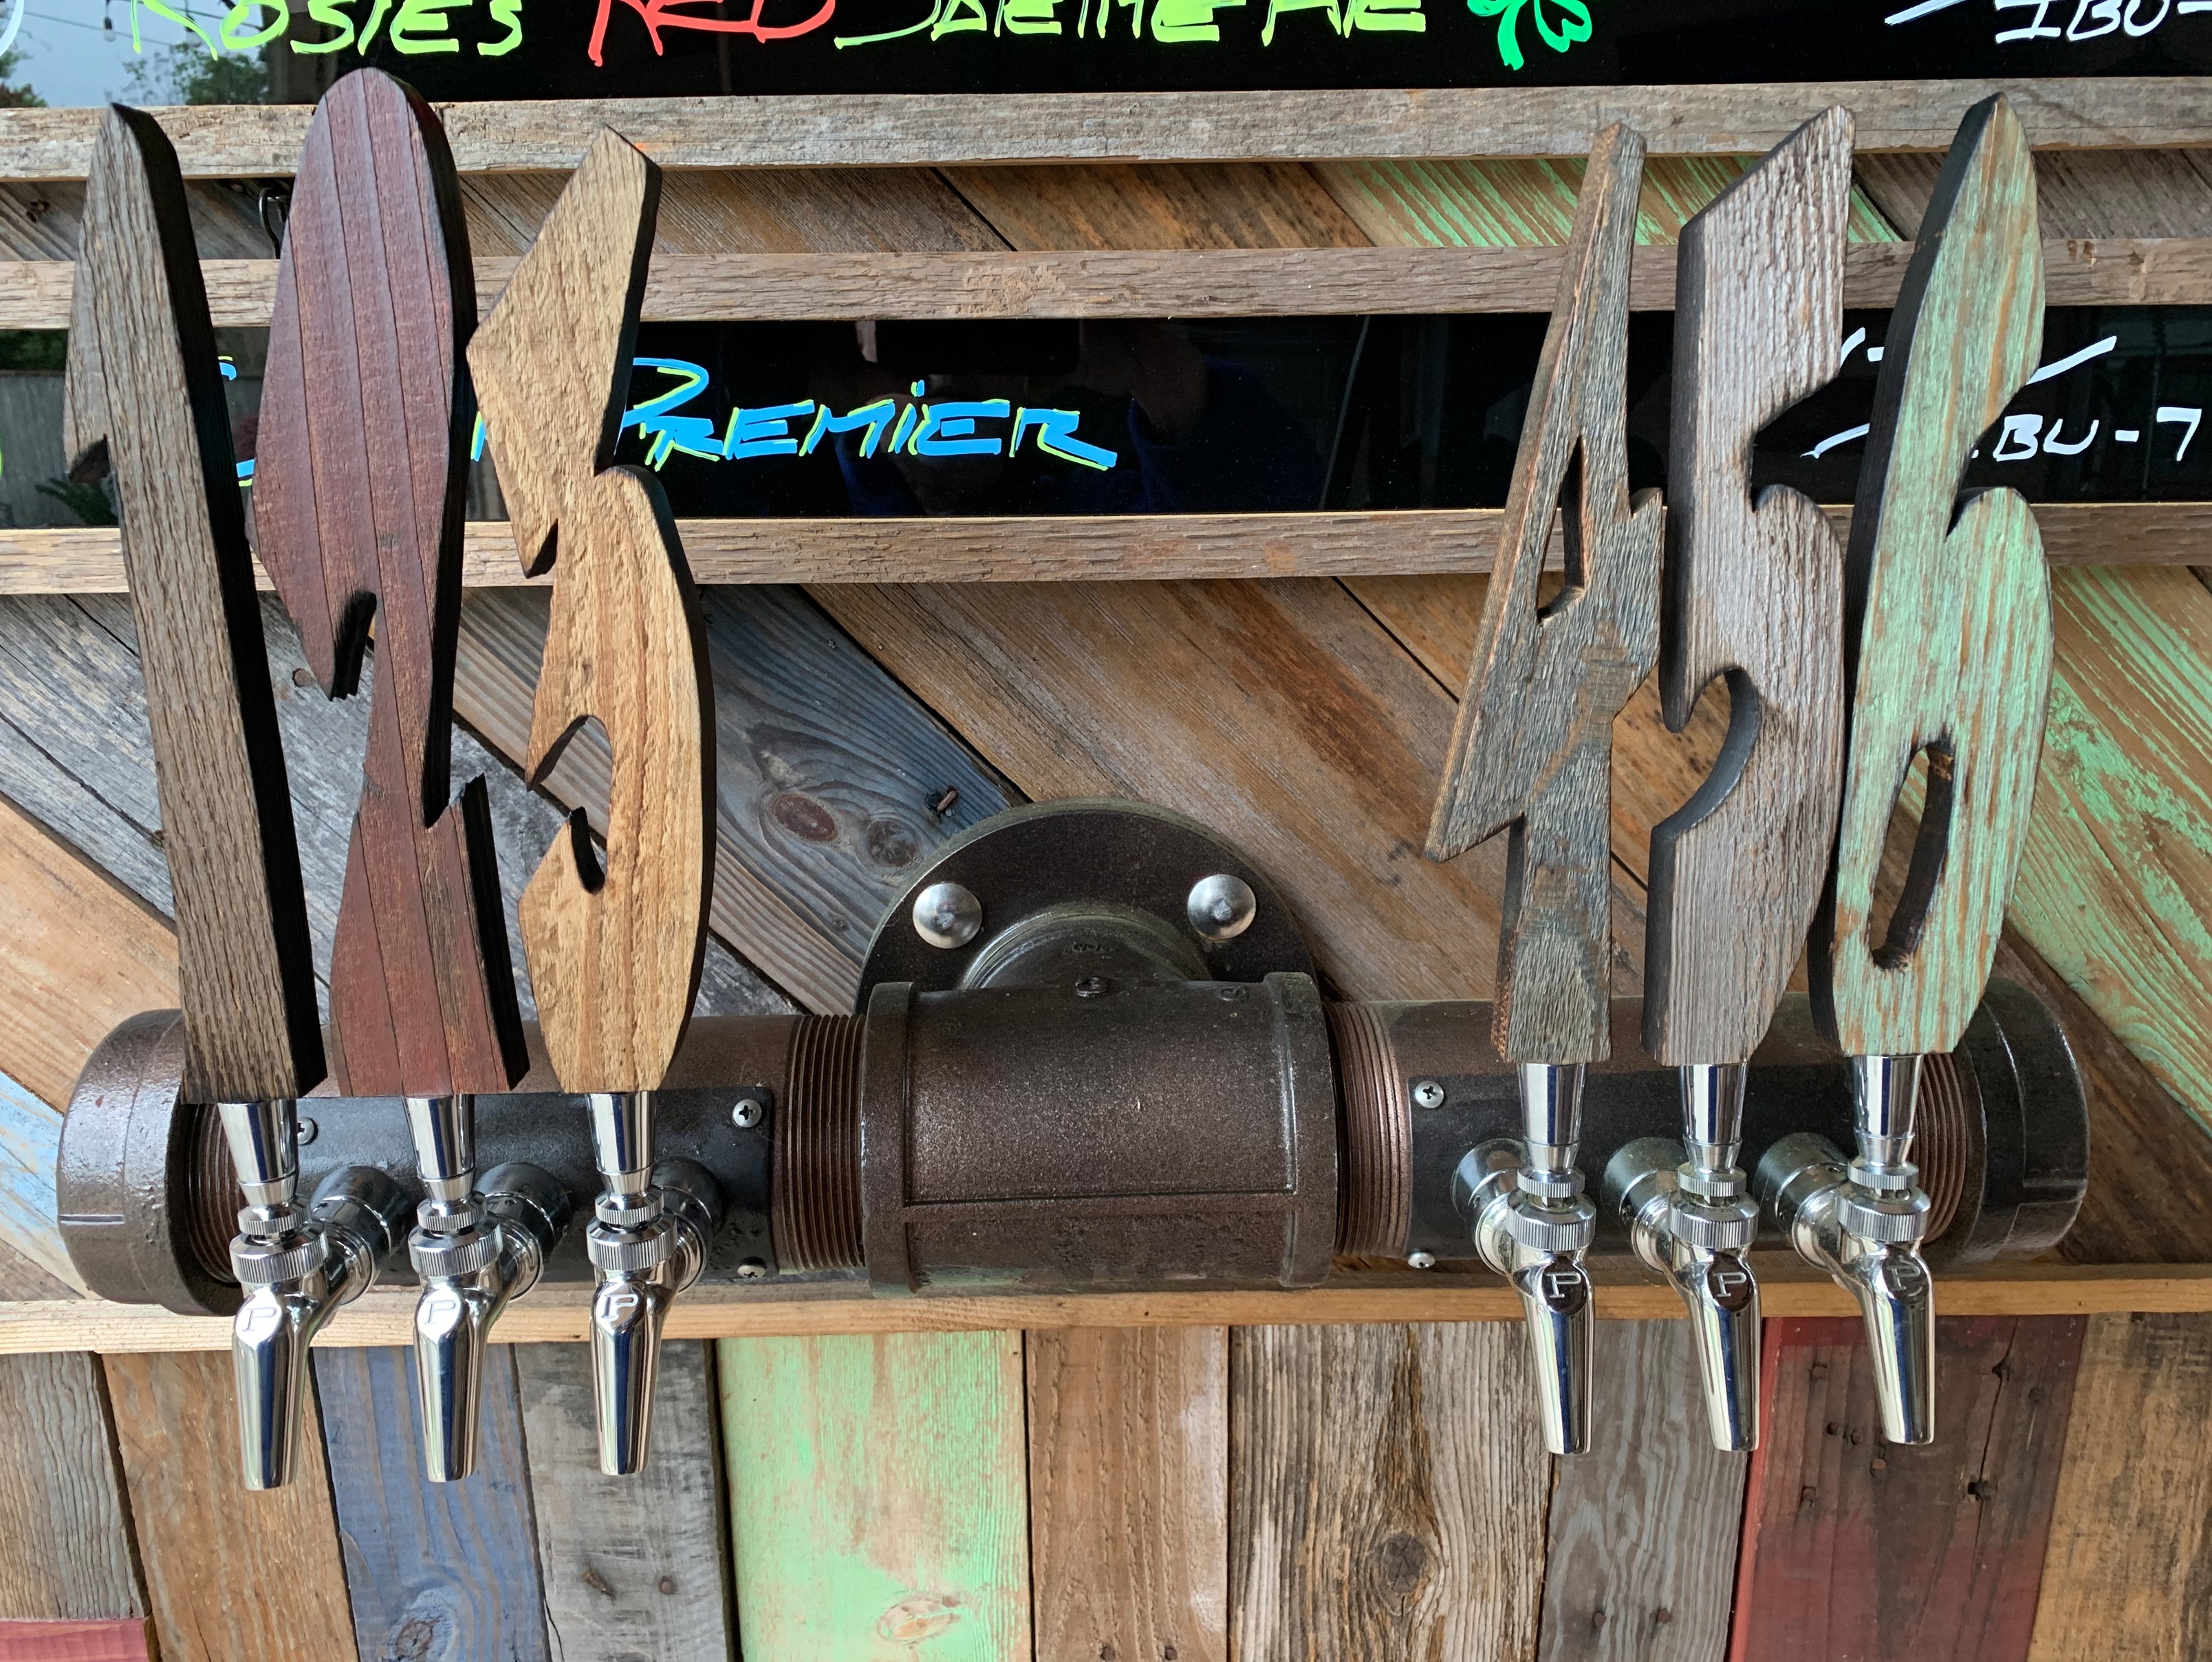
I’ve got the taps up and running with 3 of the 6 taps operational. I had to order new ‘sleeves’ for all the shanks to accommodate a 4" curve and the new sleeves only fit half of the shanks I bought (some of the shanks were larger than others). Anyway - I need to exchange those shanks so the new sleeves fit.
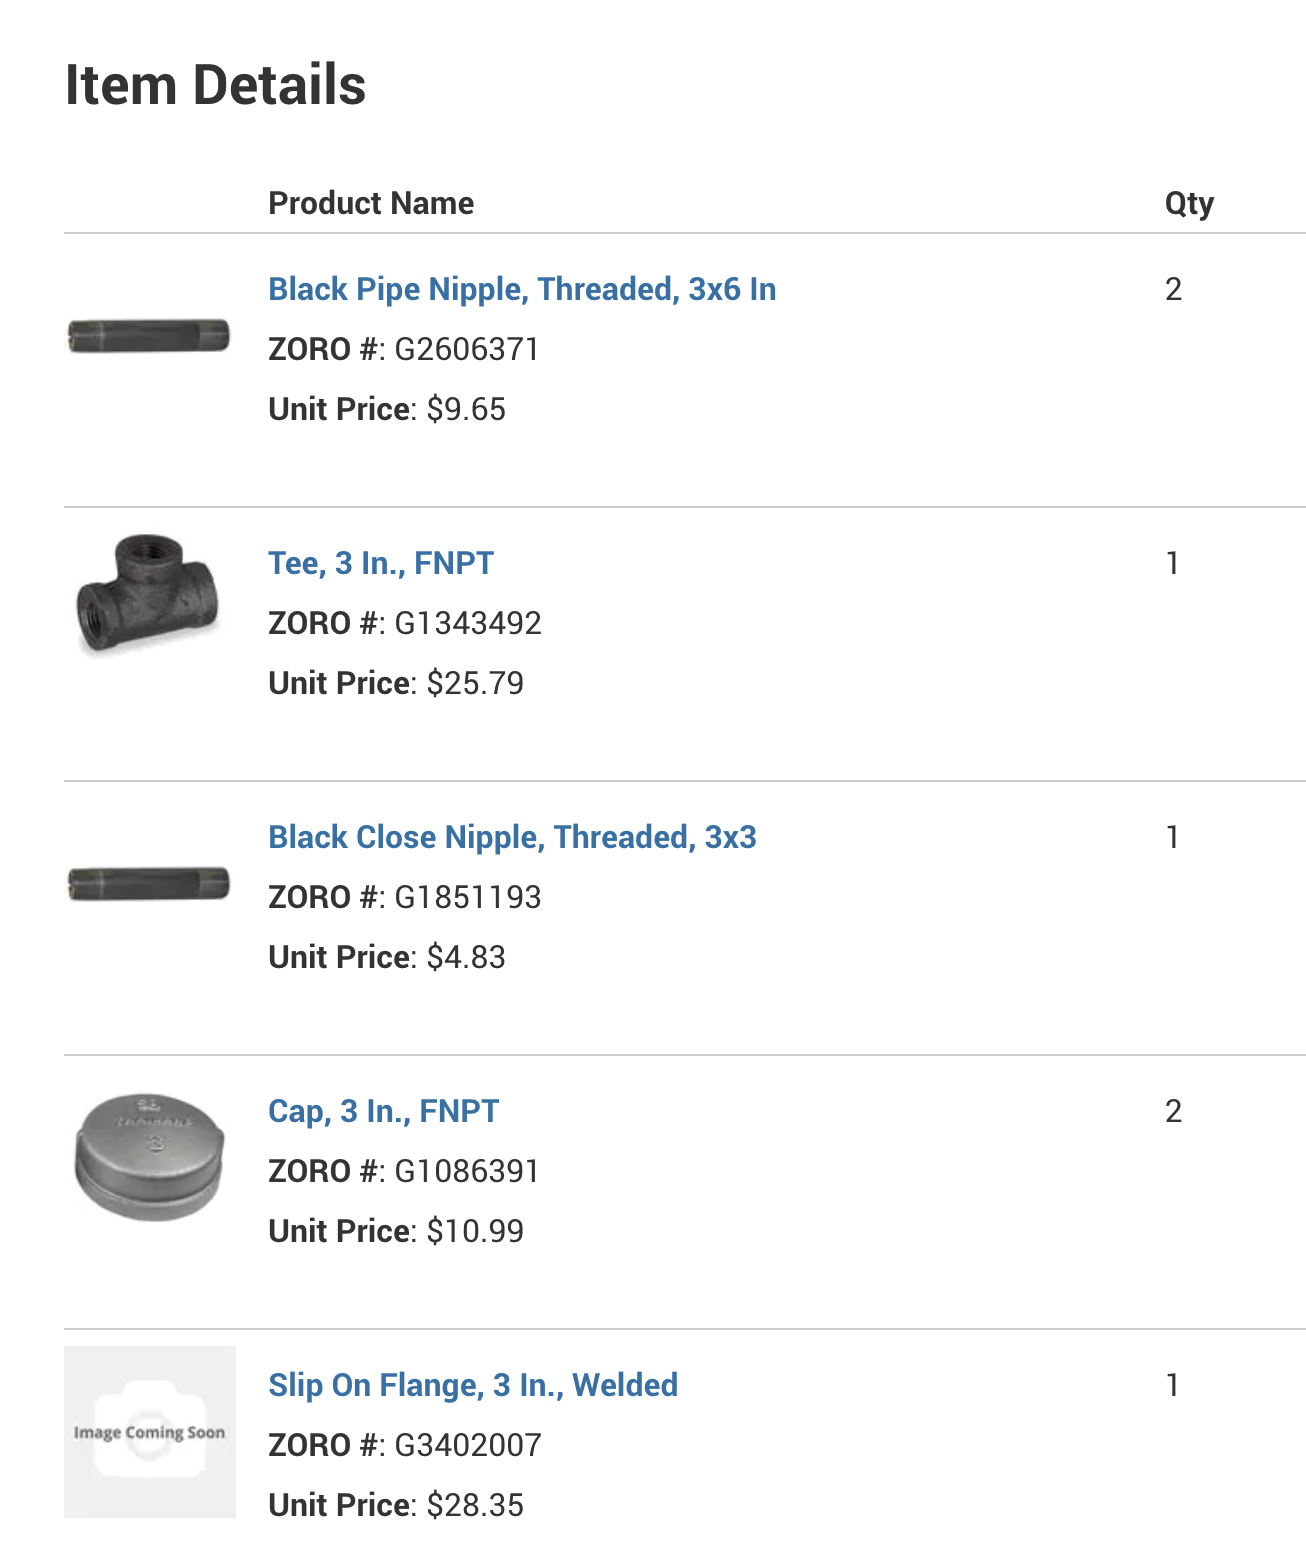
This whole process involved LOTS of ‘putting together’ and ‘taking apart’…LOTS of test fitting.
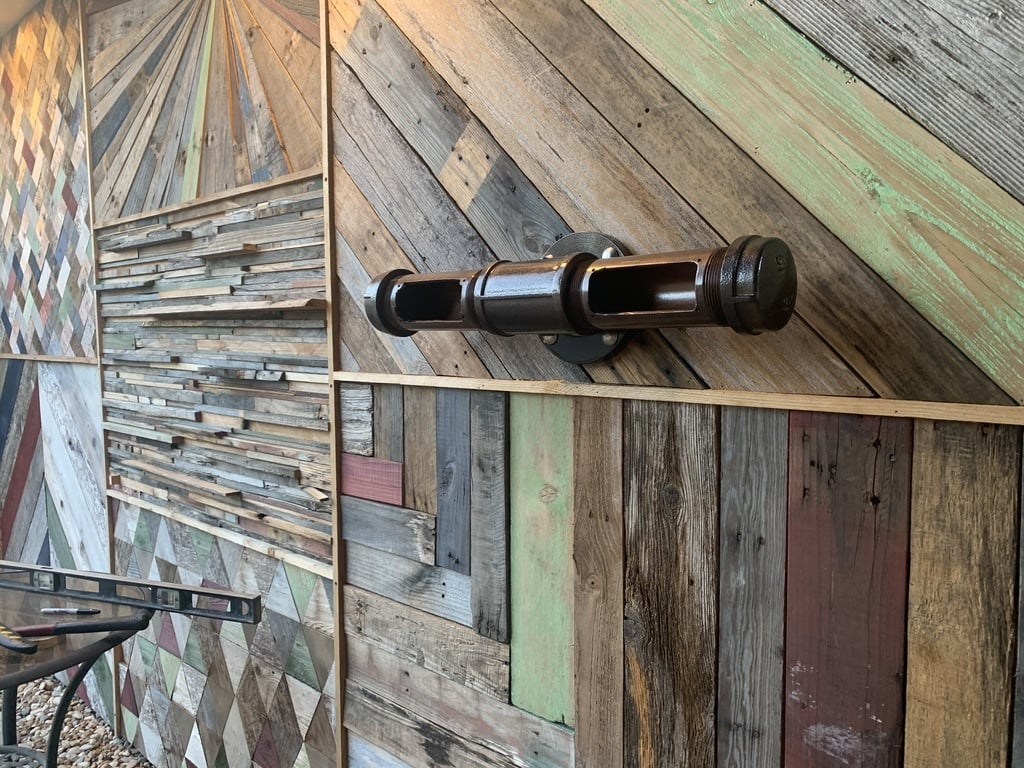
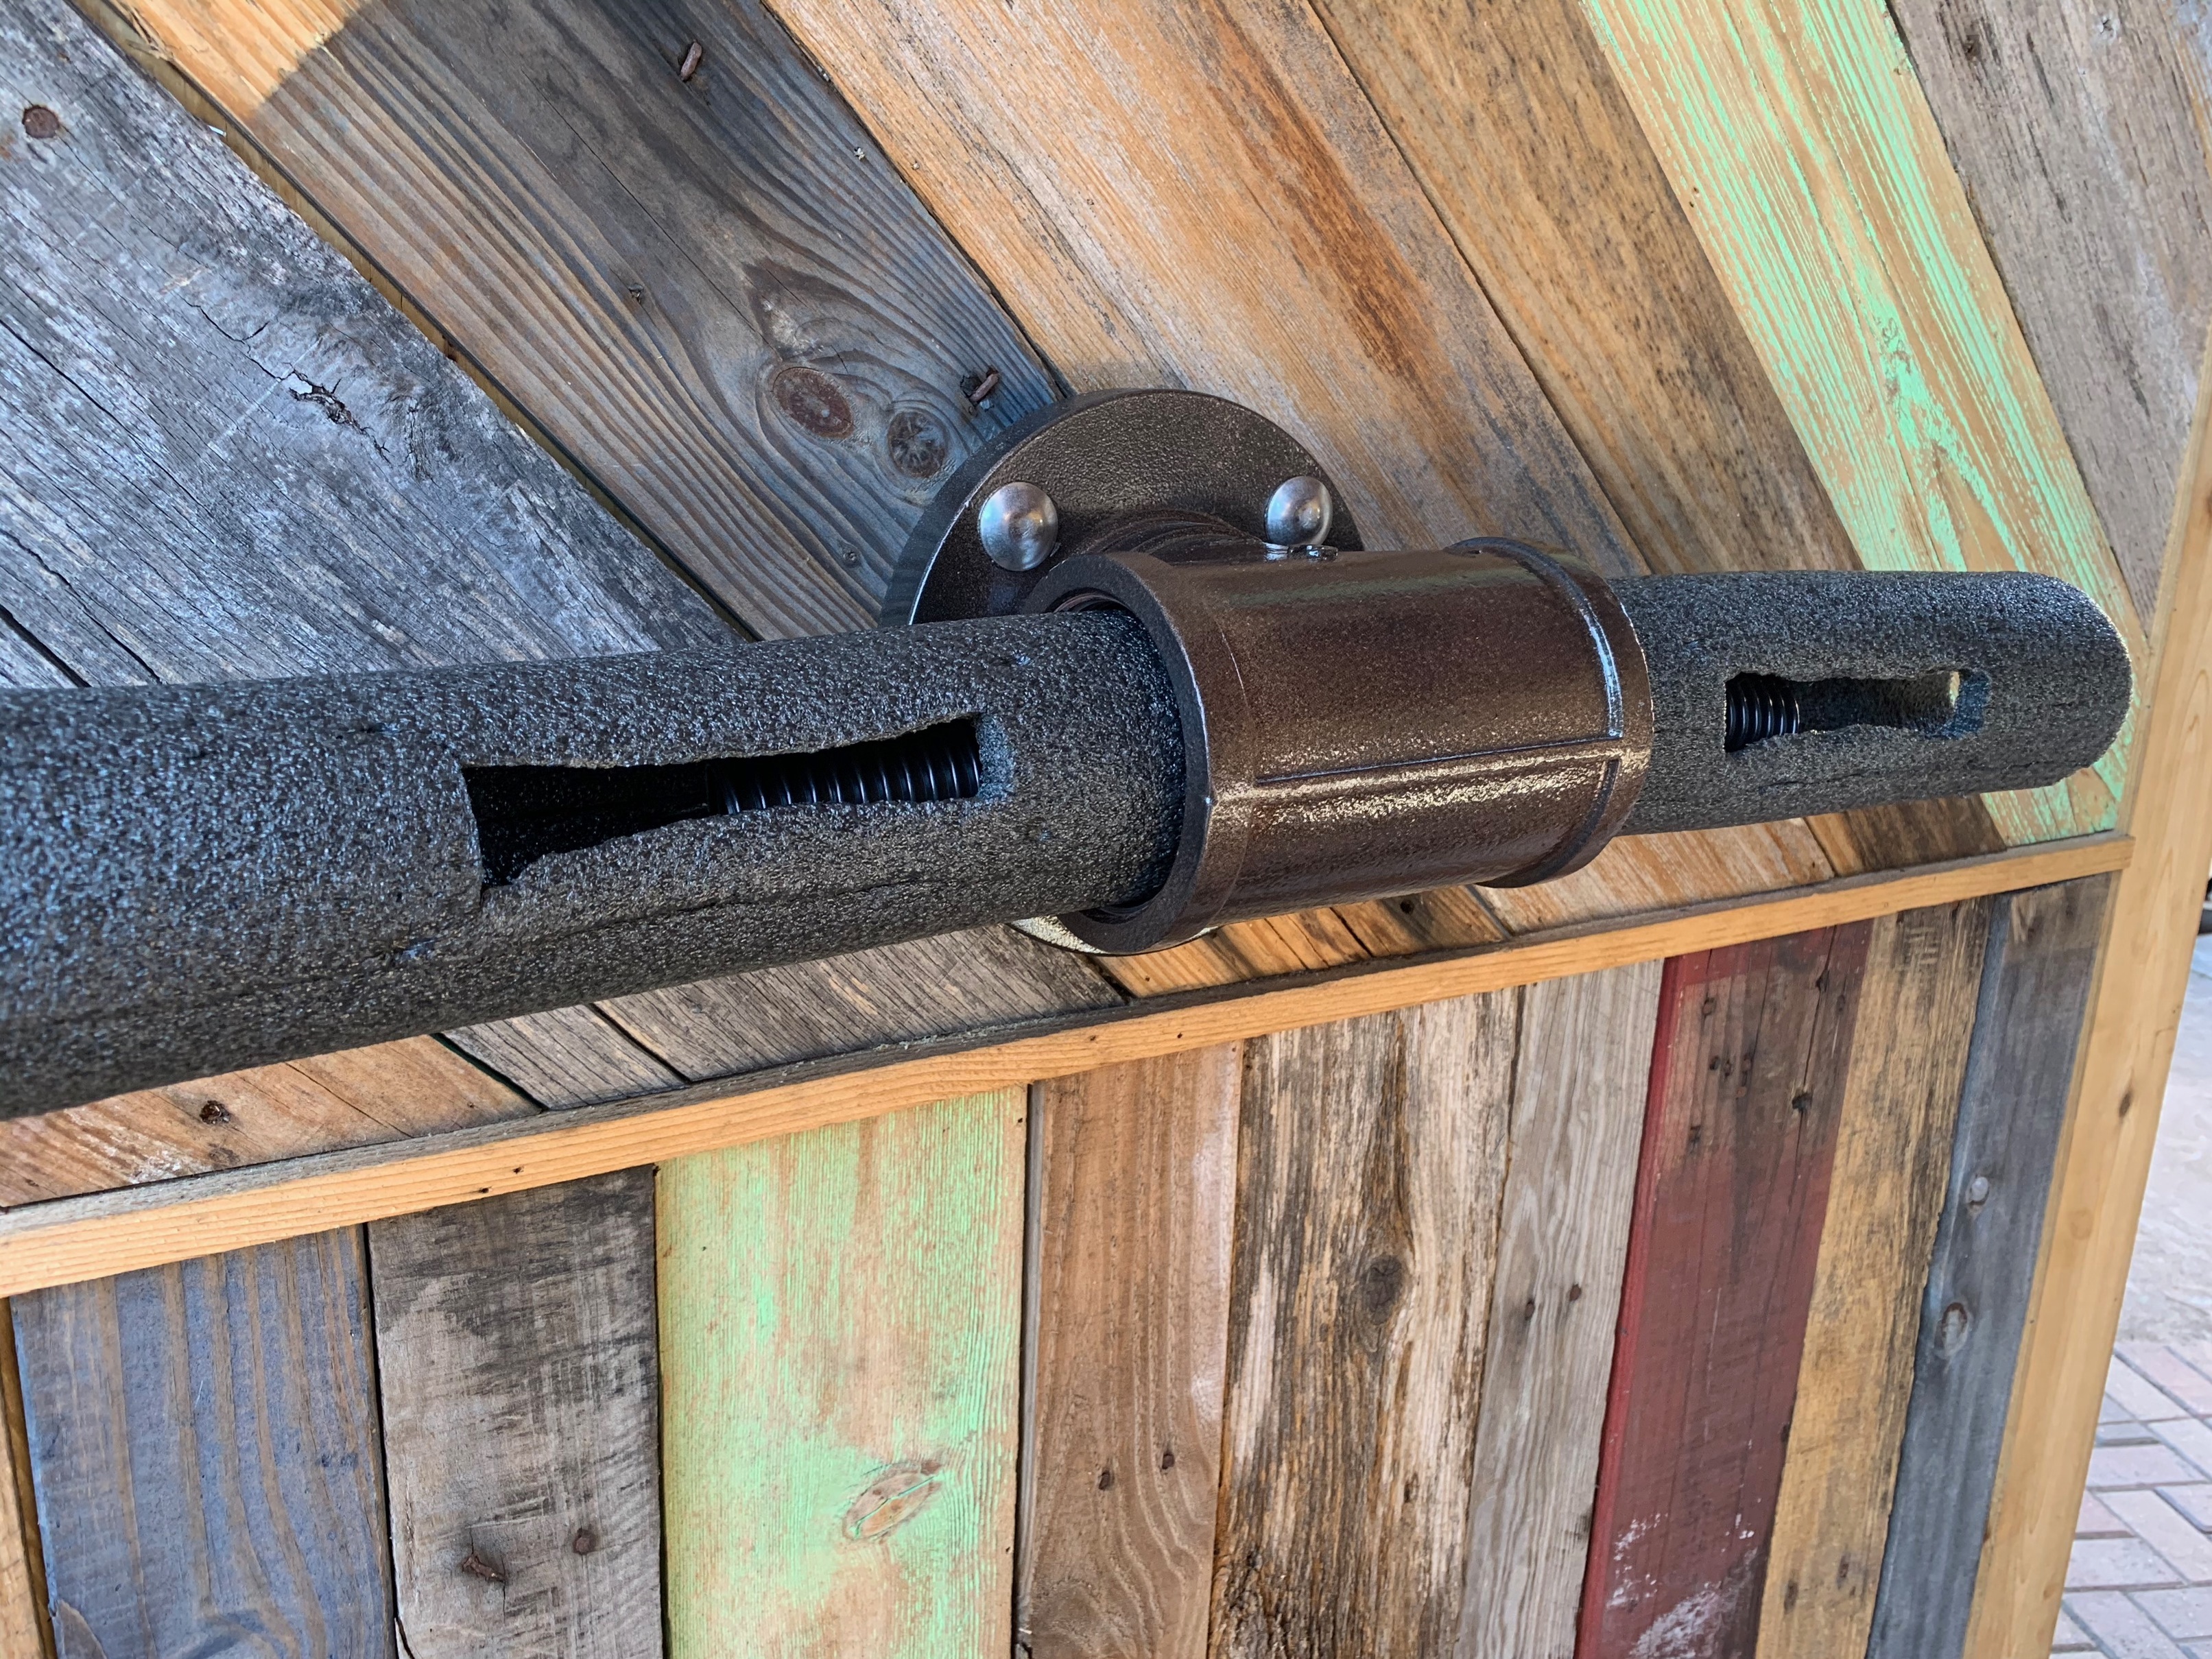
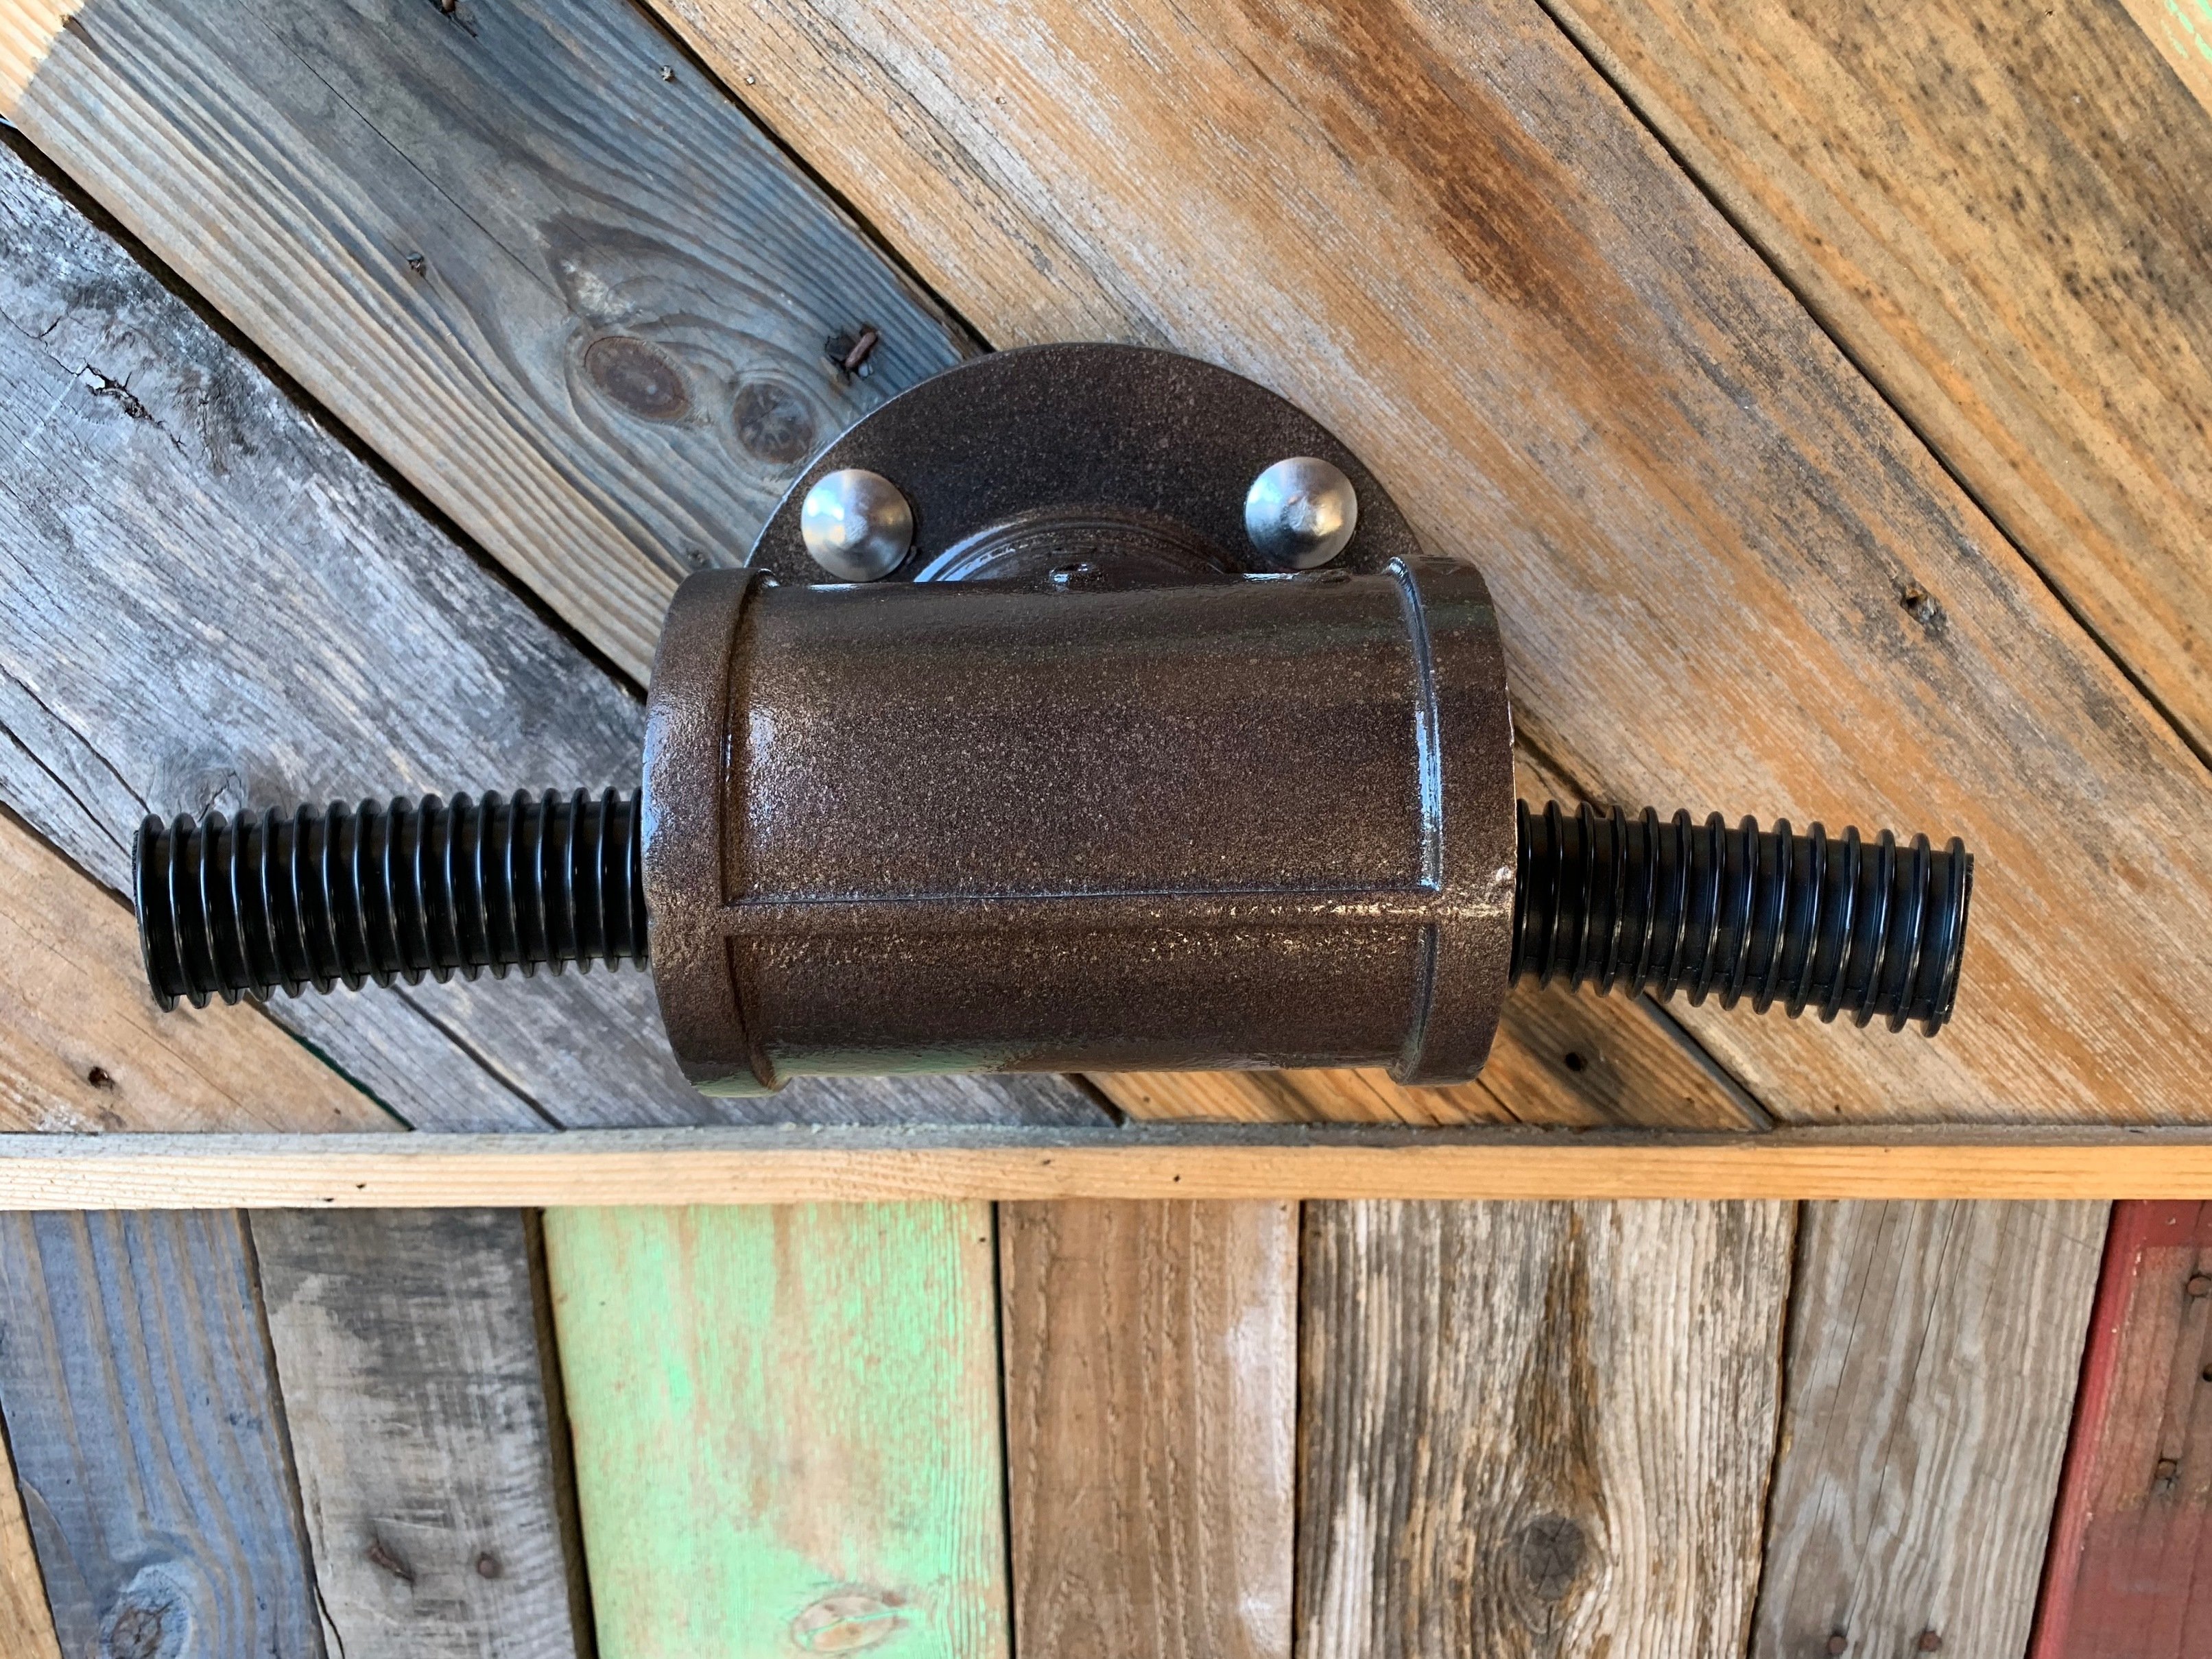
Test-fit - placing the tower on the exterior wall to find the perfect final location:

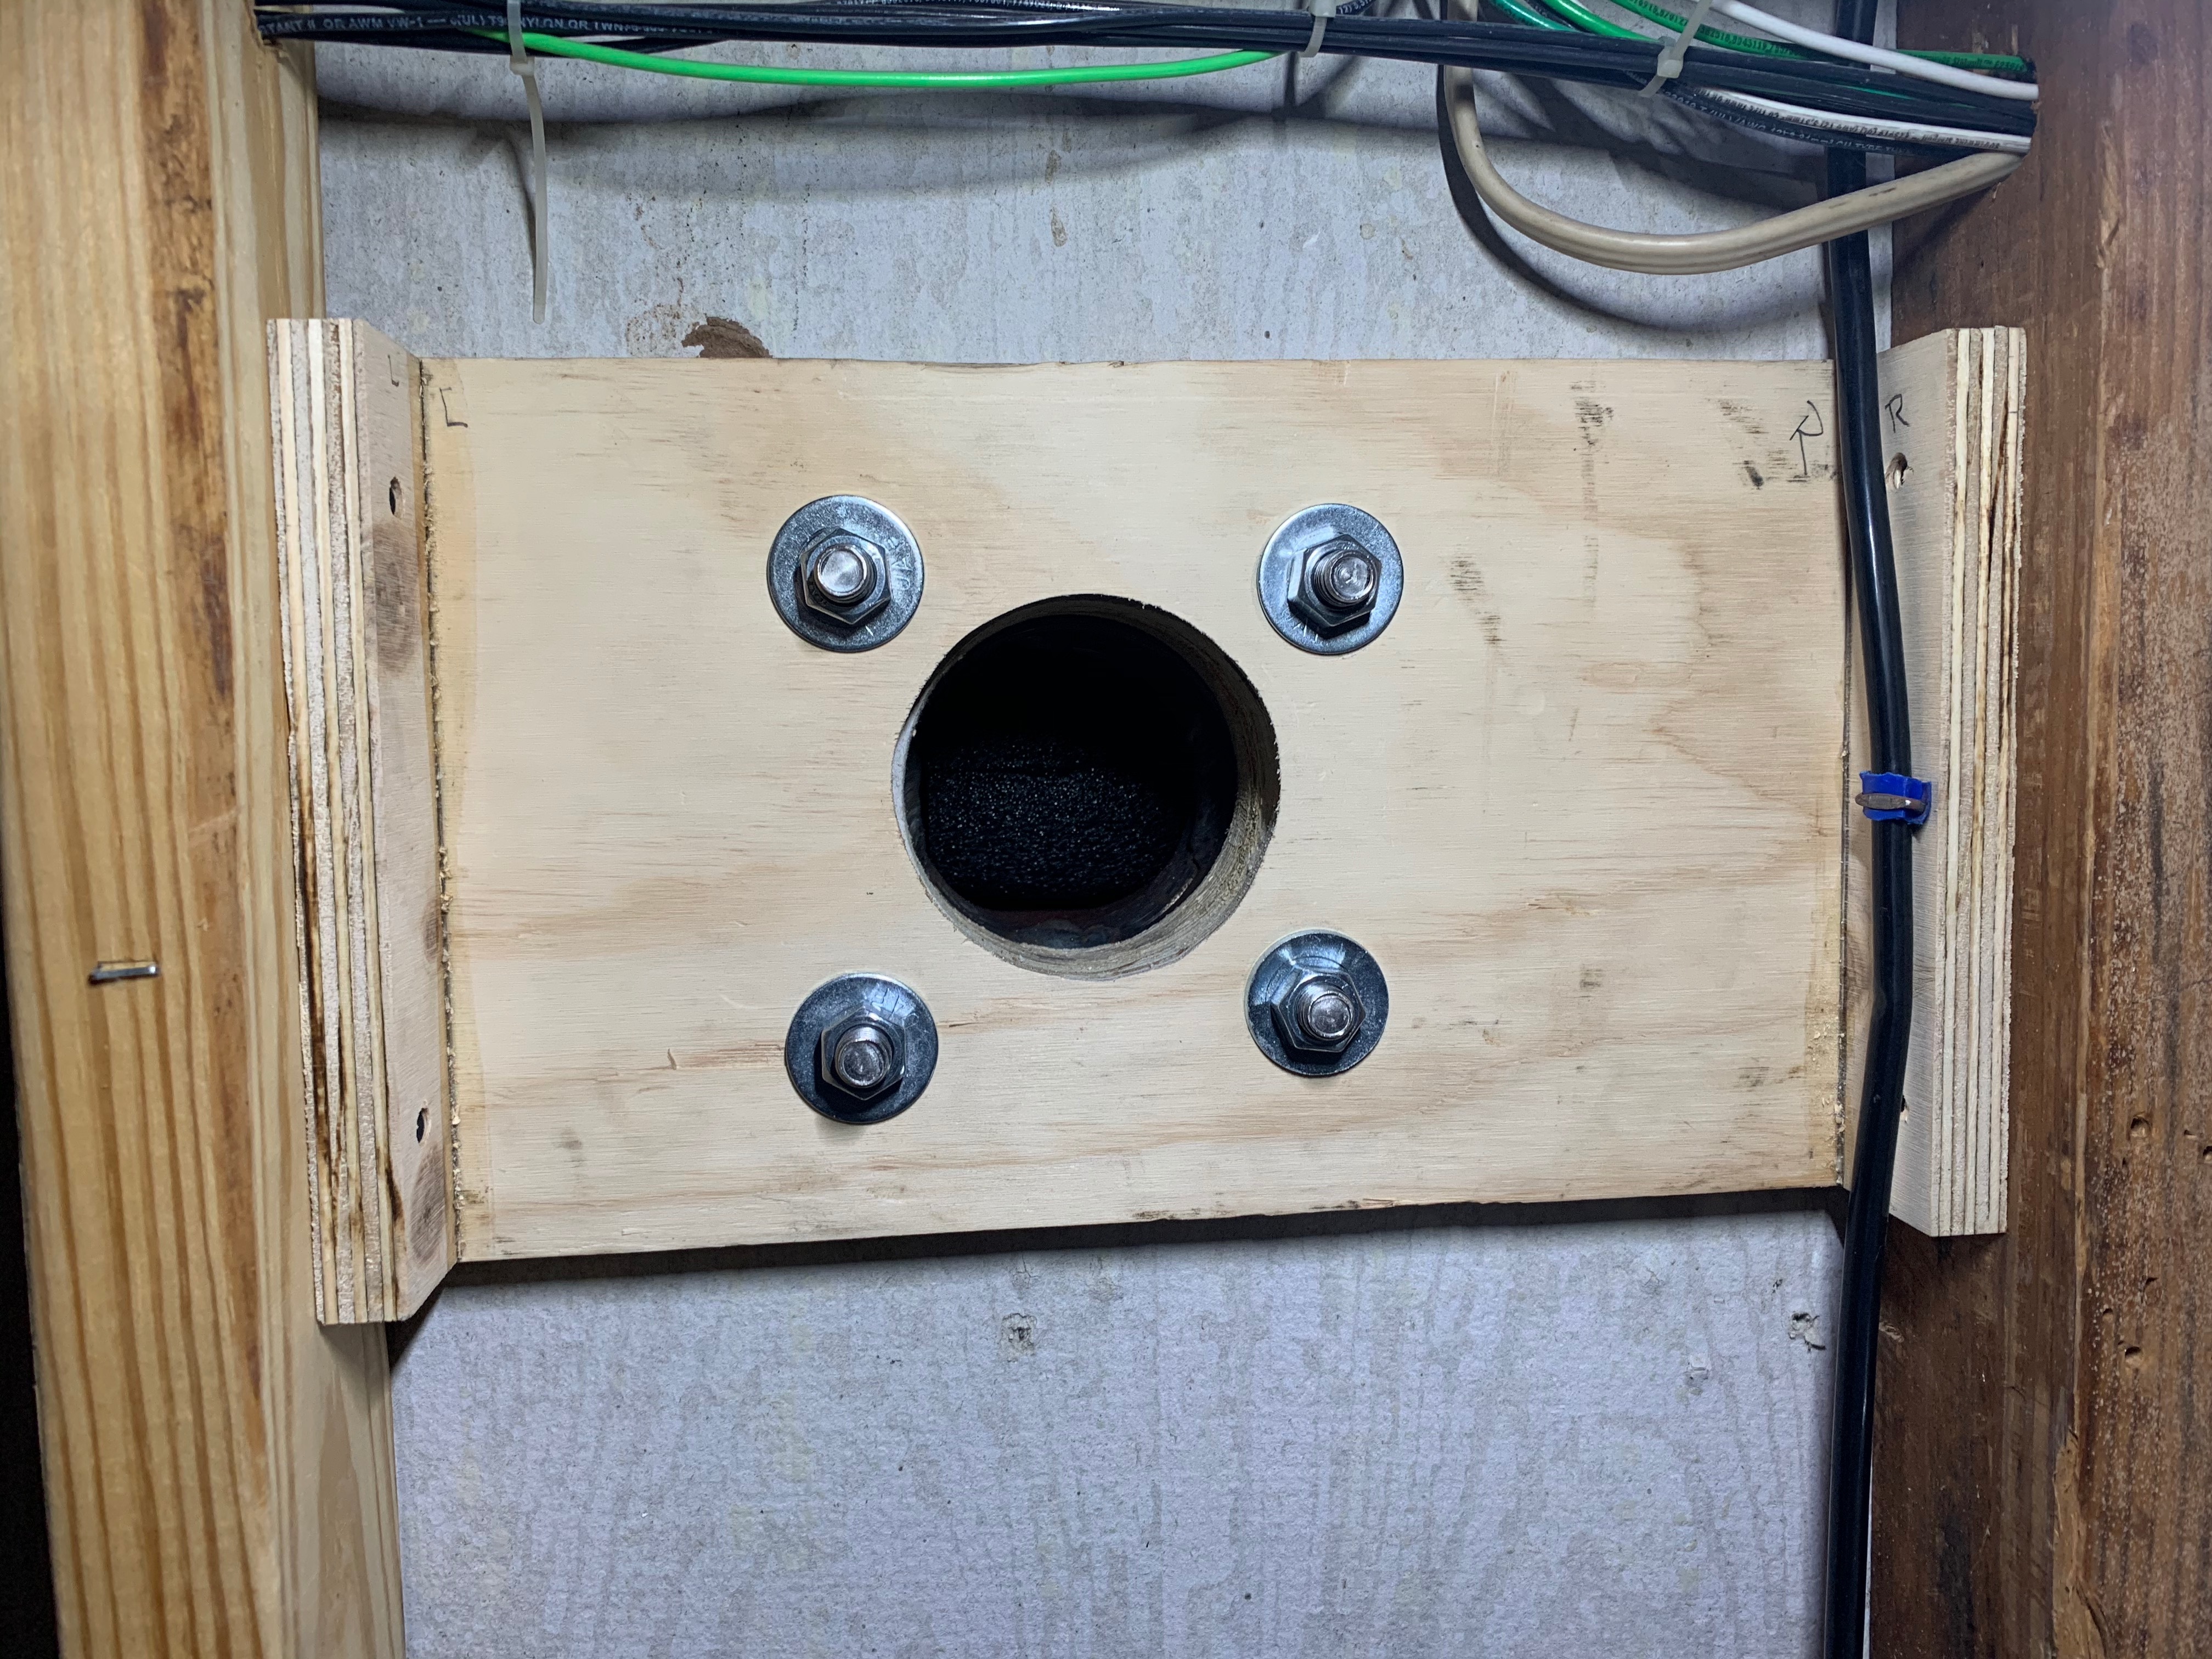
Test-fit - the ‘block’ on the back of the wall to support the uber-heavy tower
Test-fit - start working on the internal insulation for the tower

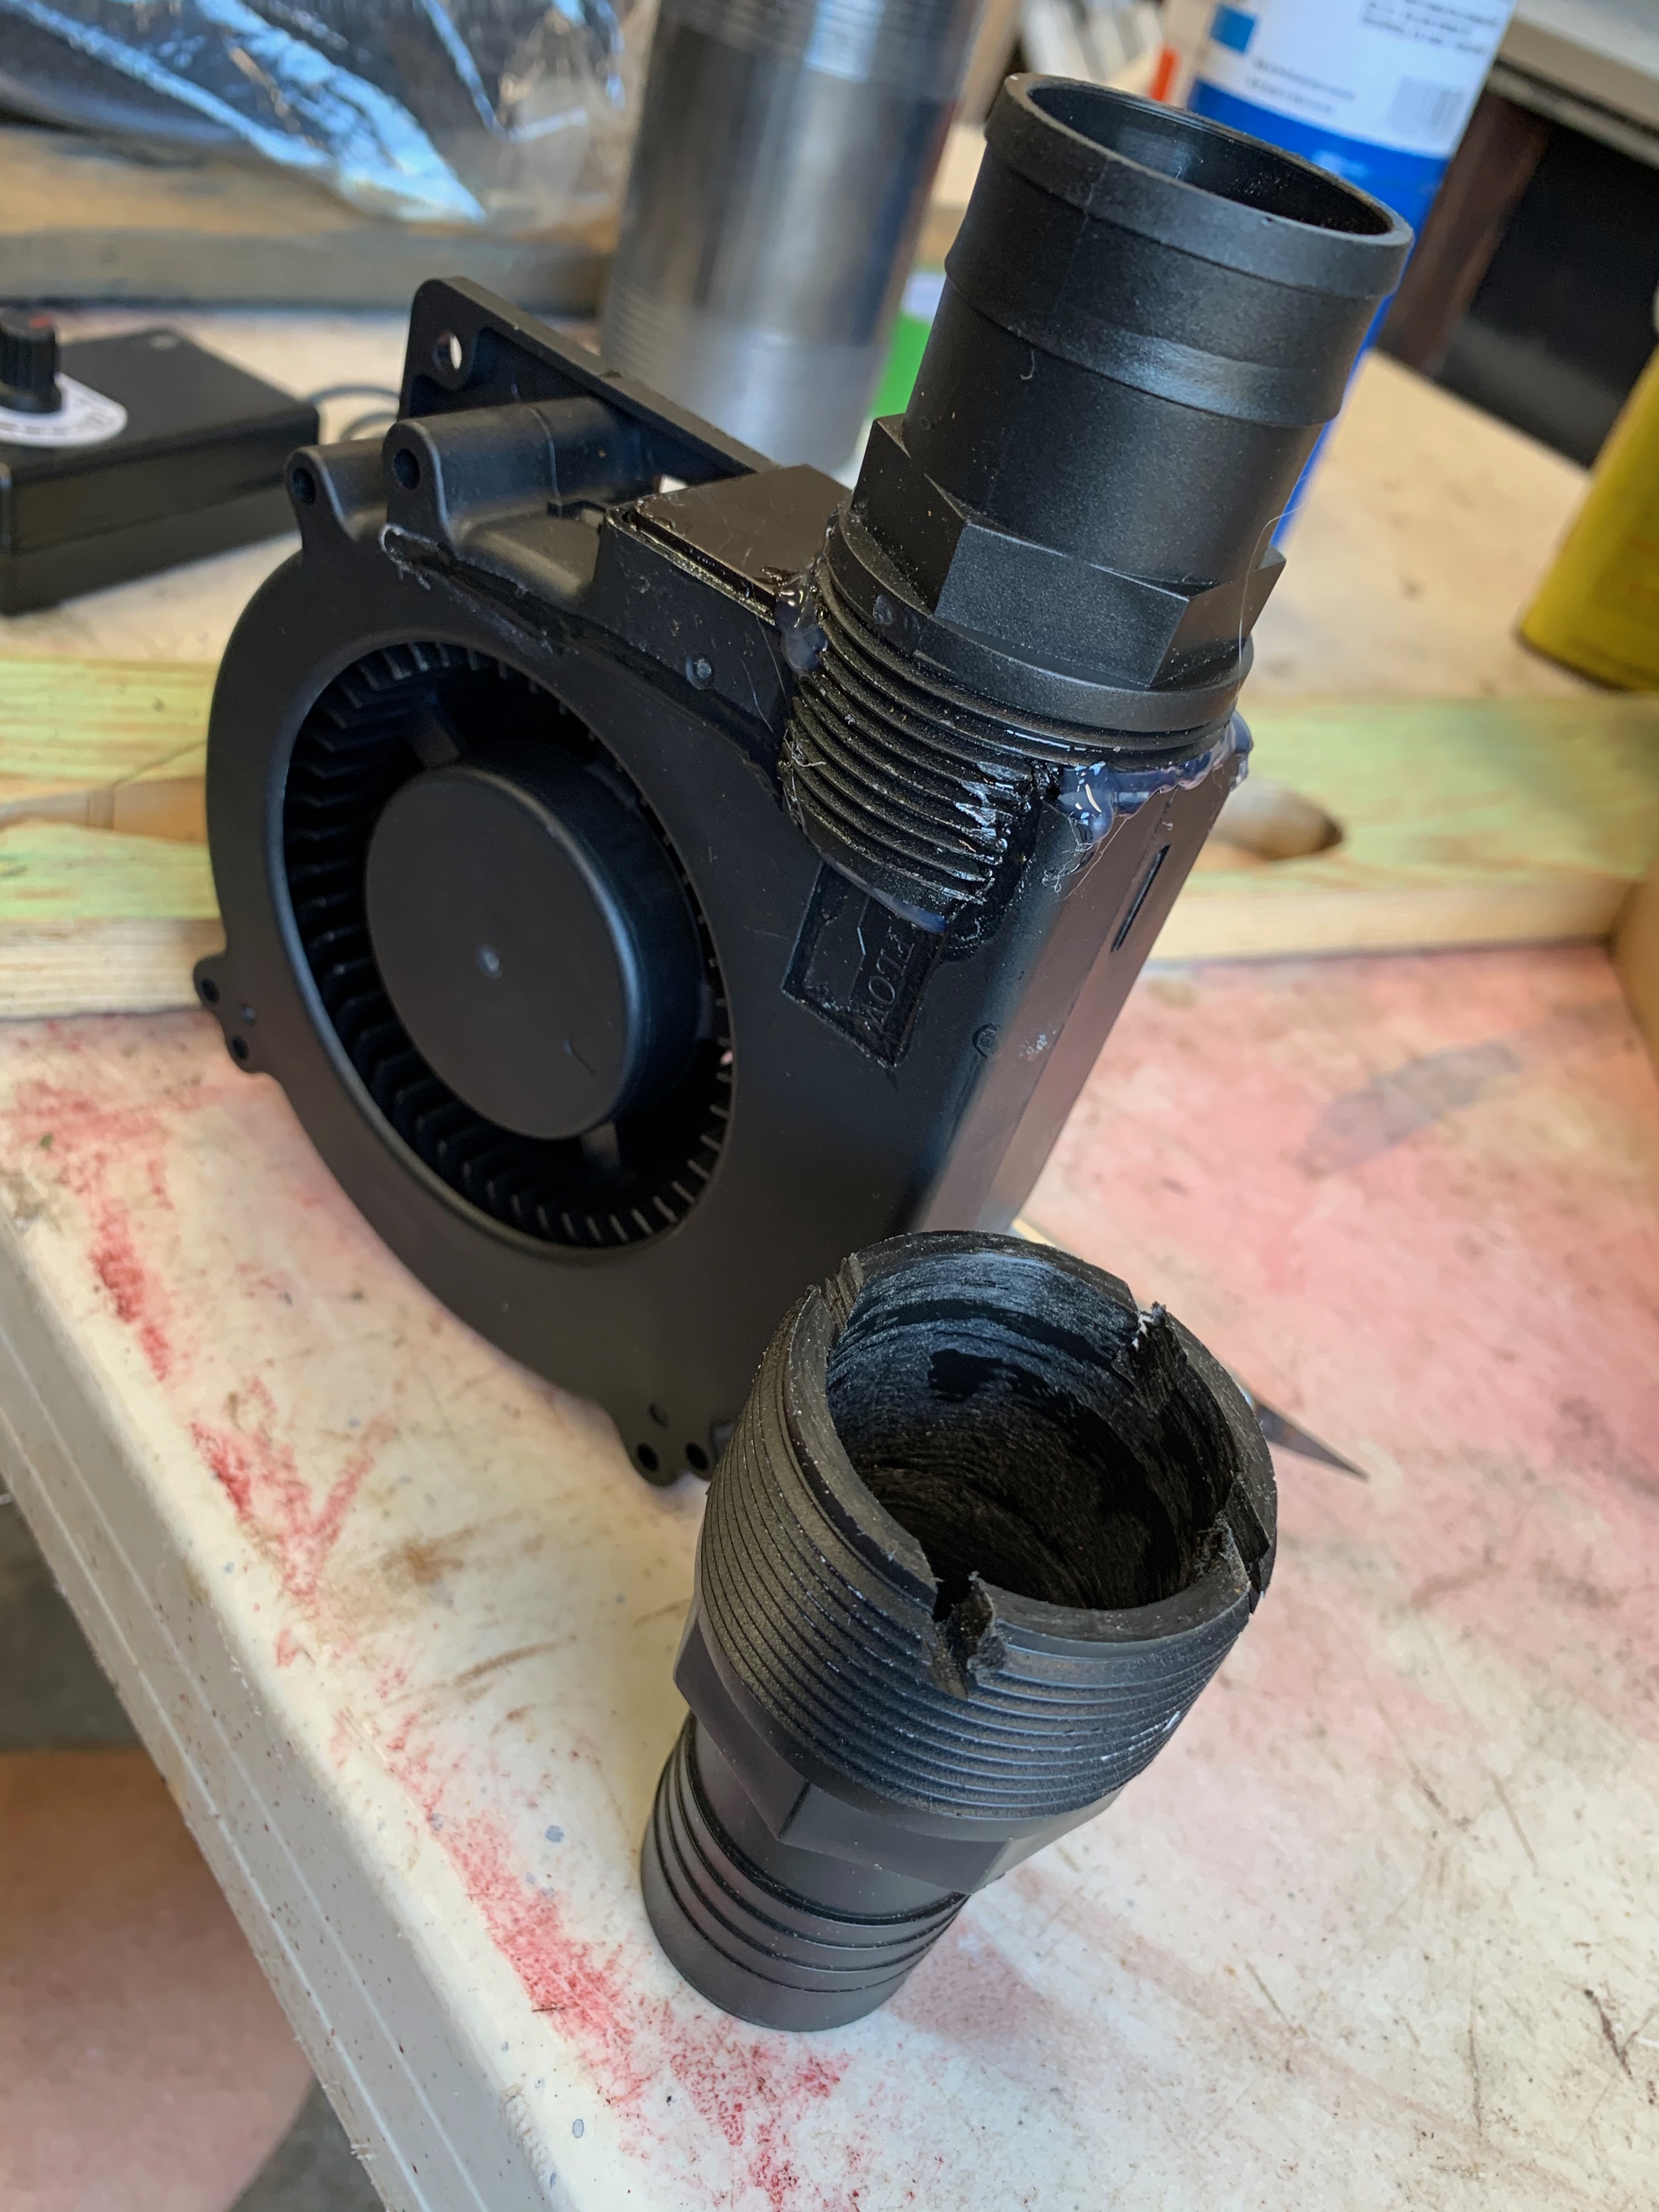
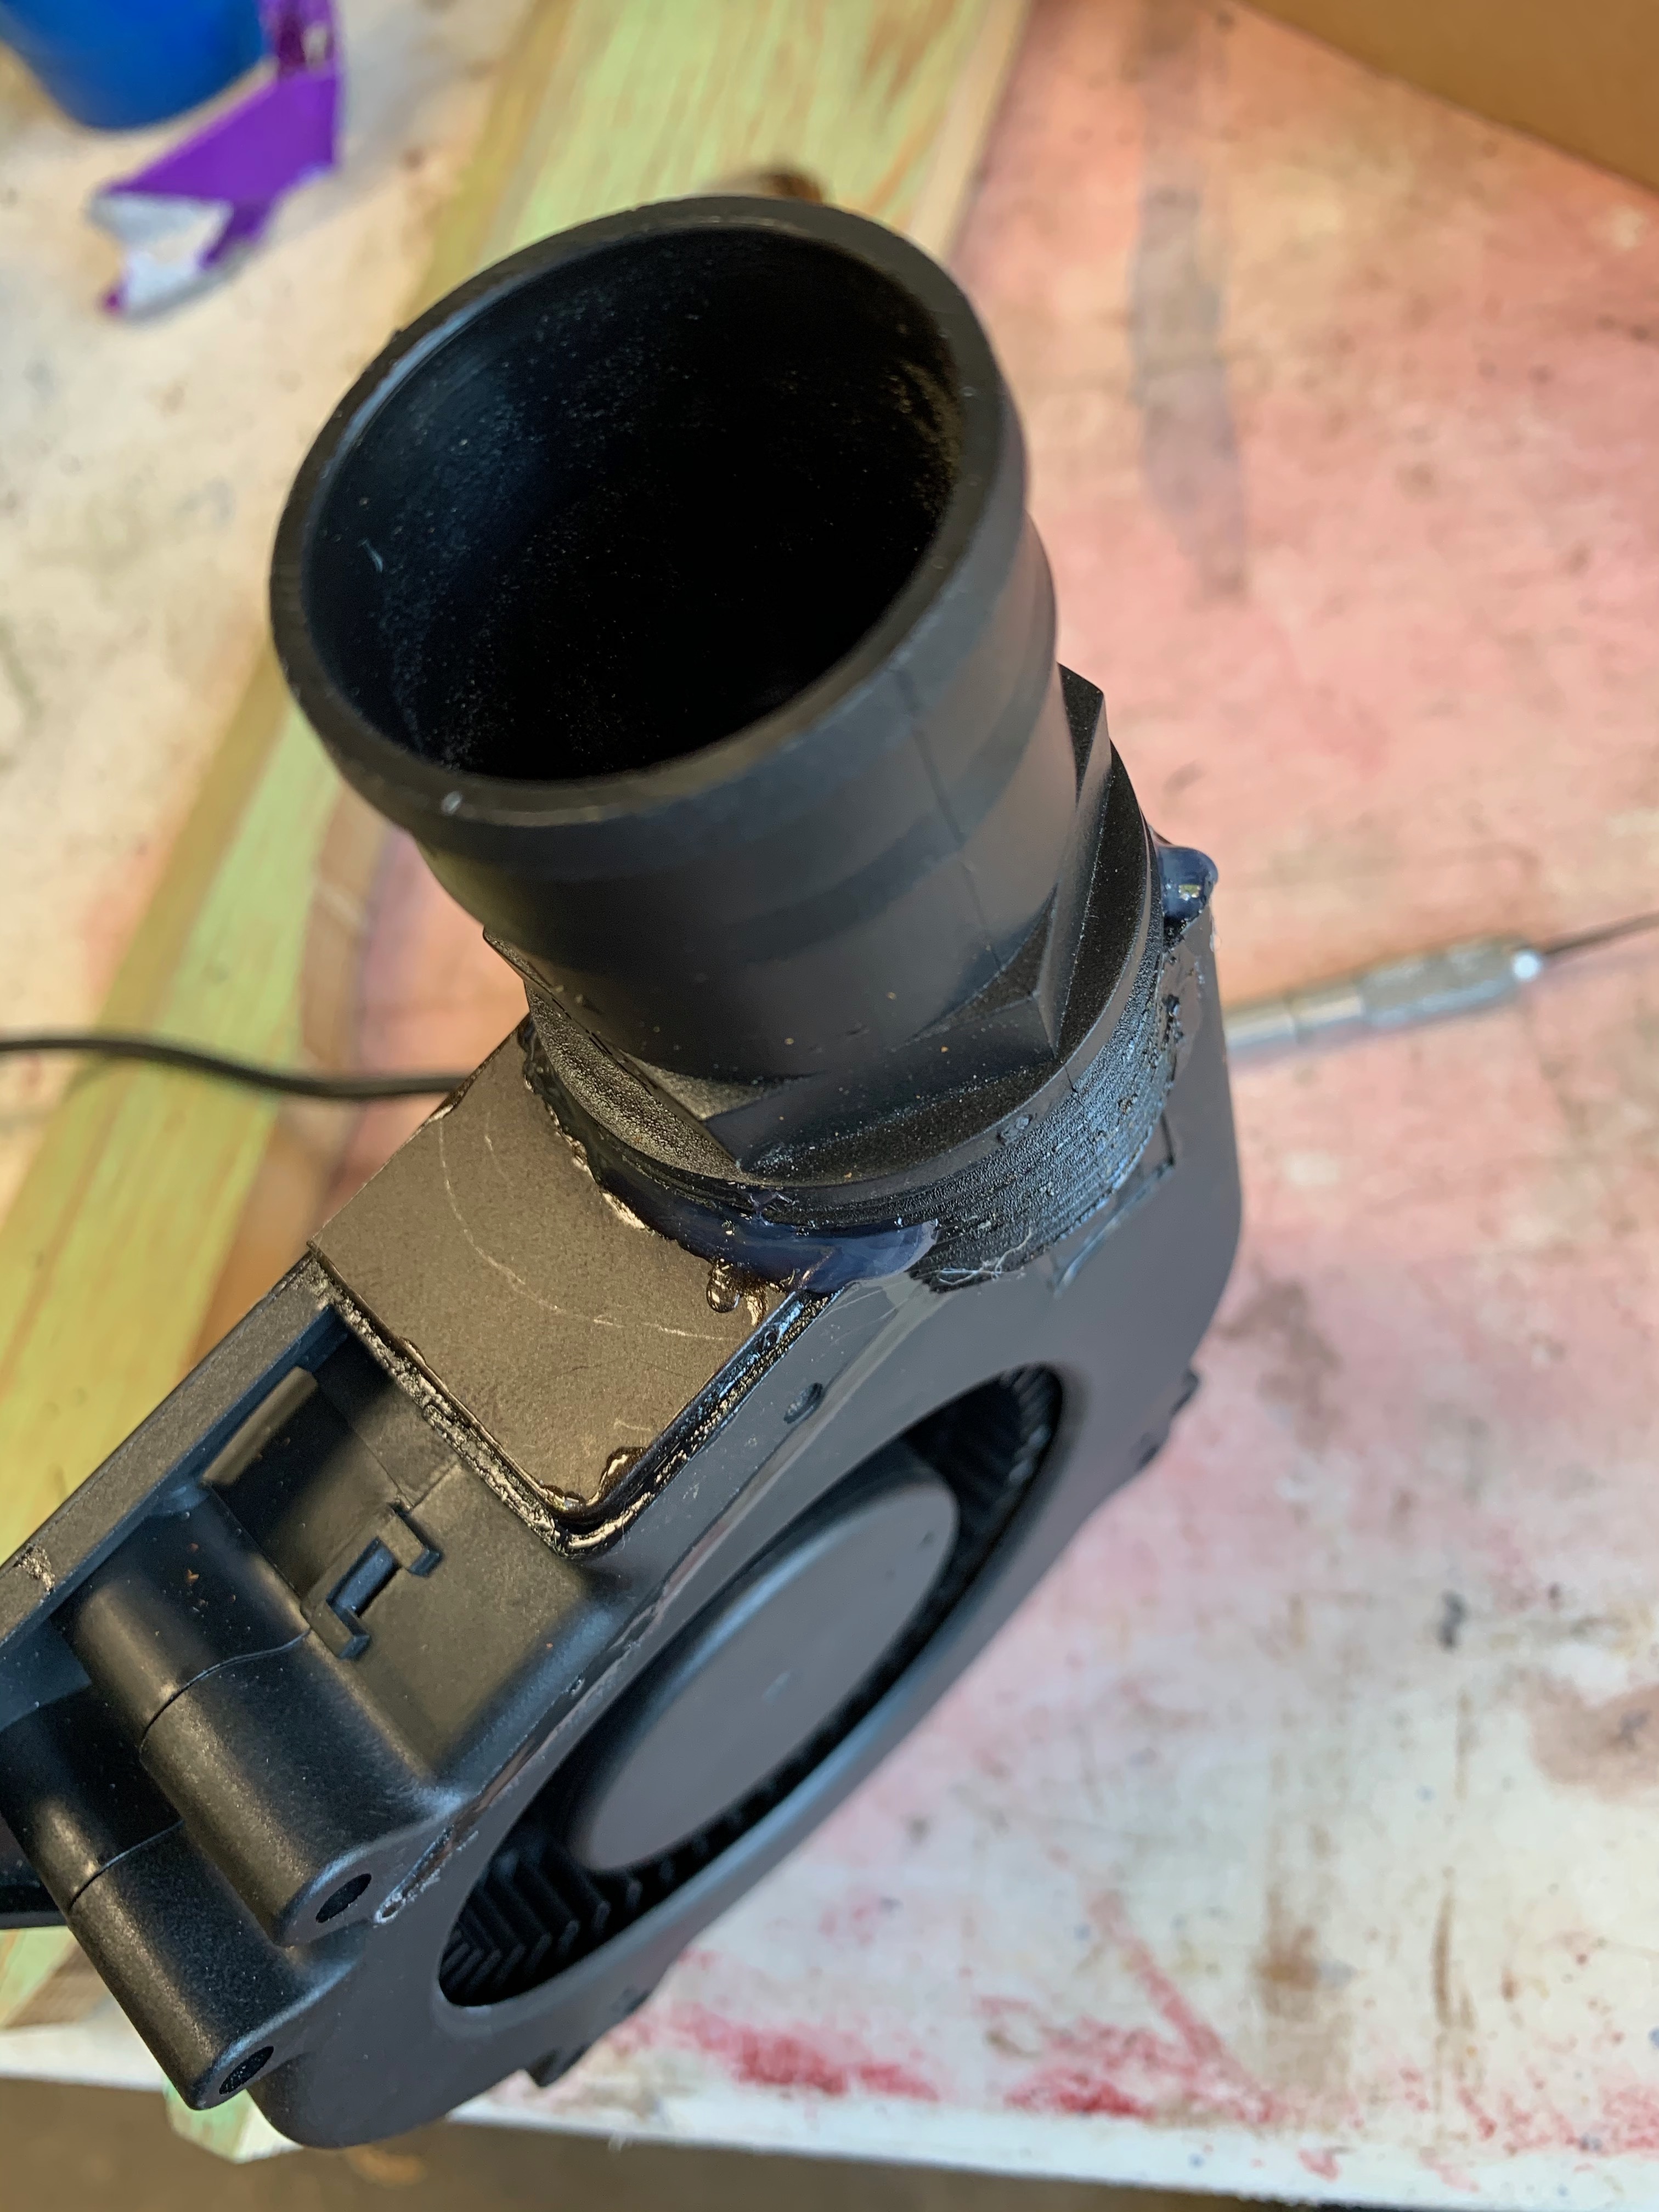
Test fit- hose for the cooling fan.
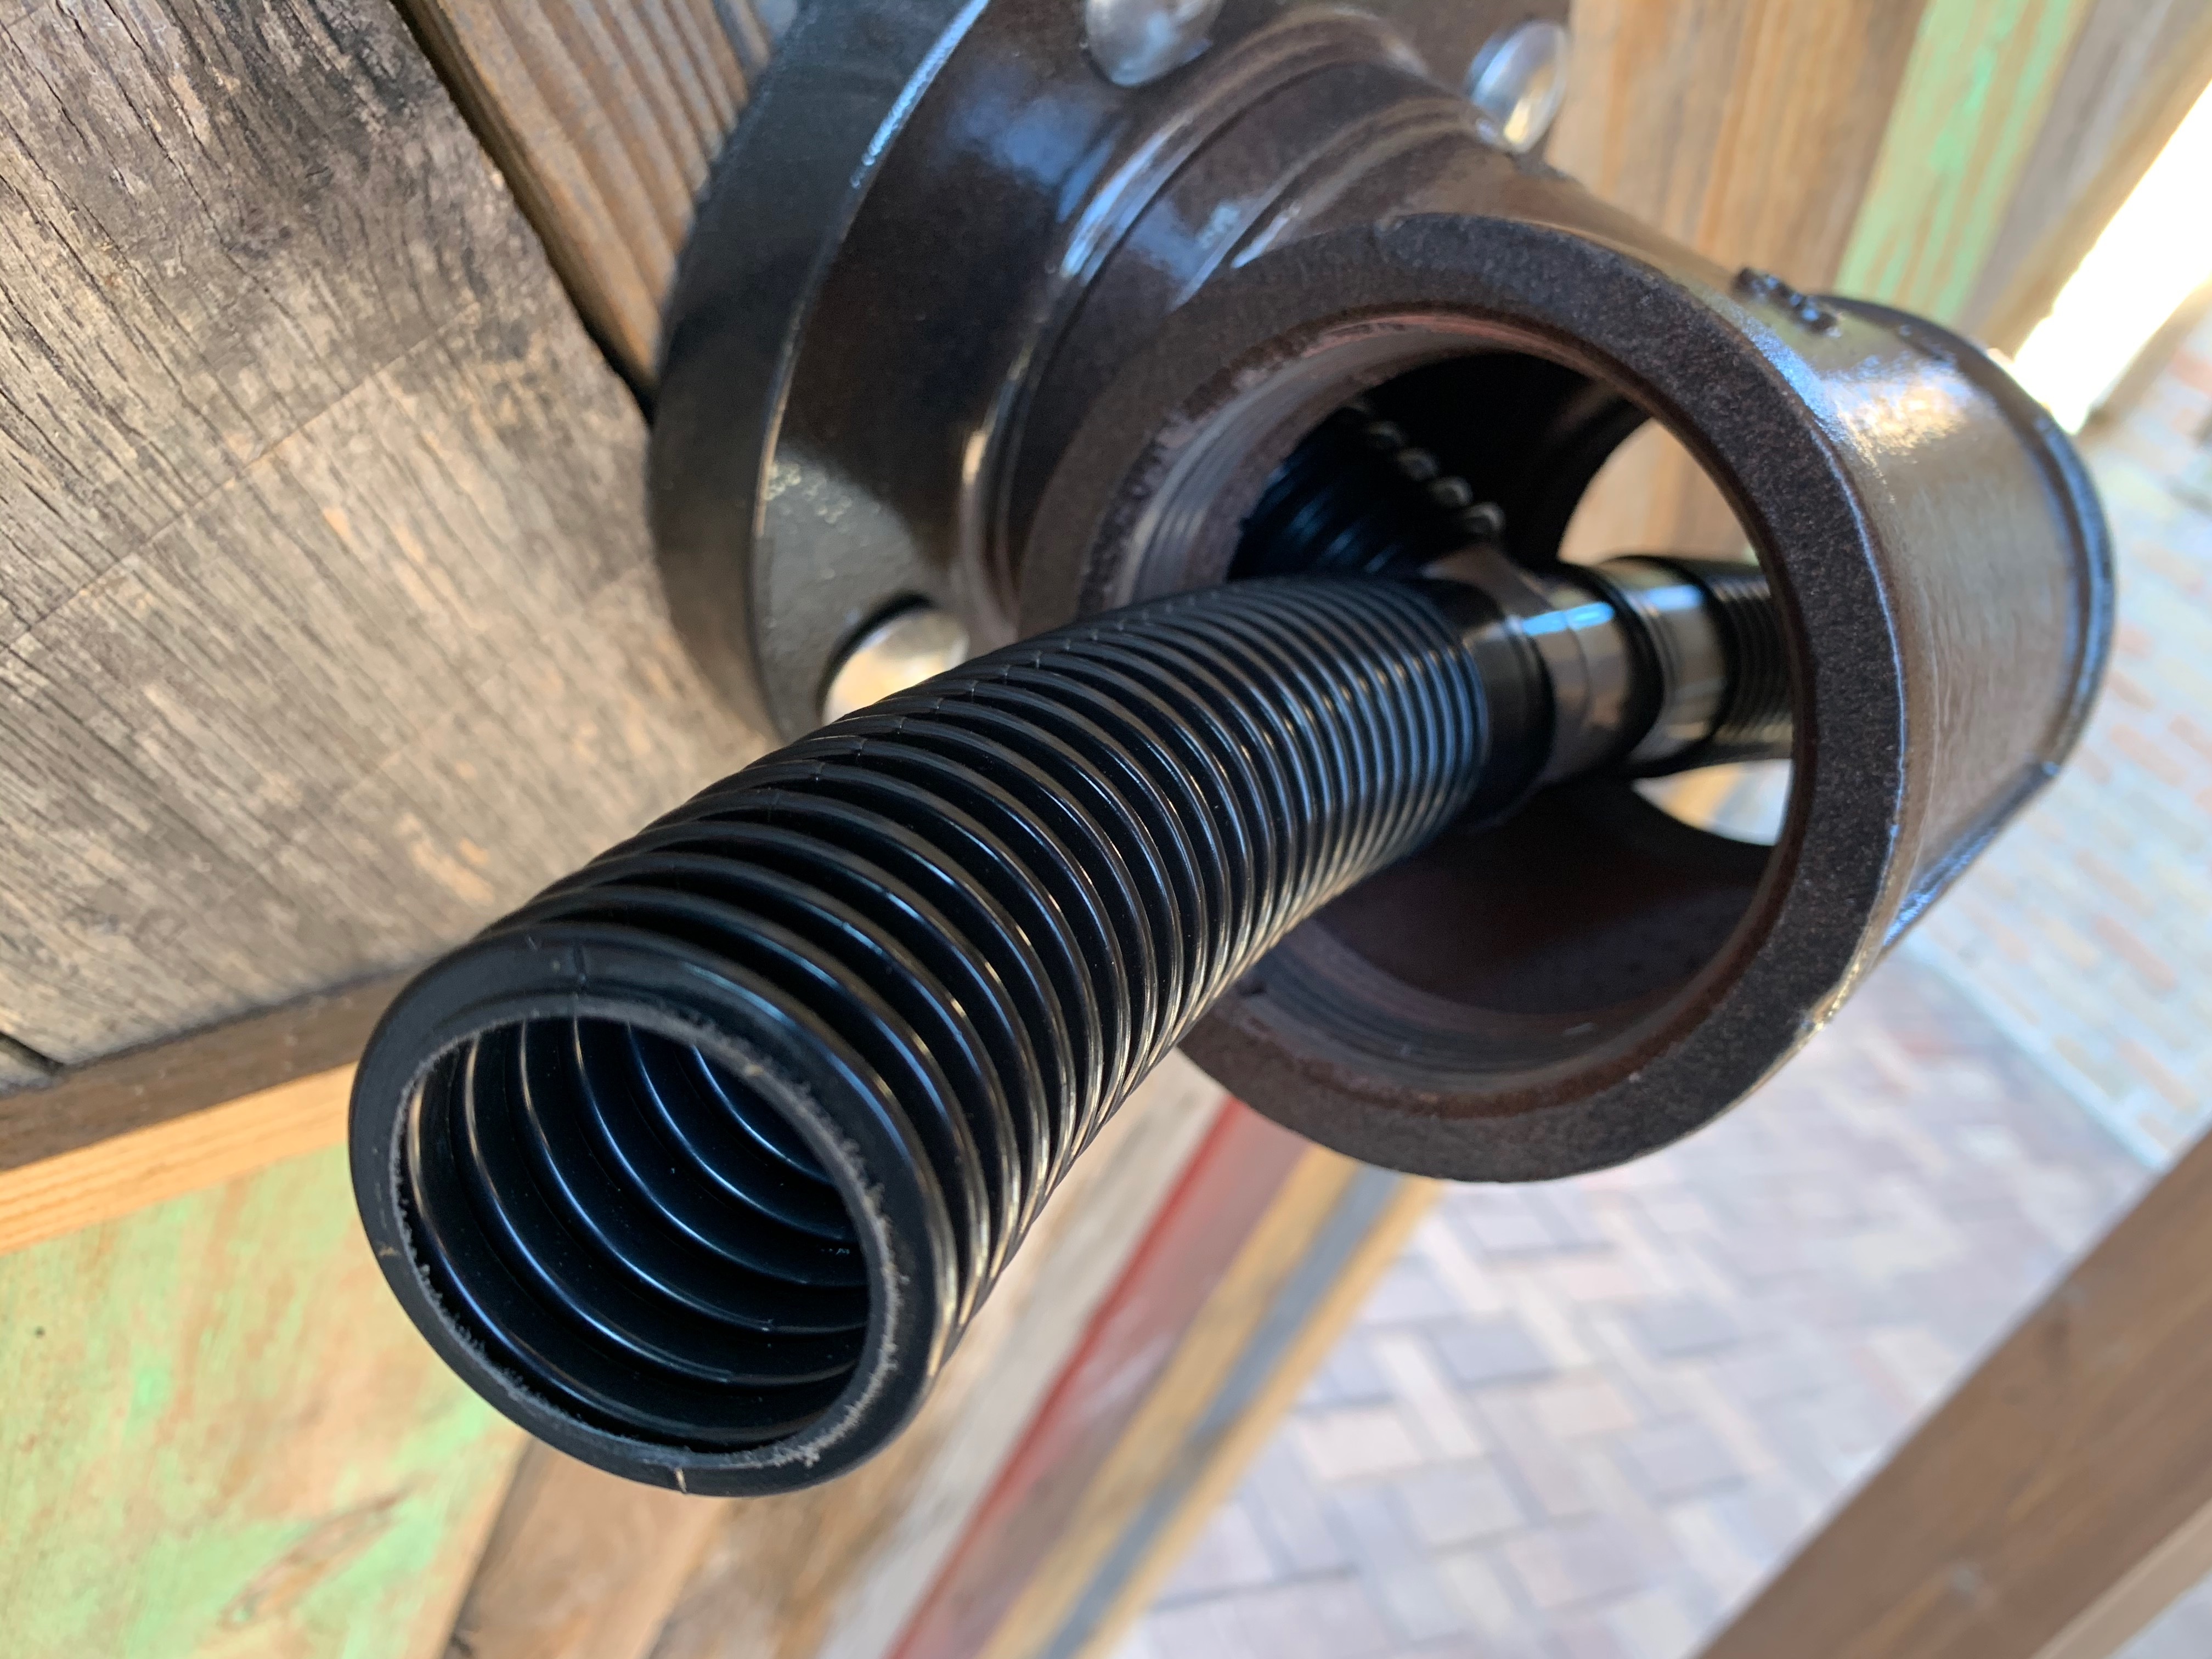
In the end, the left/right cooling hose that you see above had to be removed. There is a “T” that splits the air but I had to remove the hoses because once I installed the faucets there was not enough room for the left/right hose extension. I’m hoping that once it get’s warm there will be enough airflow to keep the shanks cool.
Beer lines installed for one side. The lins are 10’ each.
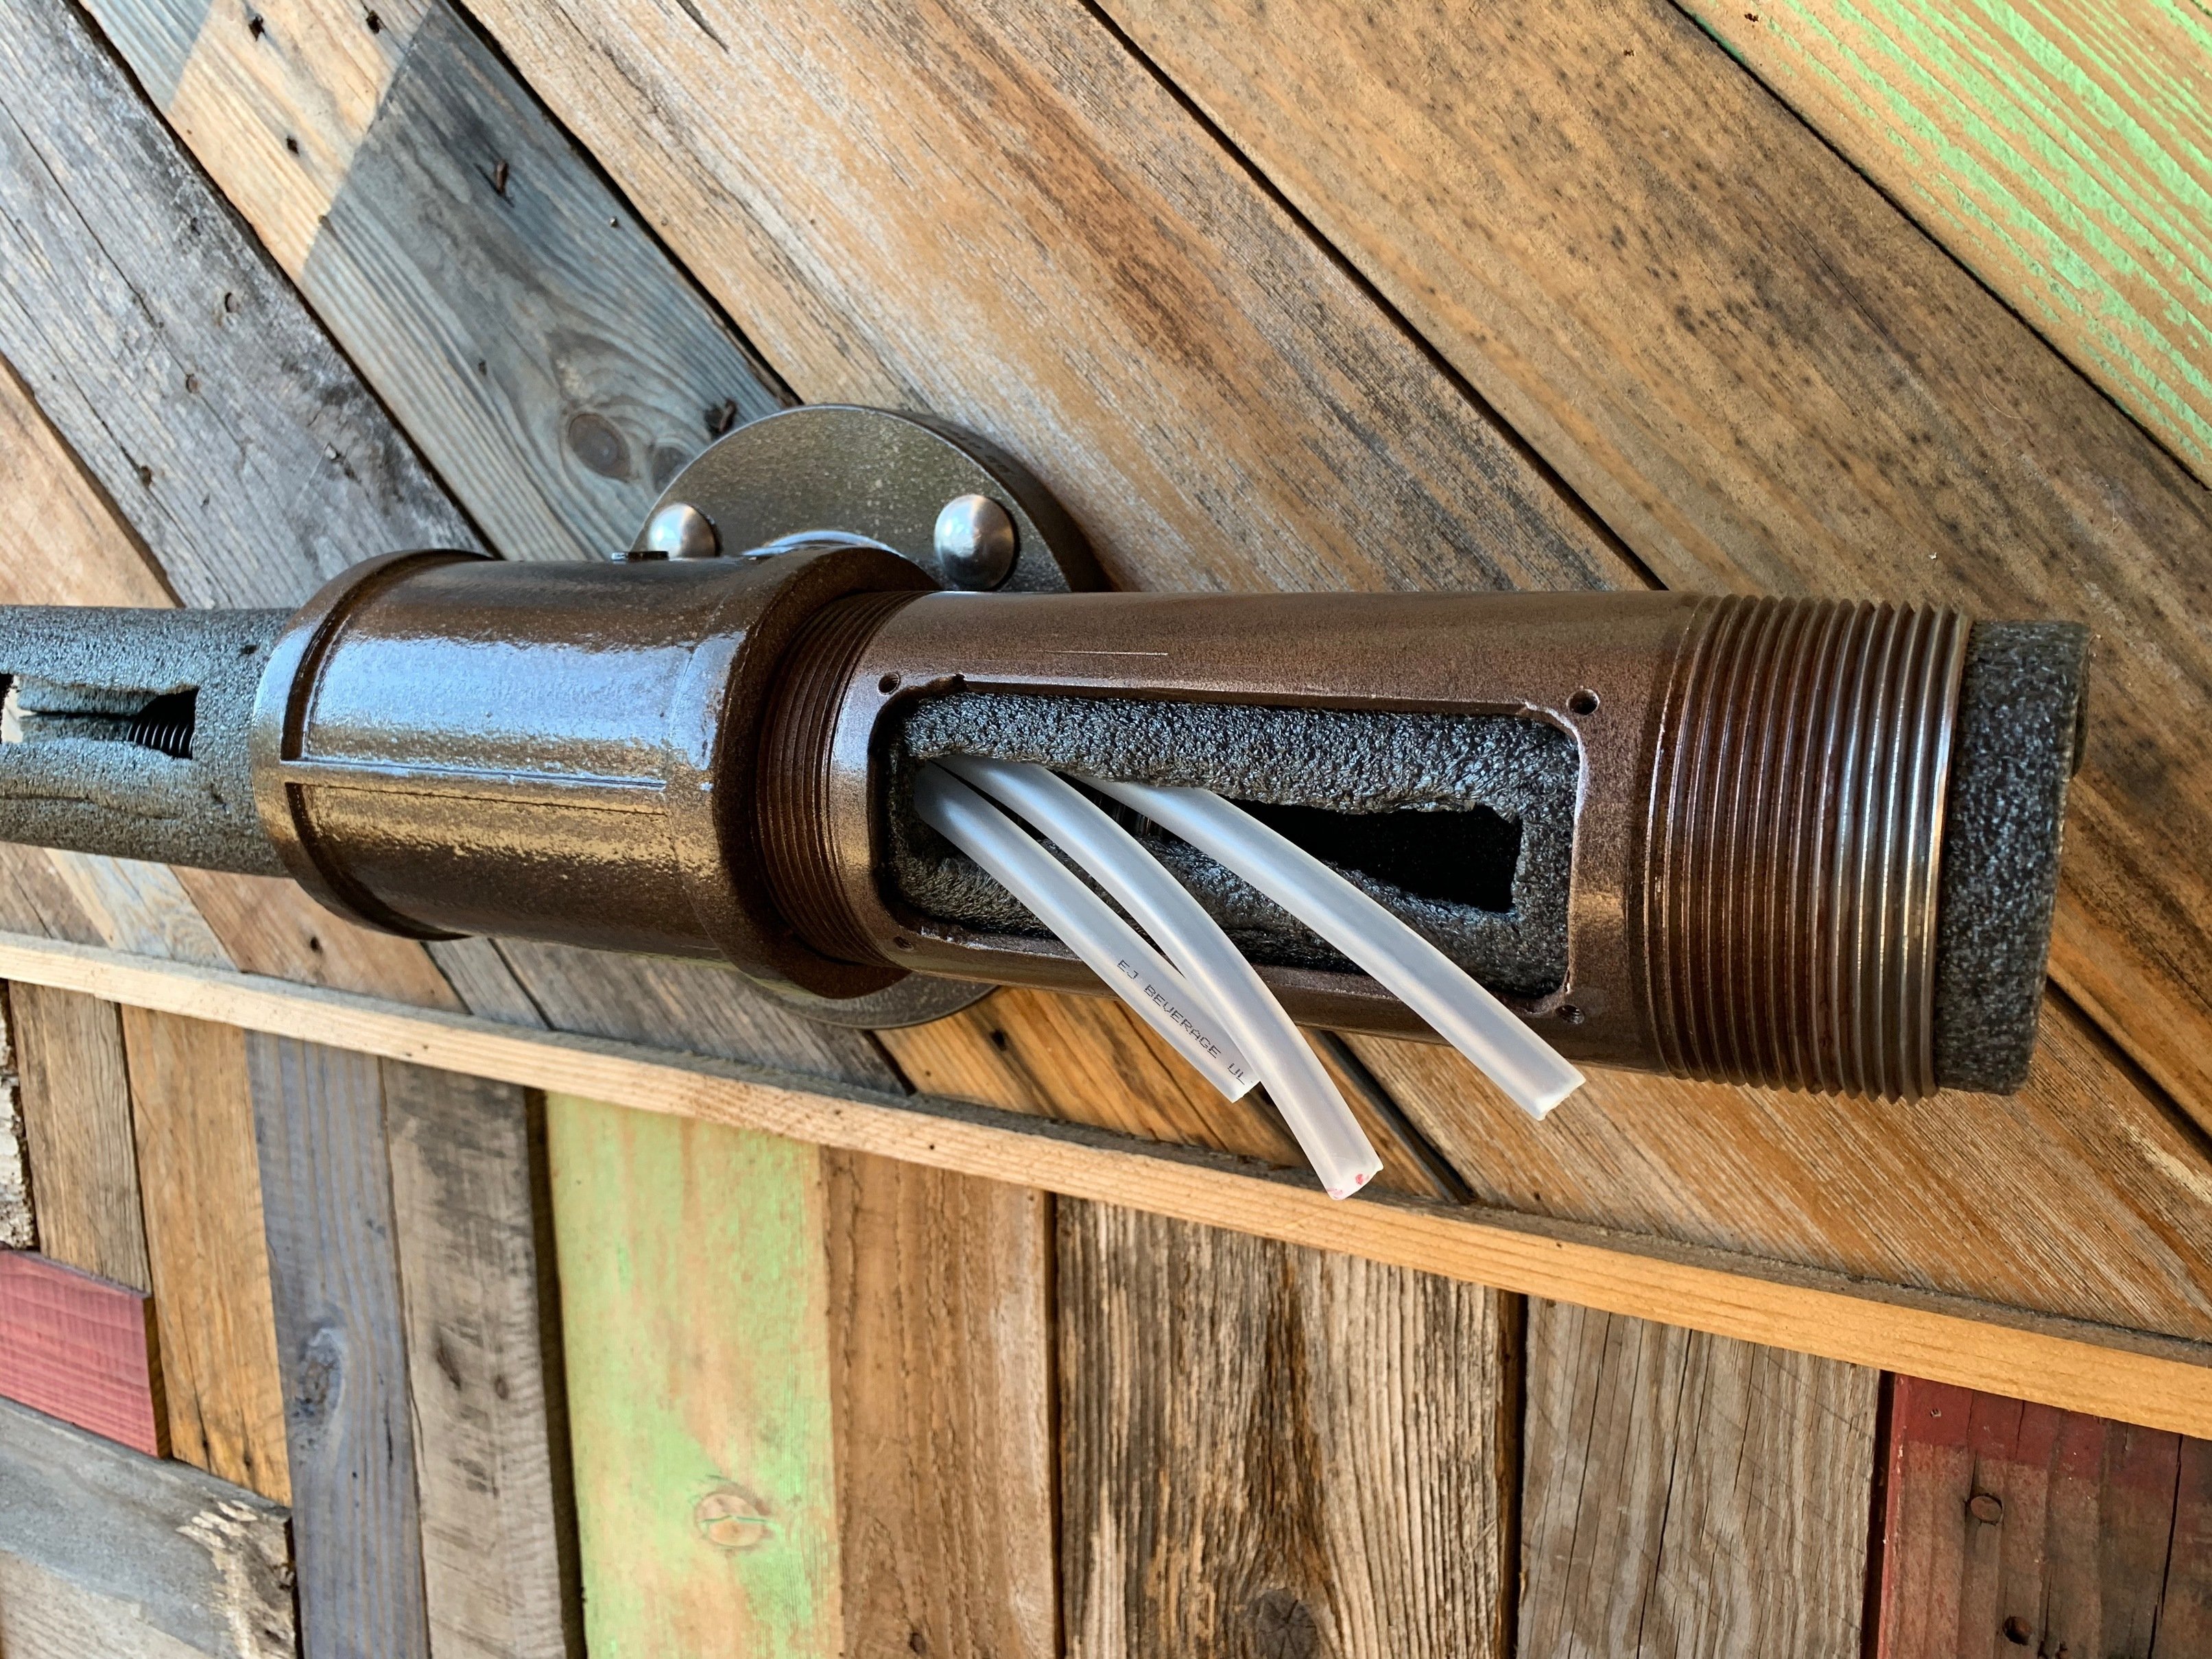
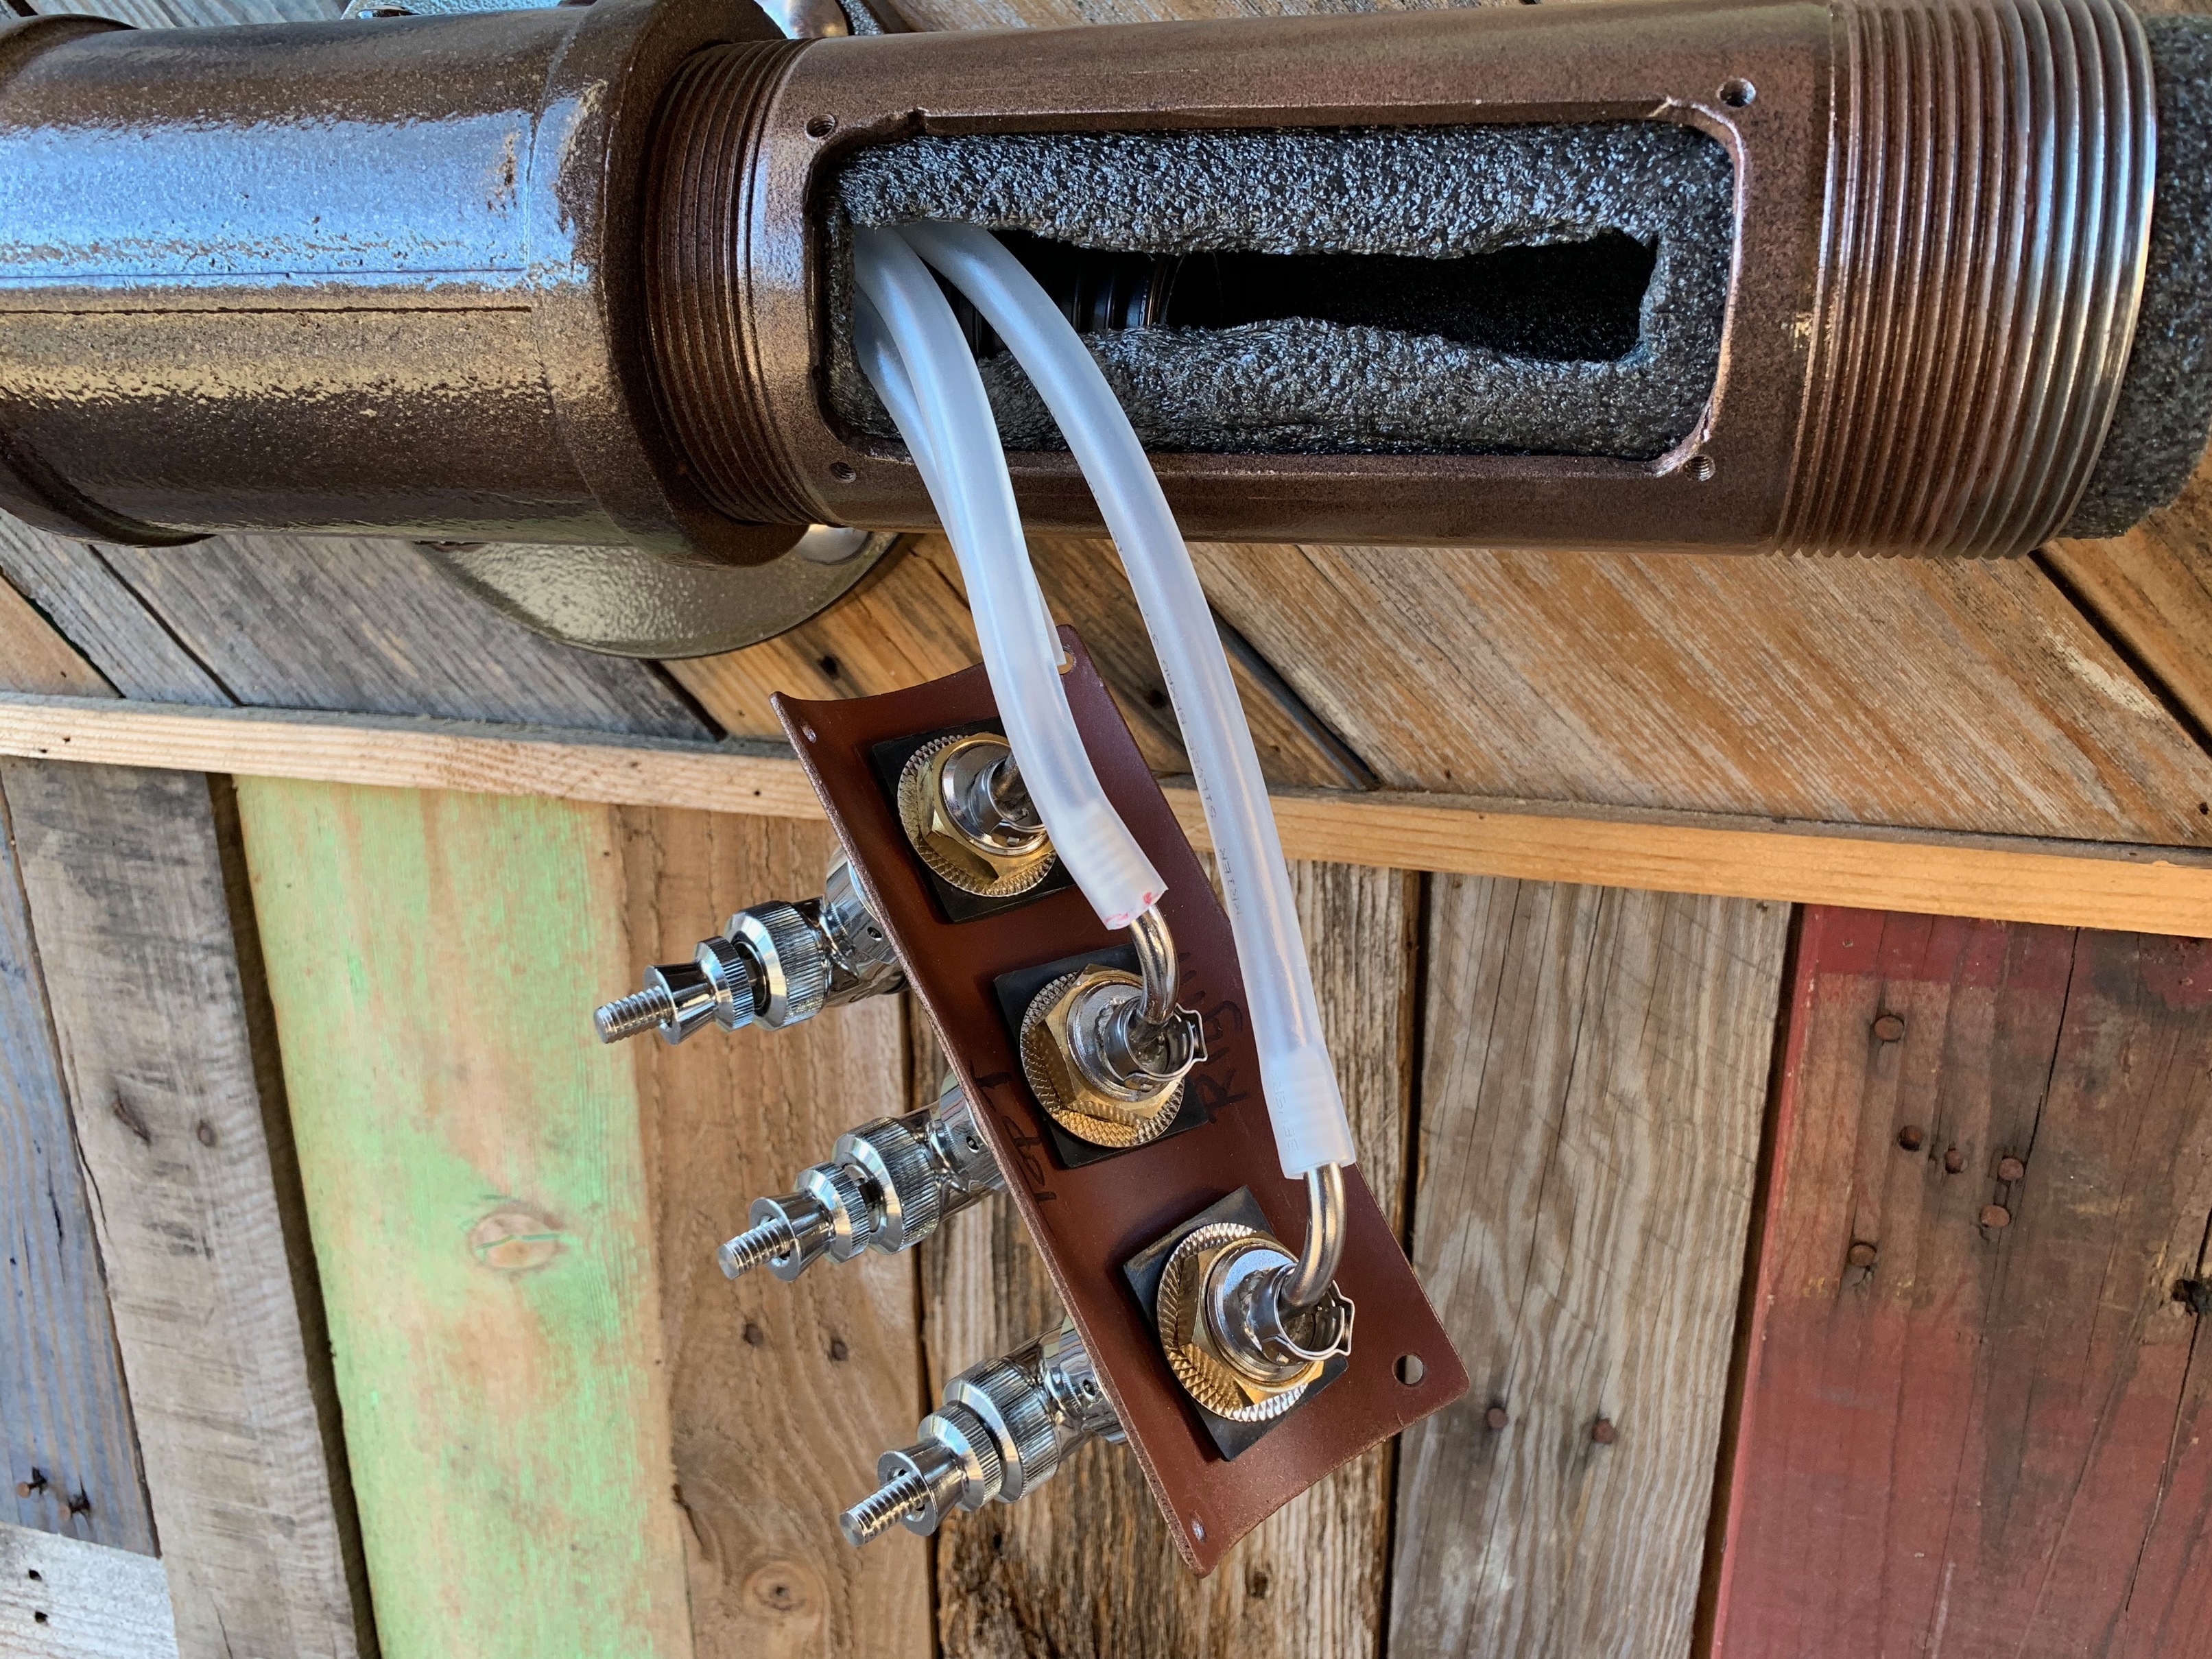
You can see here that I’ve staggered the elbows to make it easier to attach the beer lines
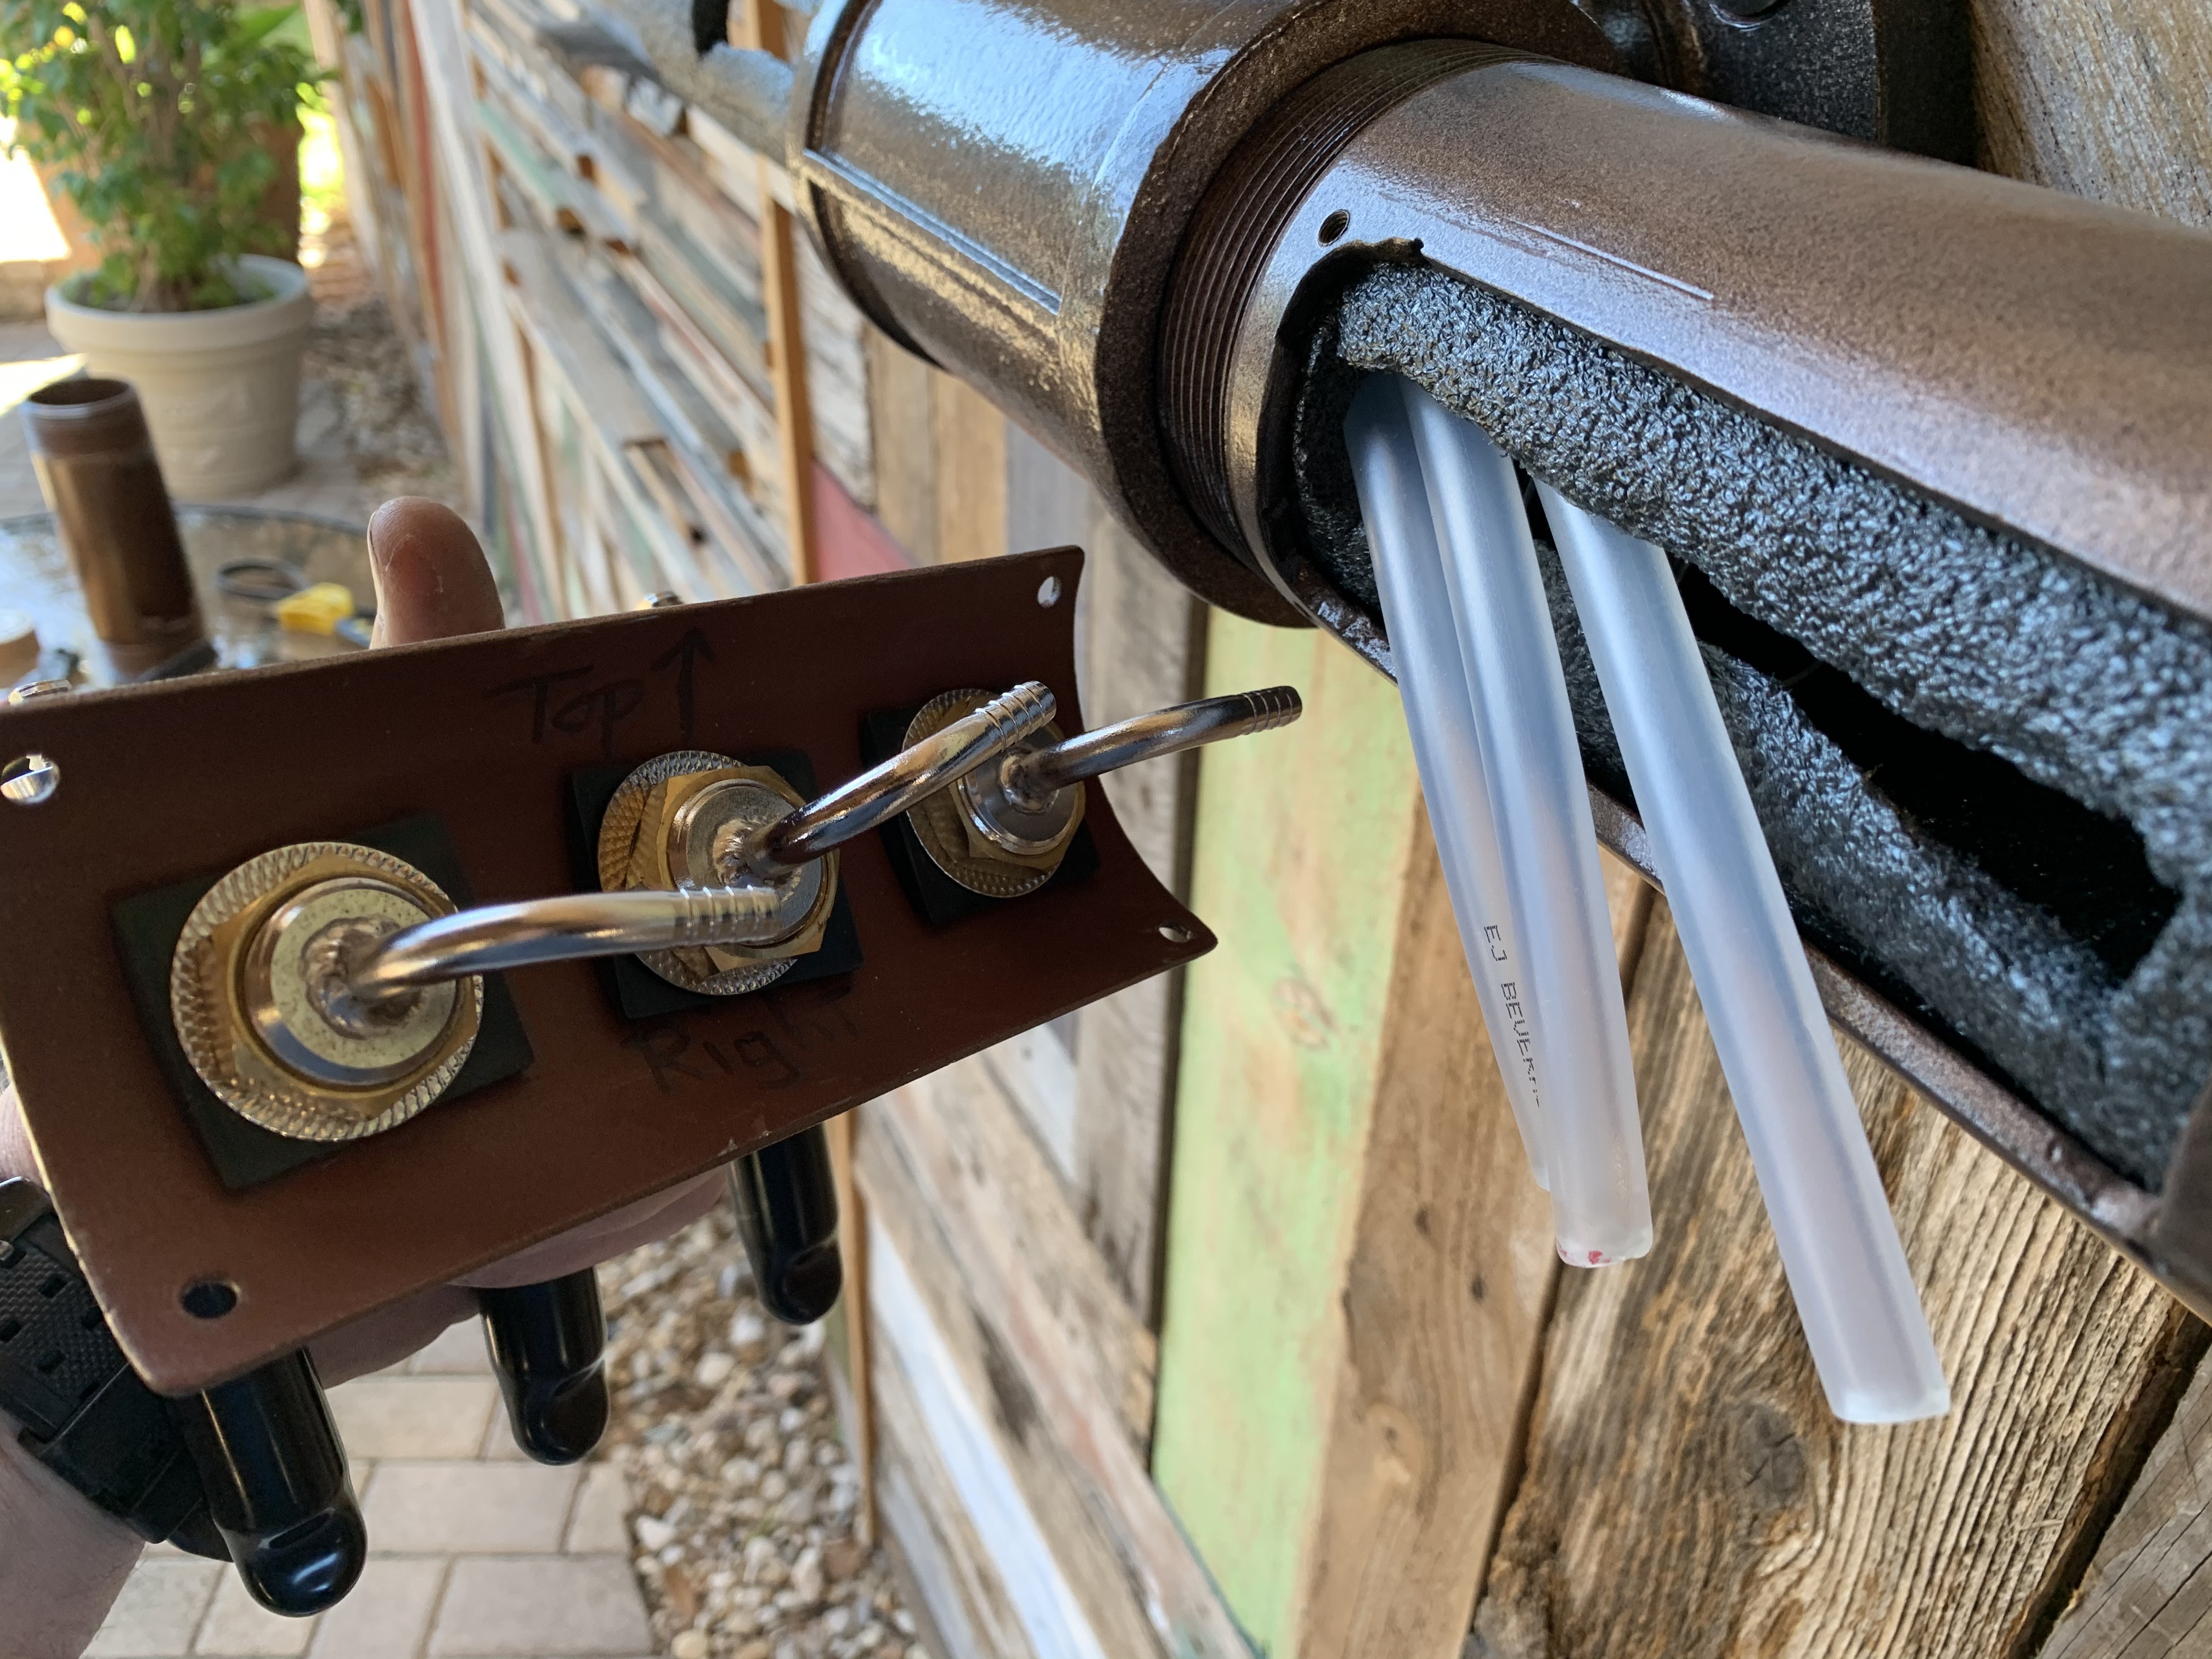
Lines attached to shanks - set-up to crip the oetiker clamps before final installation.
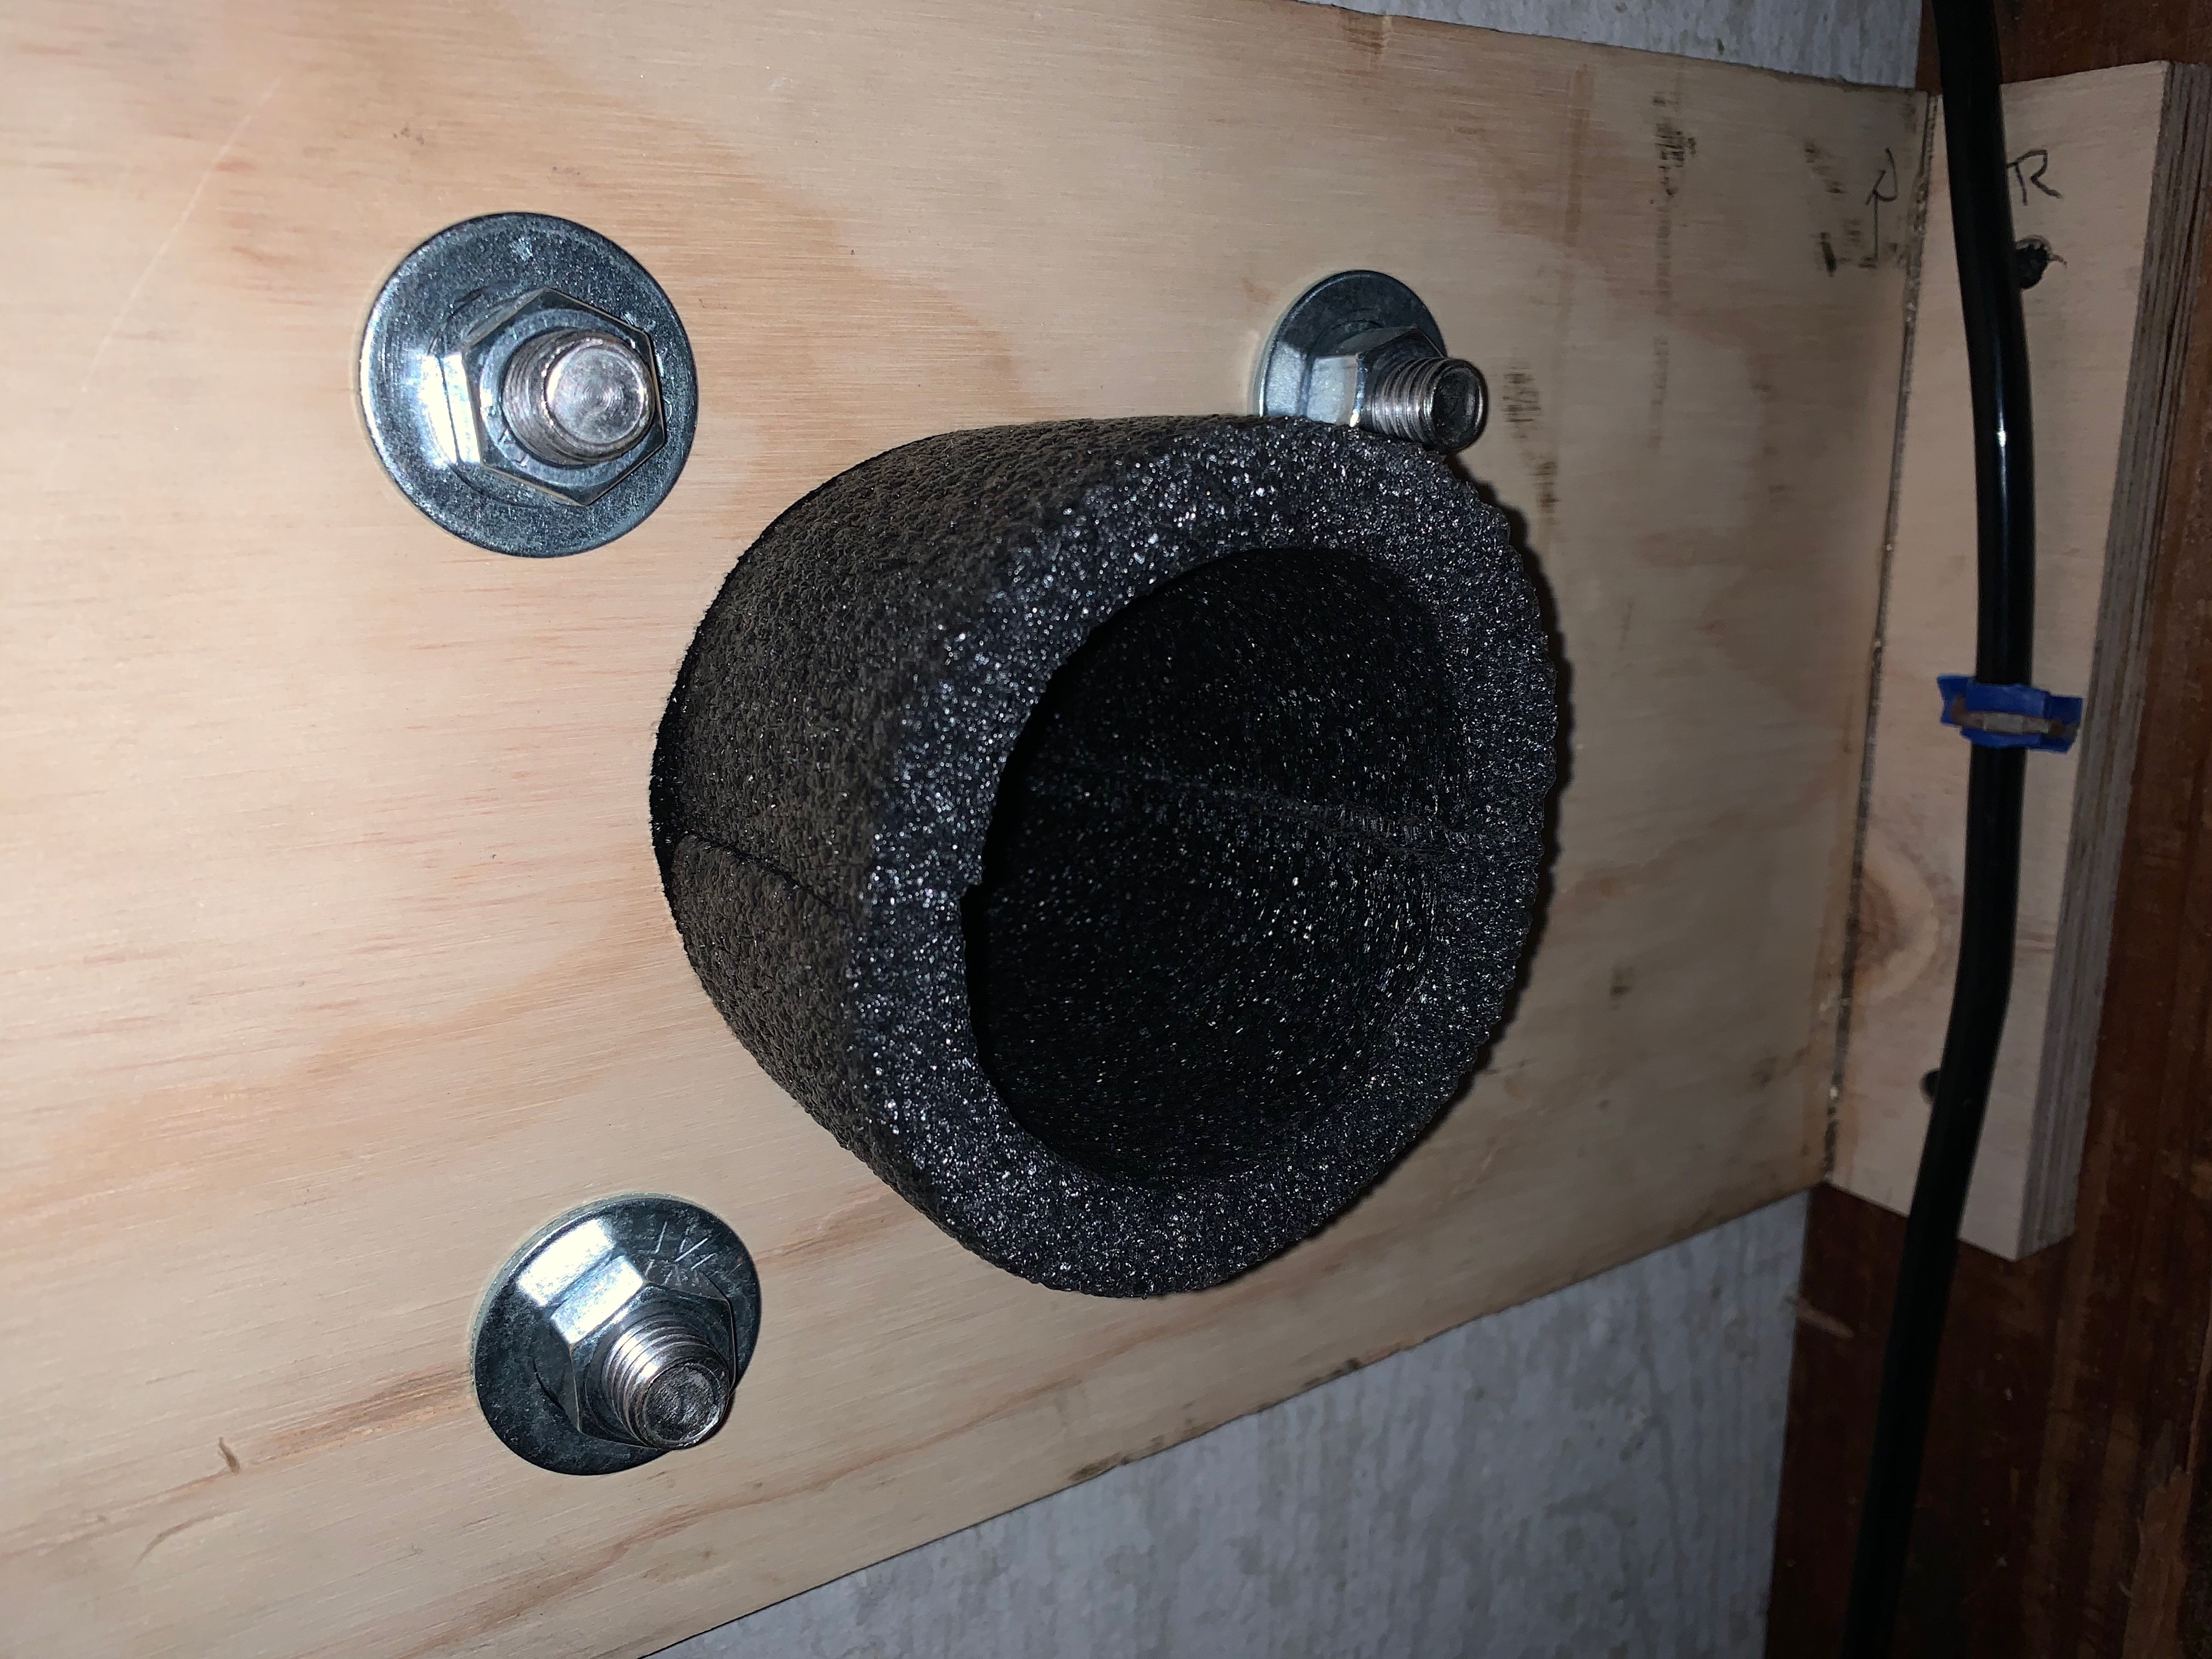
I cut some plugs out of 2" foam to serve as insulation at the end of the pipe.
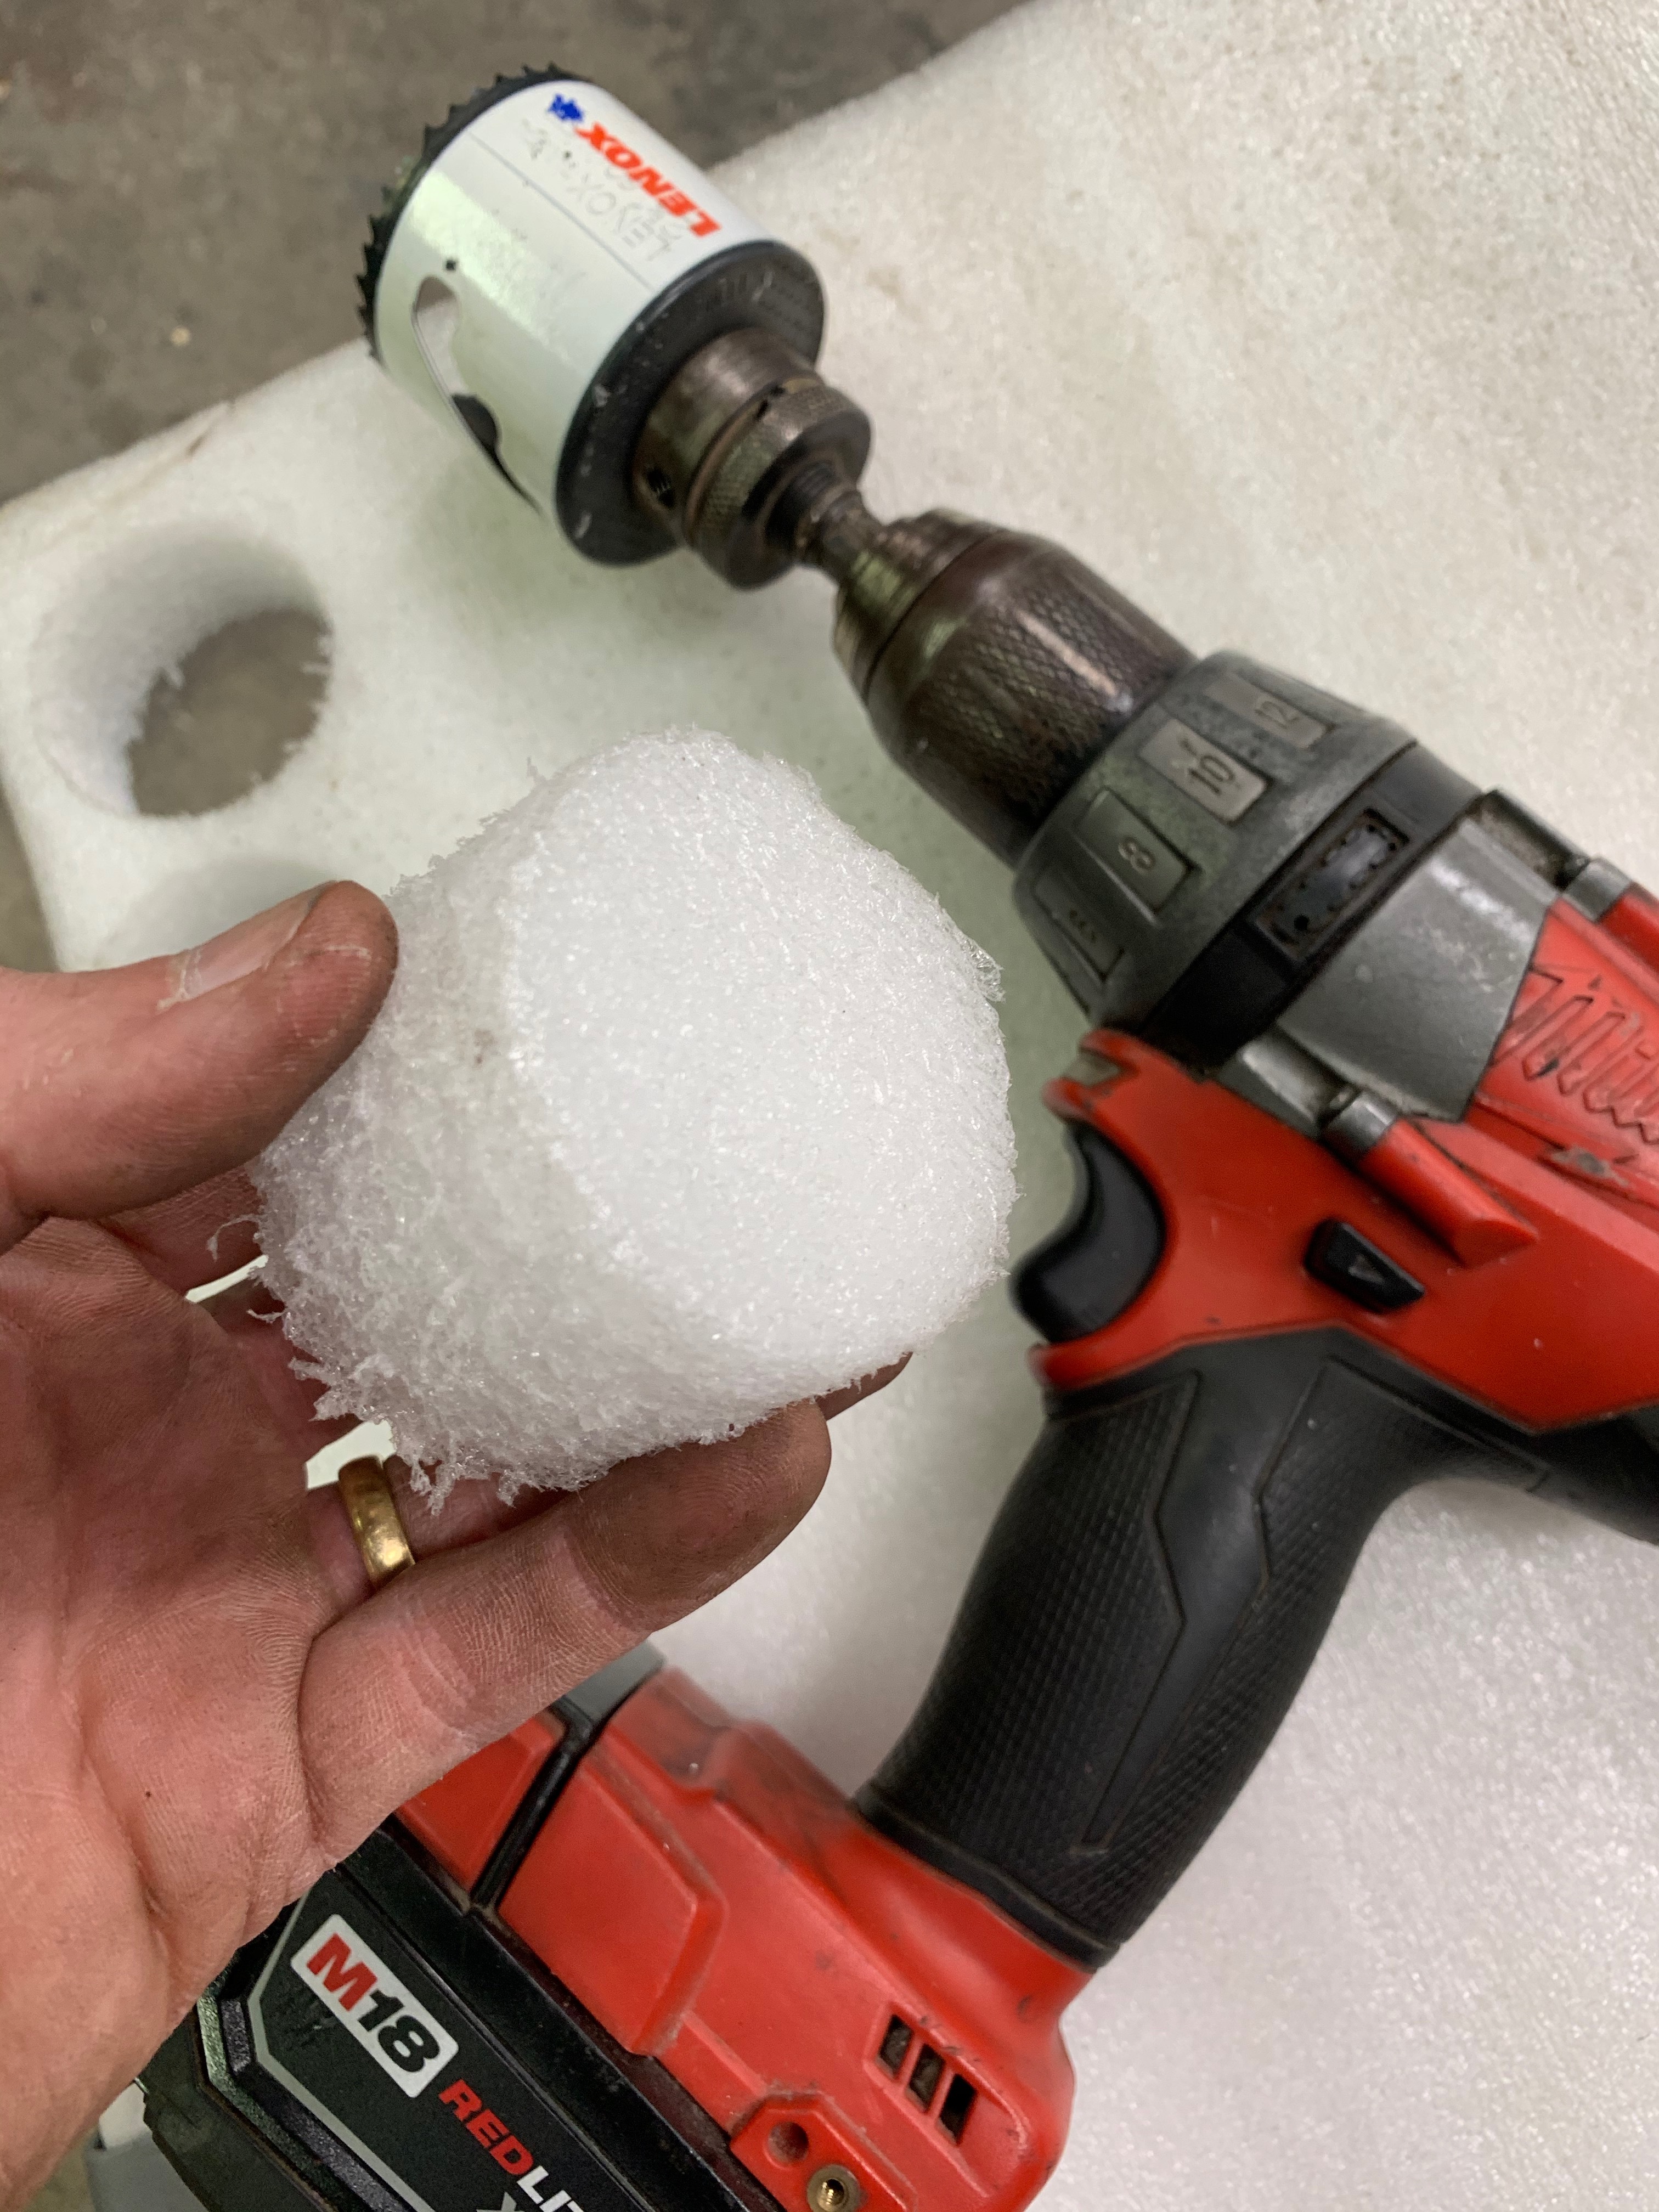
Plug installed to make the ‘cool space’ as small as possible.

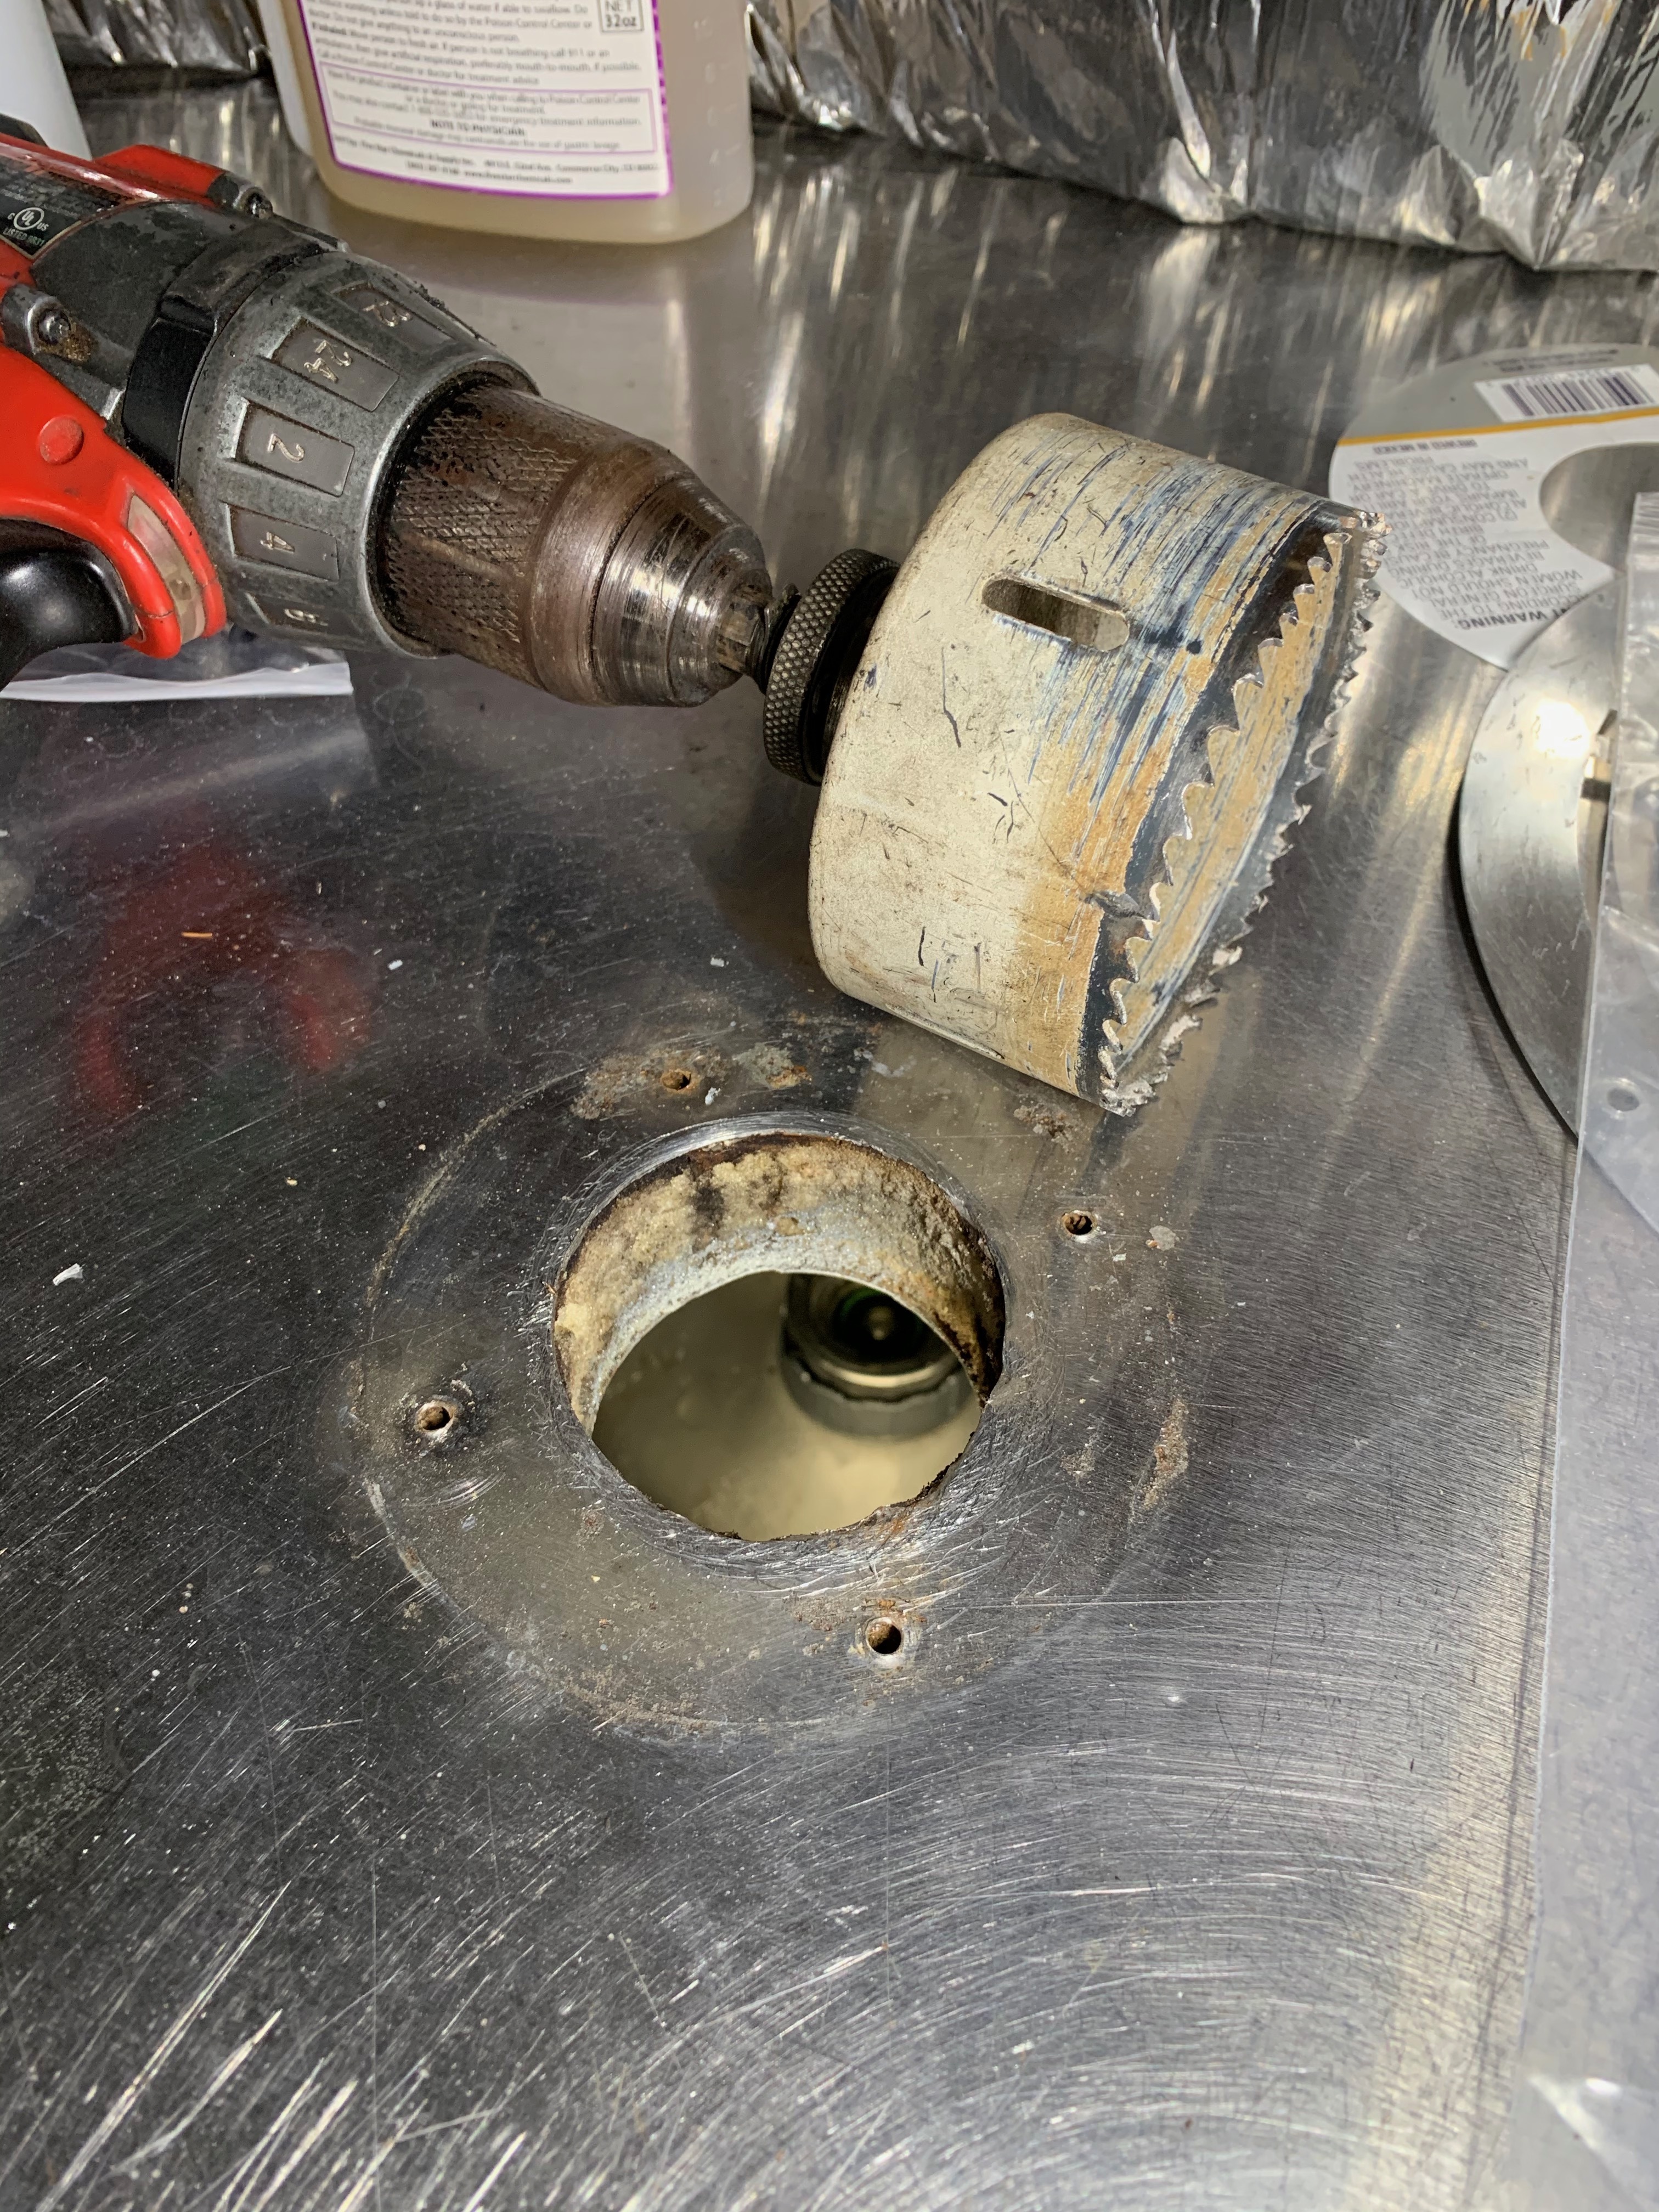
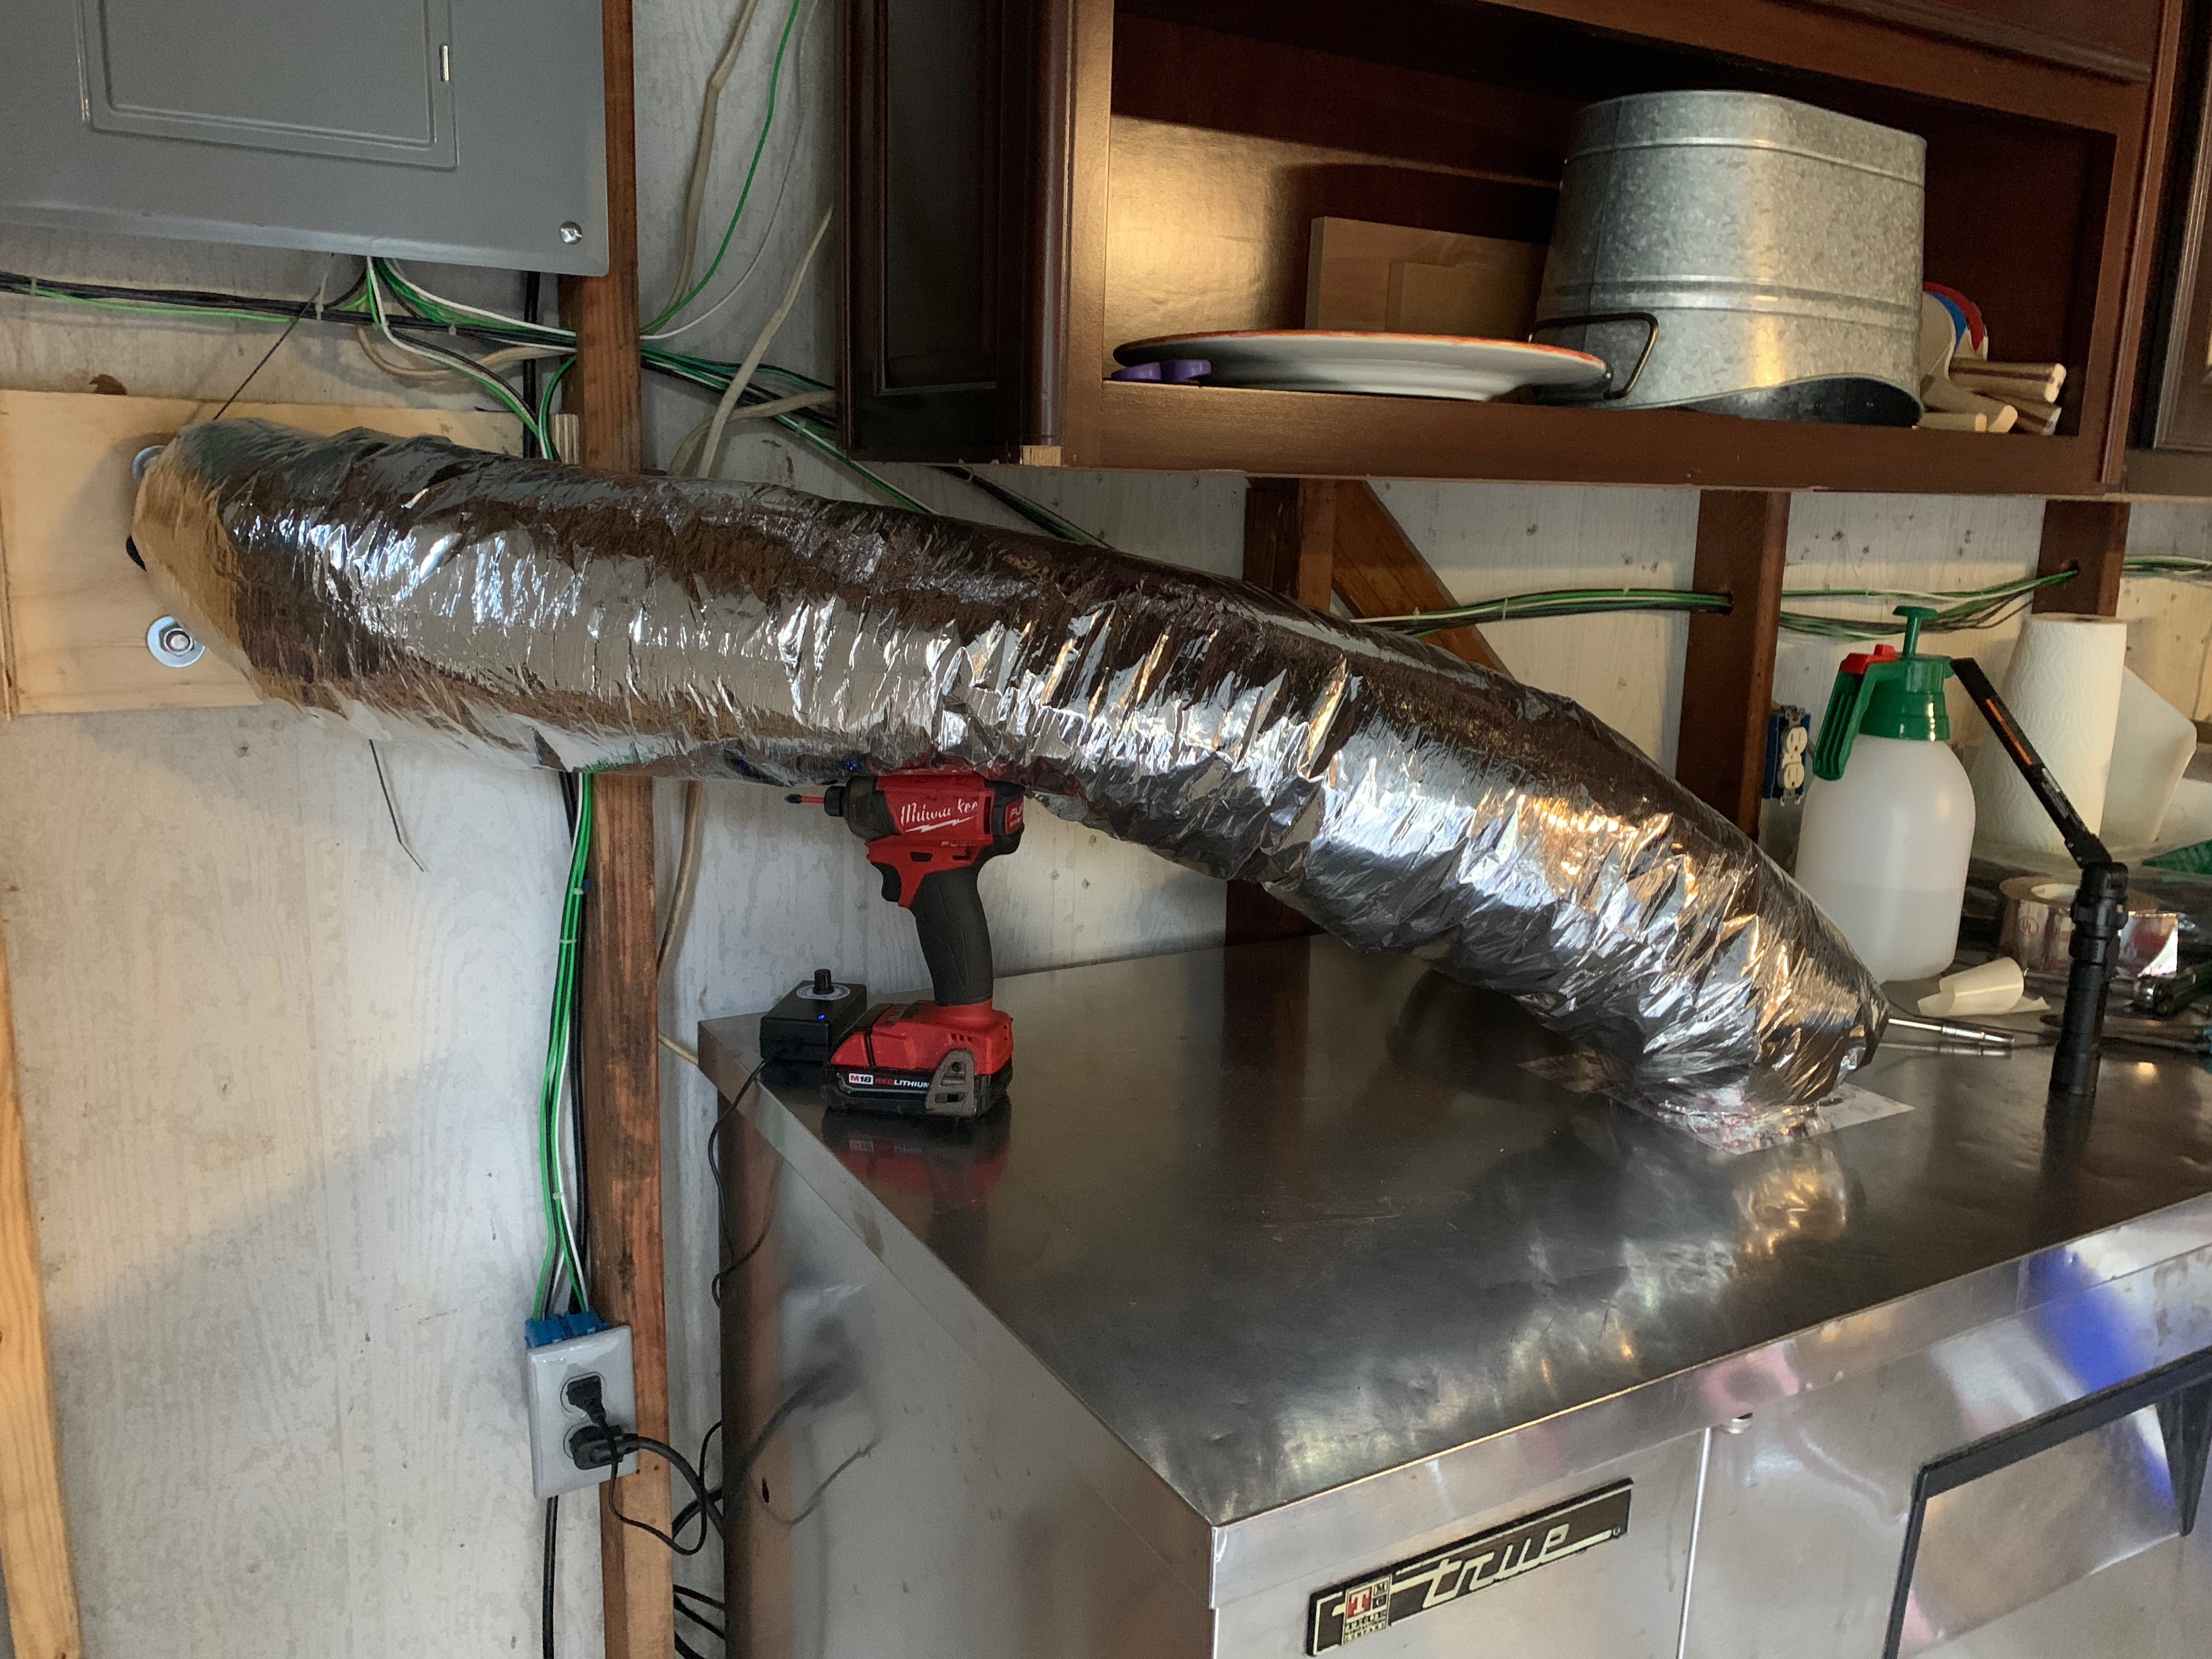
I cut a new hole in top of my kegerator. The new hole is about 3 1/2" which is plenty large for all my hoses AND if I ever want to re-install a traditional tower, it will still screw into the deck. This photos is before I actually made the cut.
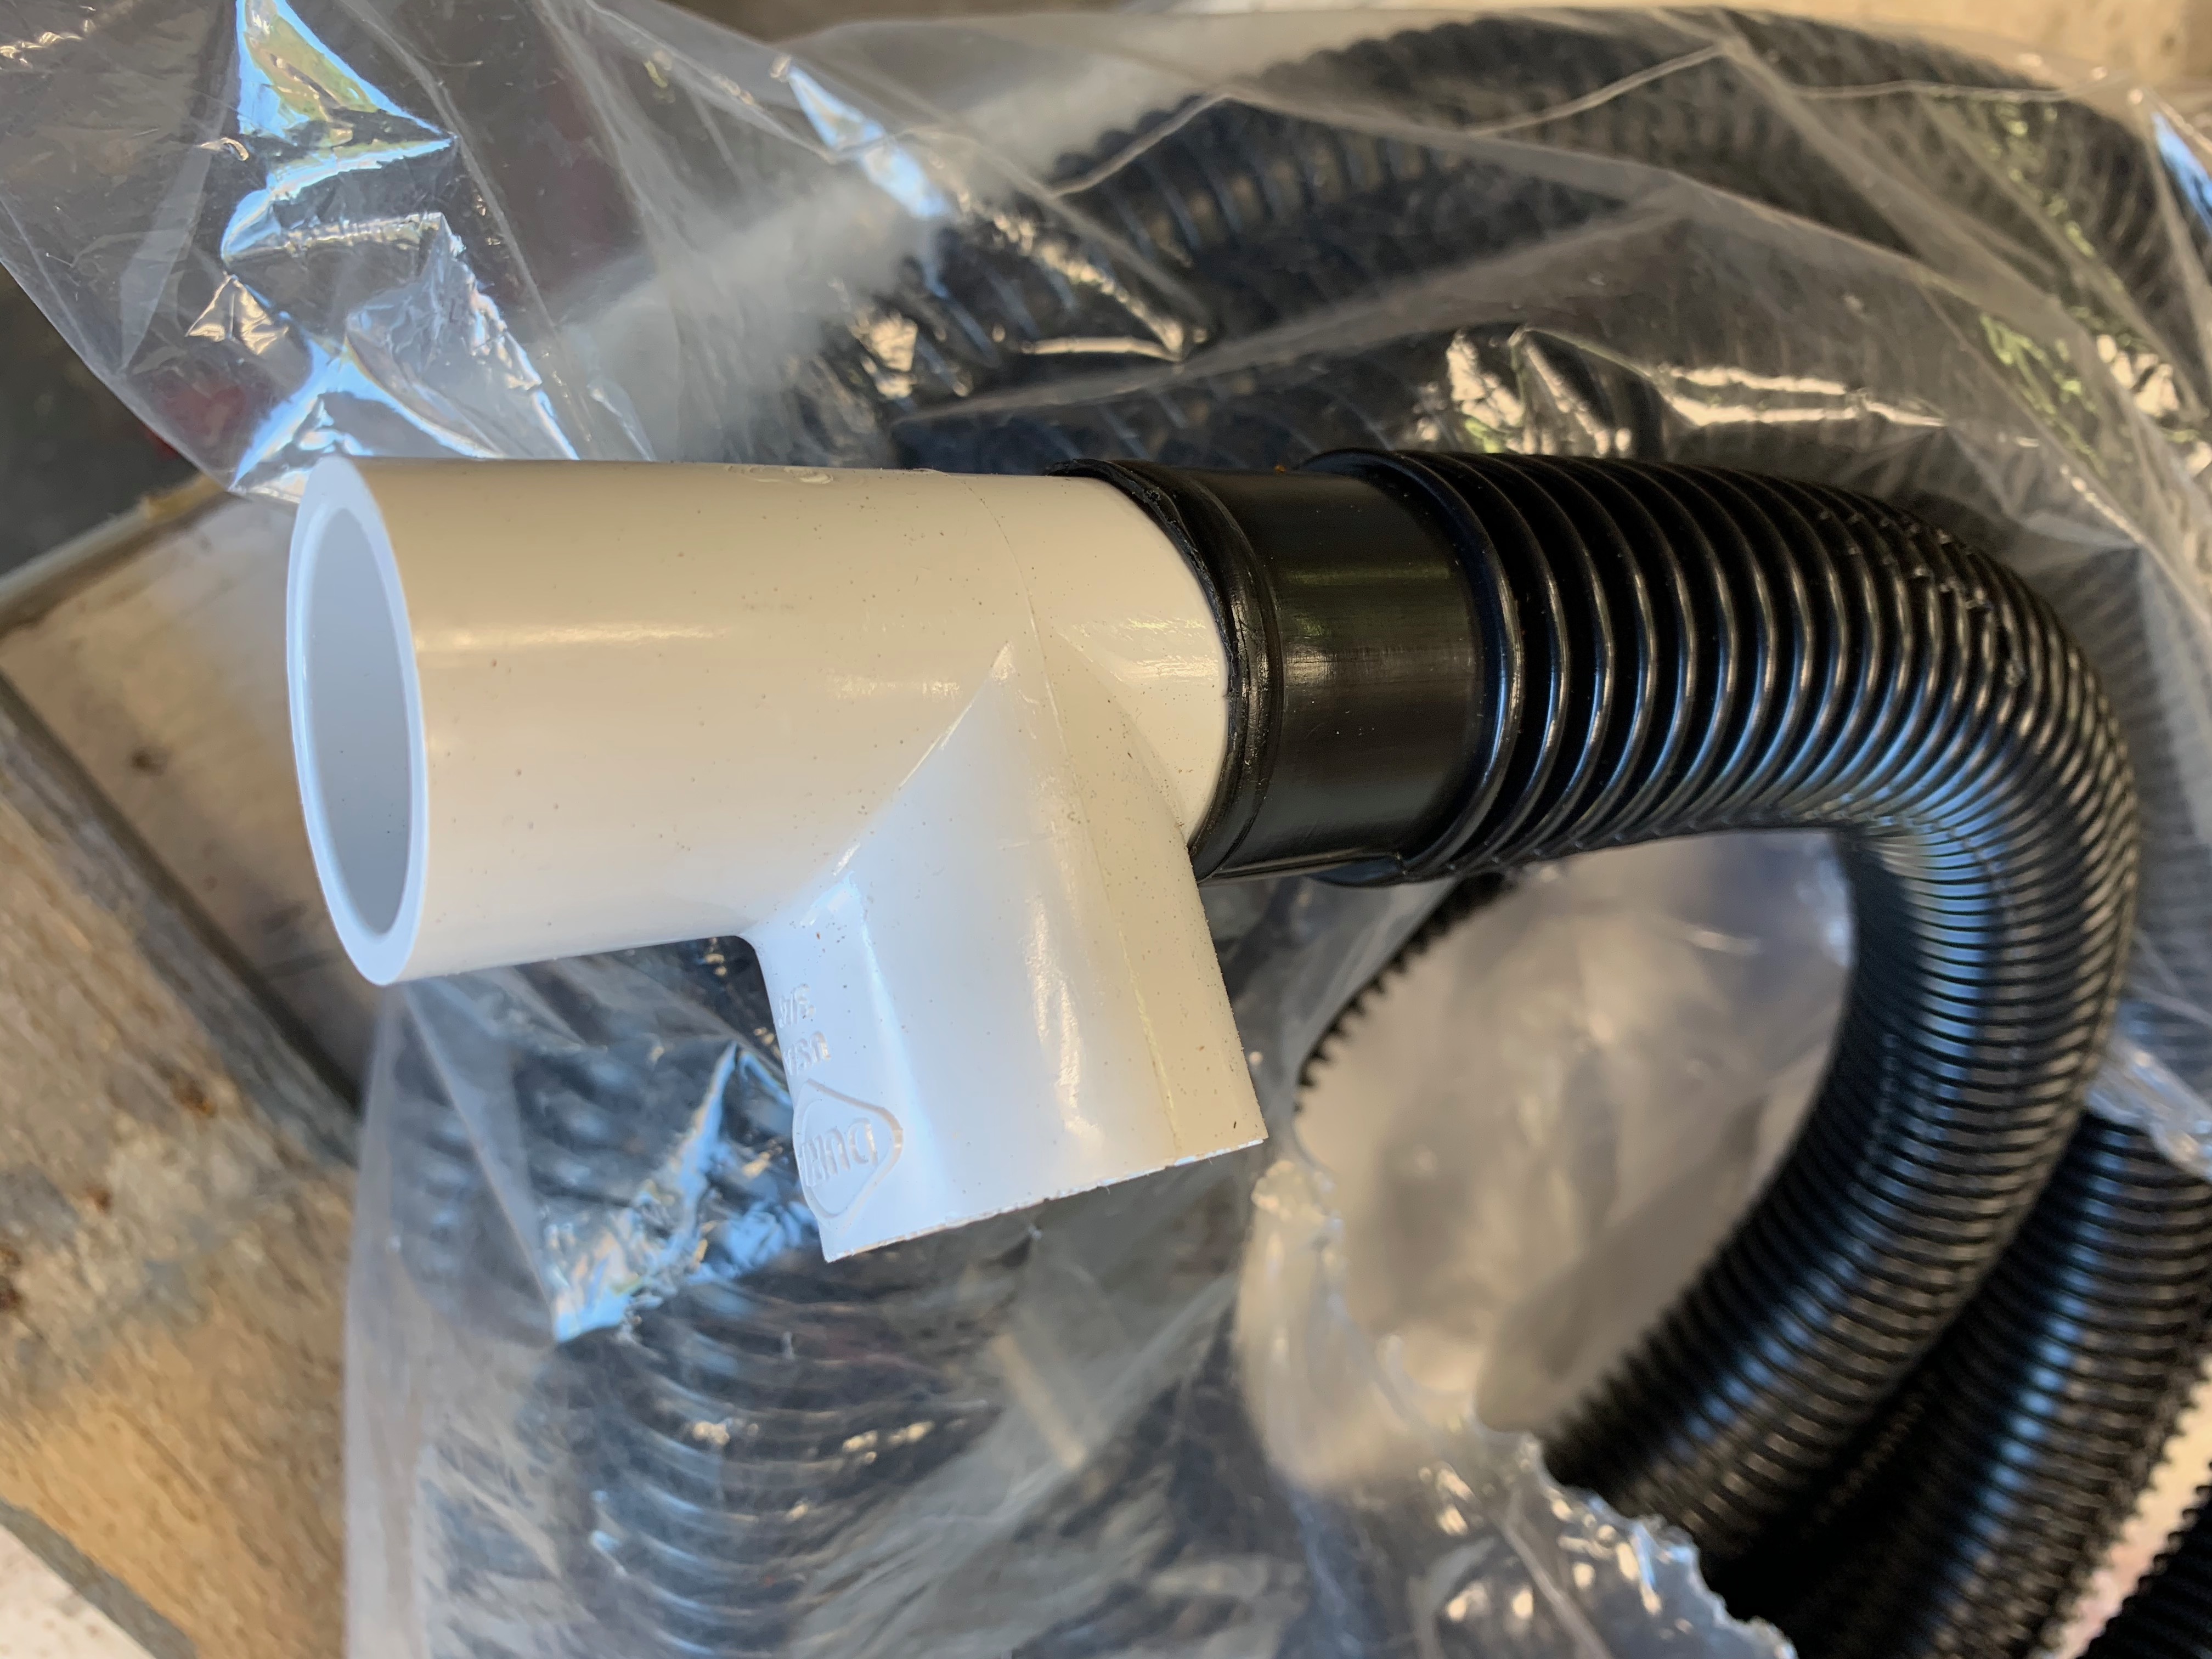
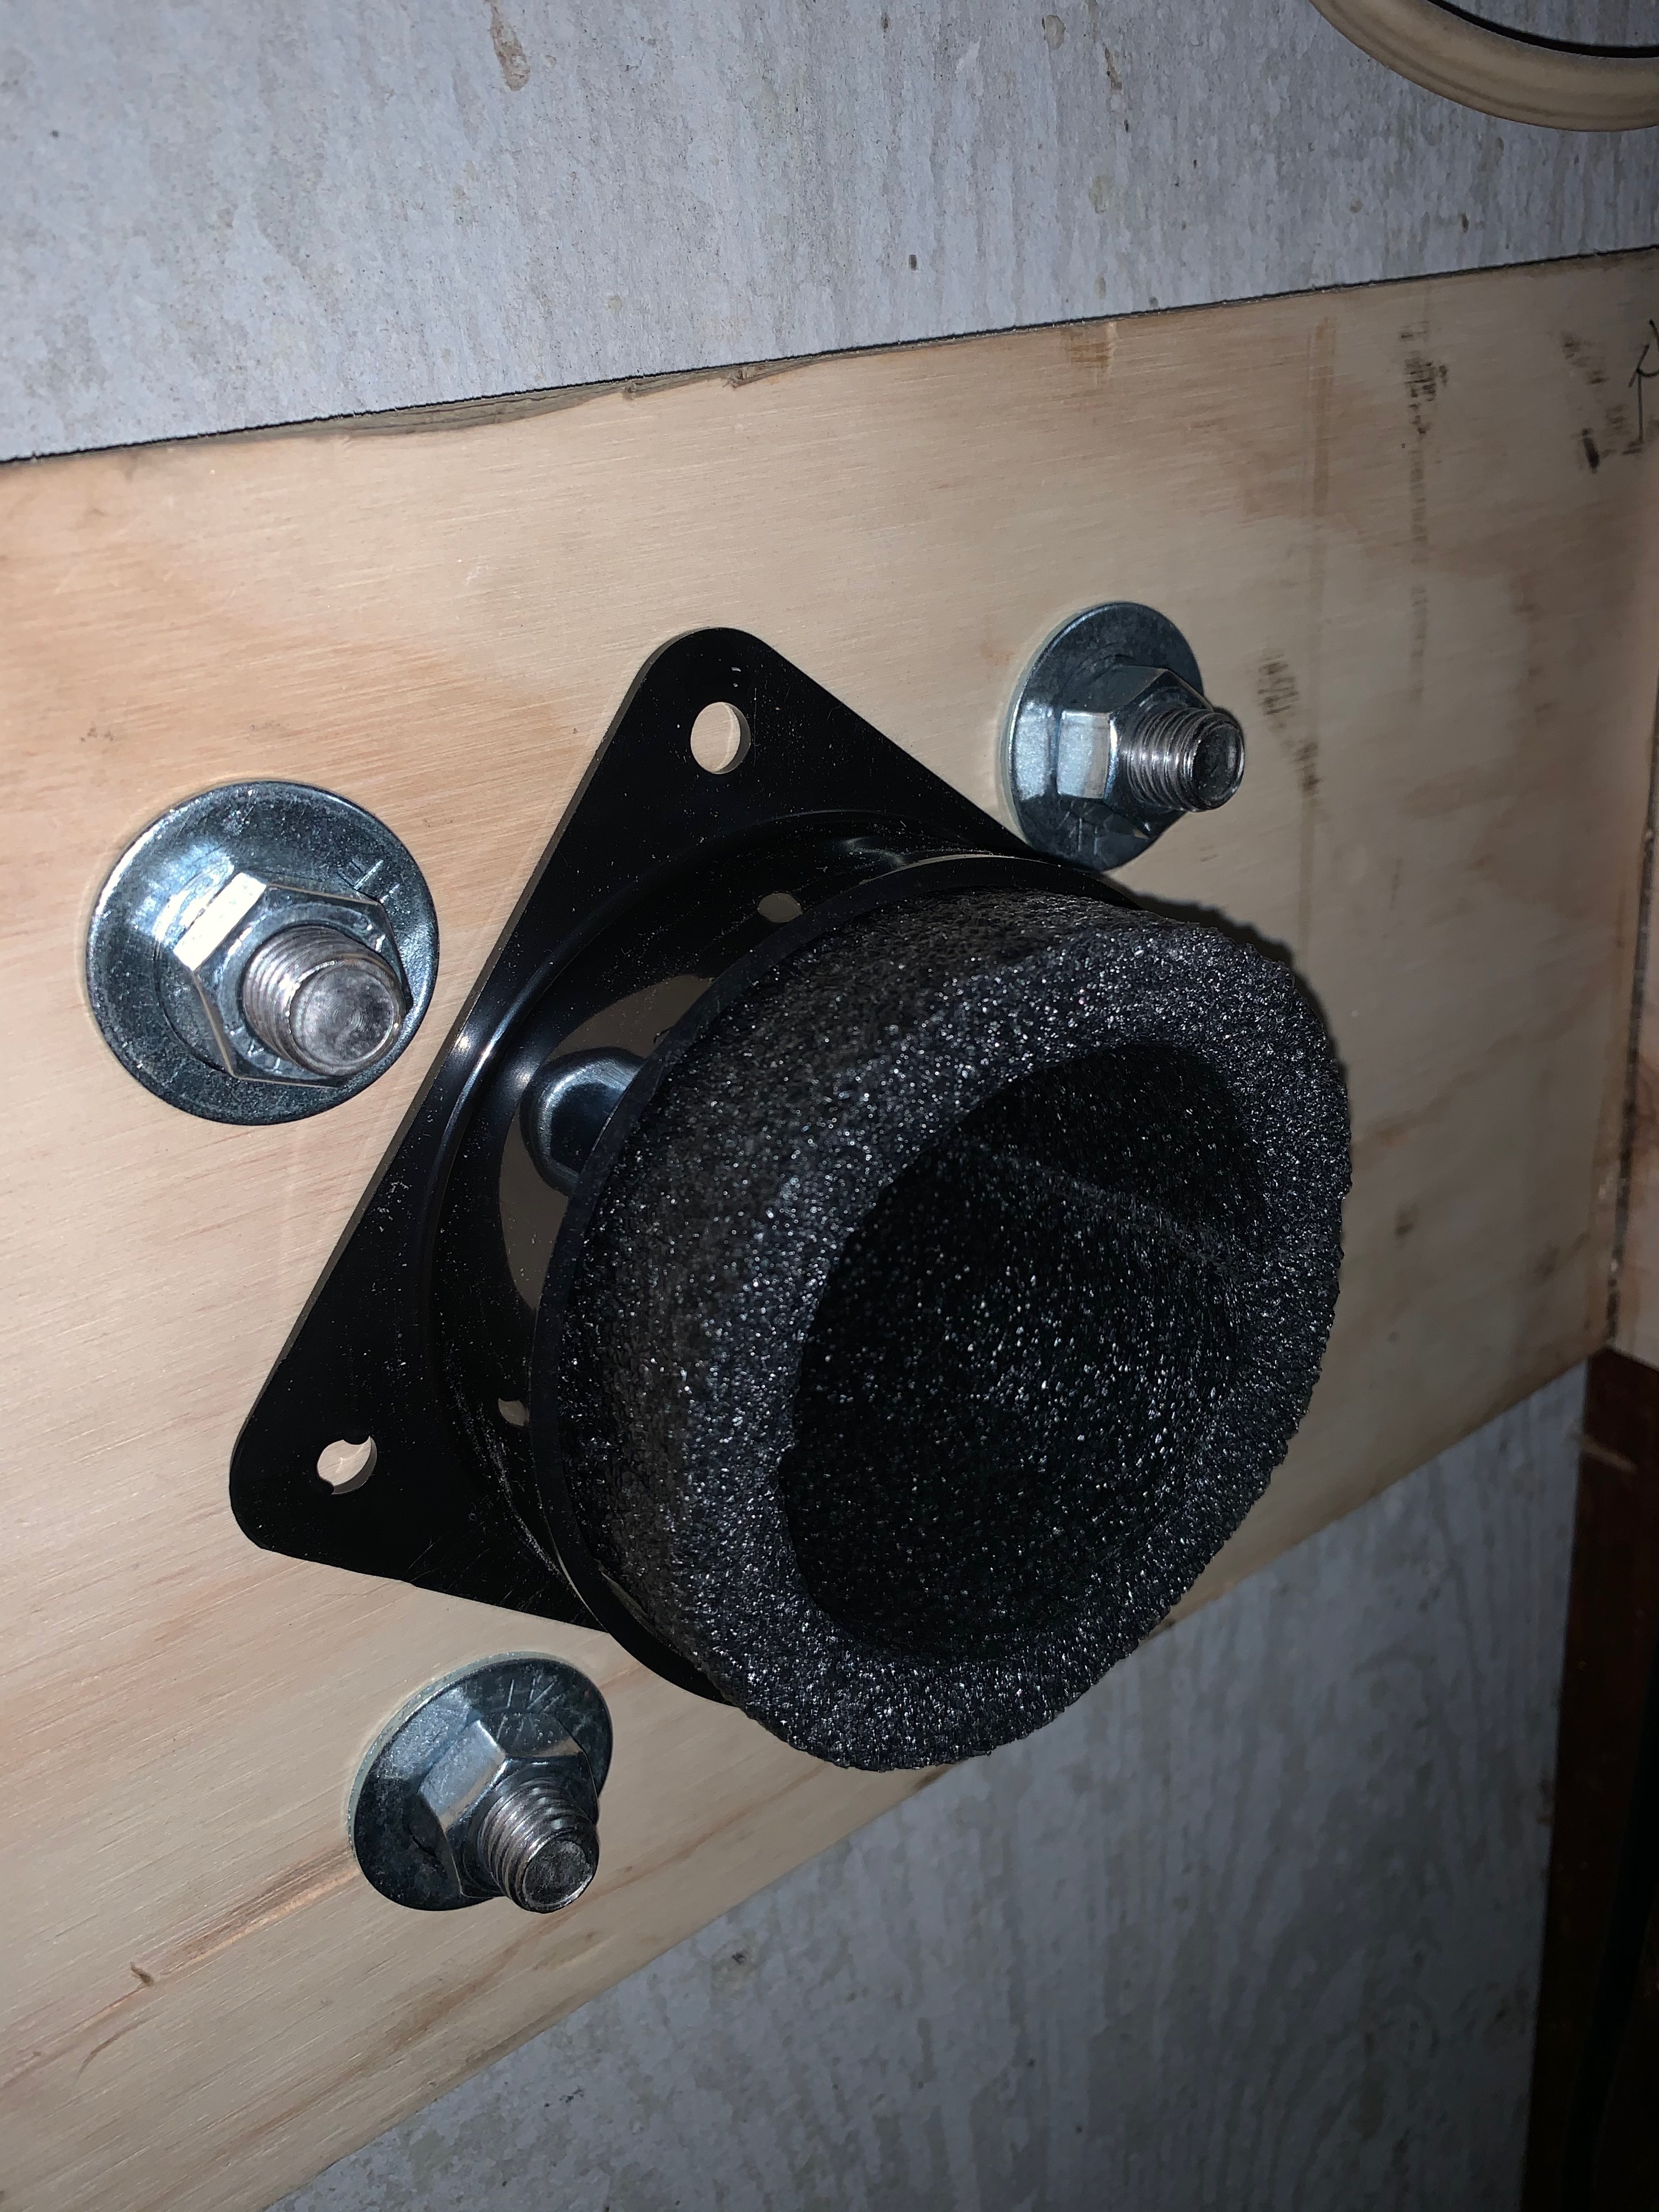
Here you can see the backside of the tower (interior garage wall) and the 4" ABS flange to mount the insulated duct. You also see the insulation to help keep the ‘T’ of the tower cool (and reduce condensation). There is an identical ABS flange on the top of the kegerator.
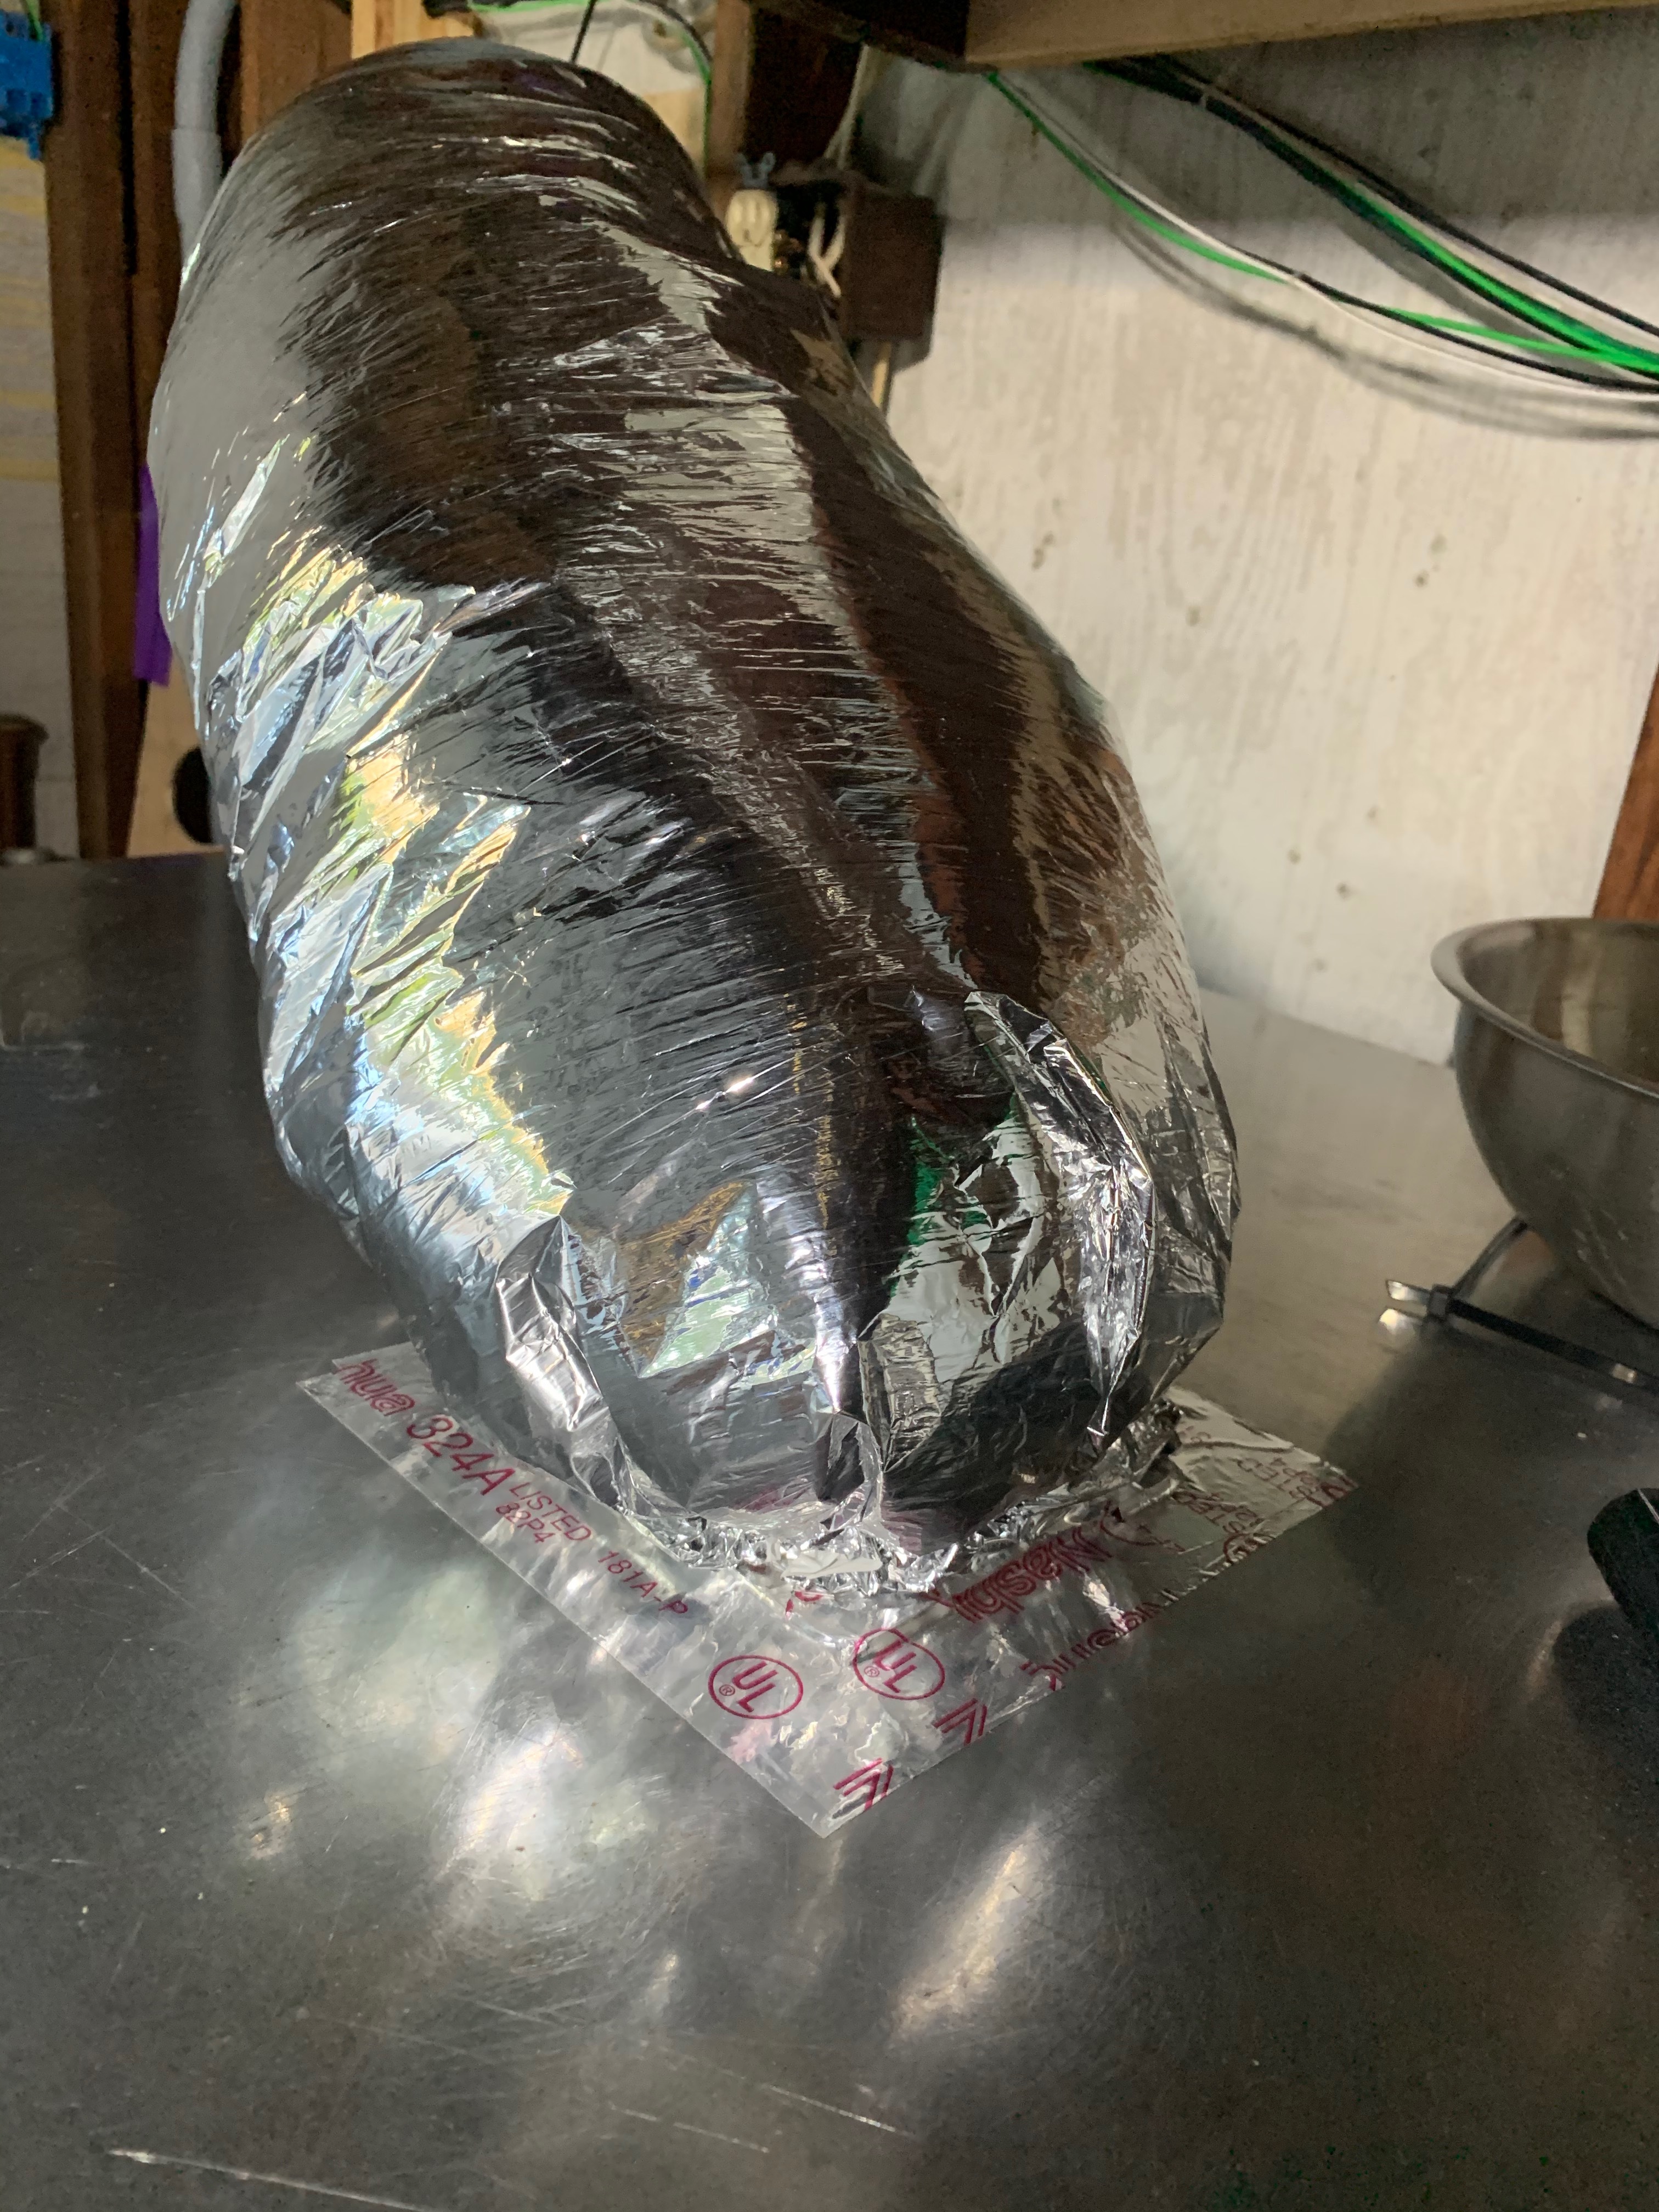
I used aluminum tape (same stuff used to seal HVAC systems) to attach the flange to the deck of the kegerator. I did not want to put more holes in the stainless steel deck of kegerator which is why I used this tape. It is VERY strong and seals completely. This is the closest thing I have to show the flange mounted to the top of the kegerator. You can see the flexible insulated duct is already attached with zip-ties.
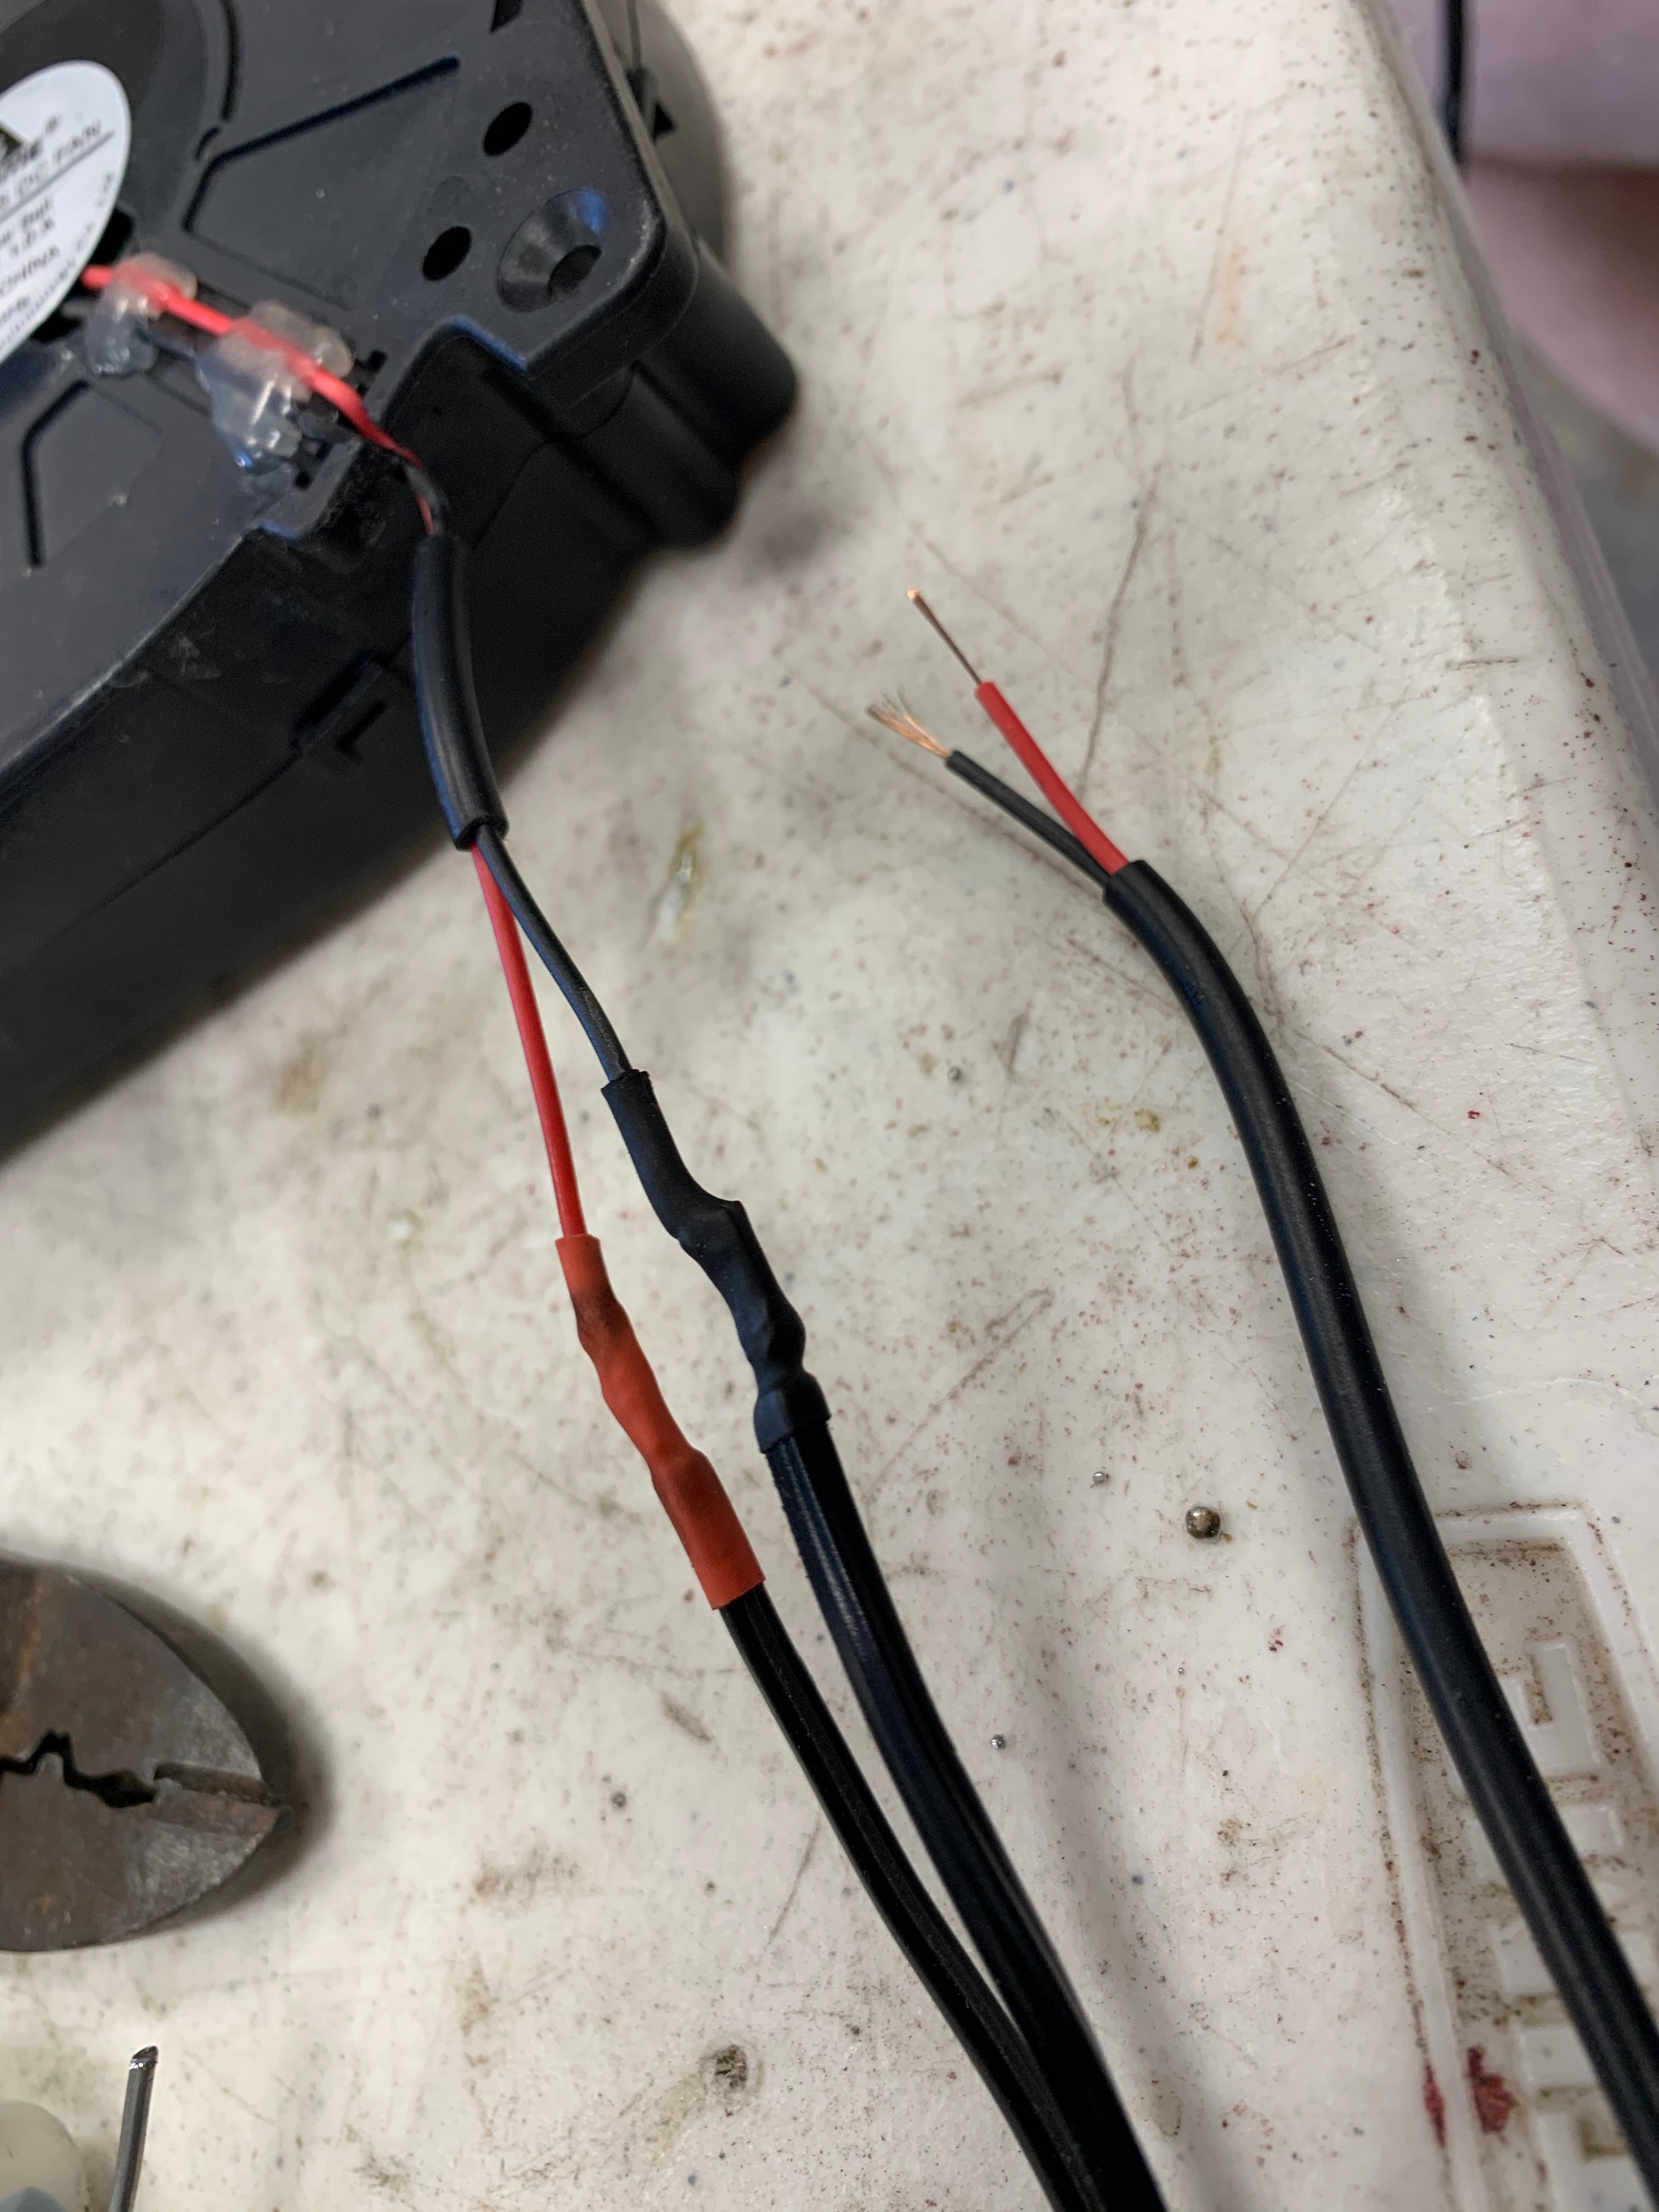
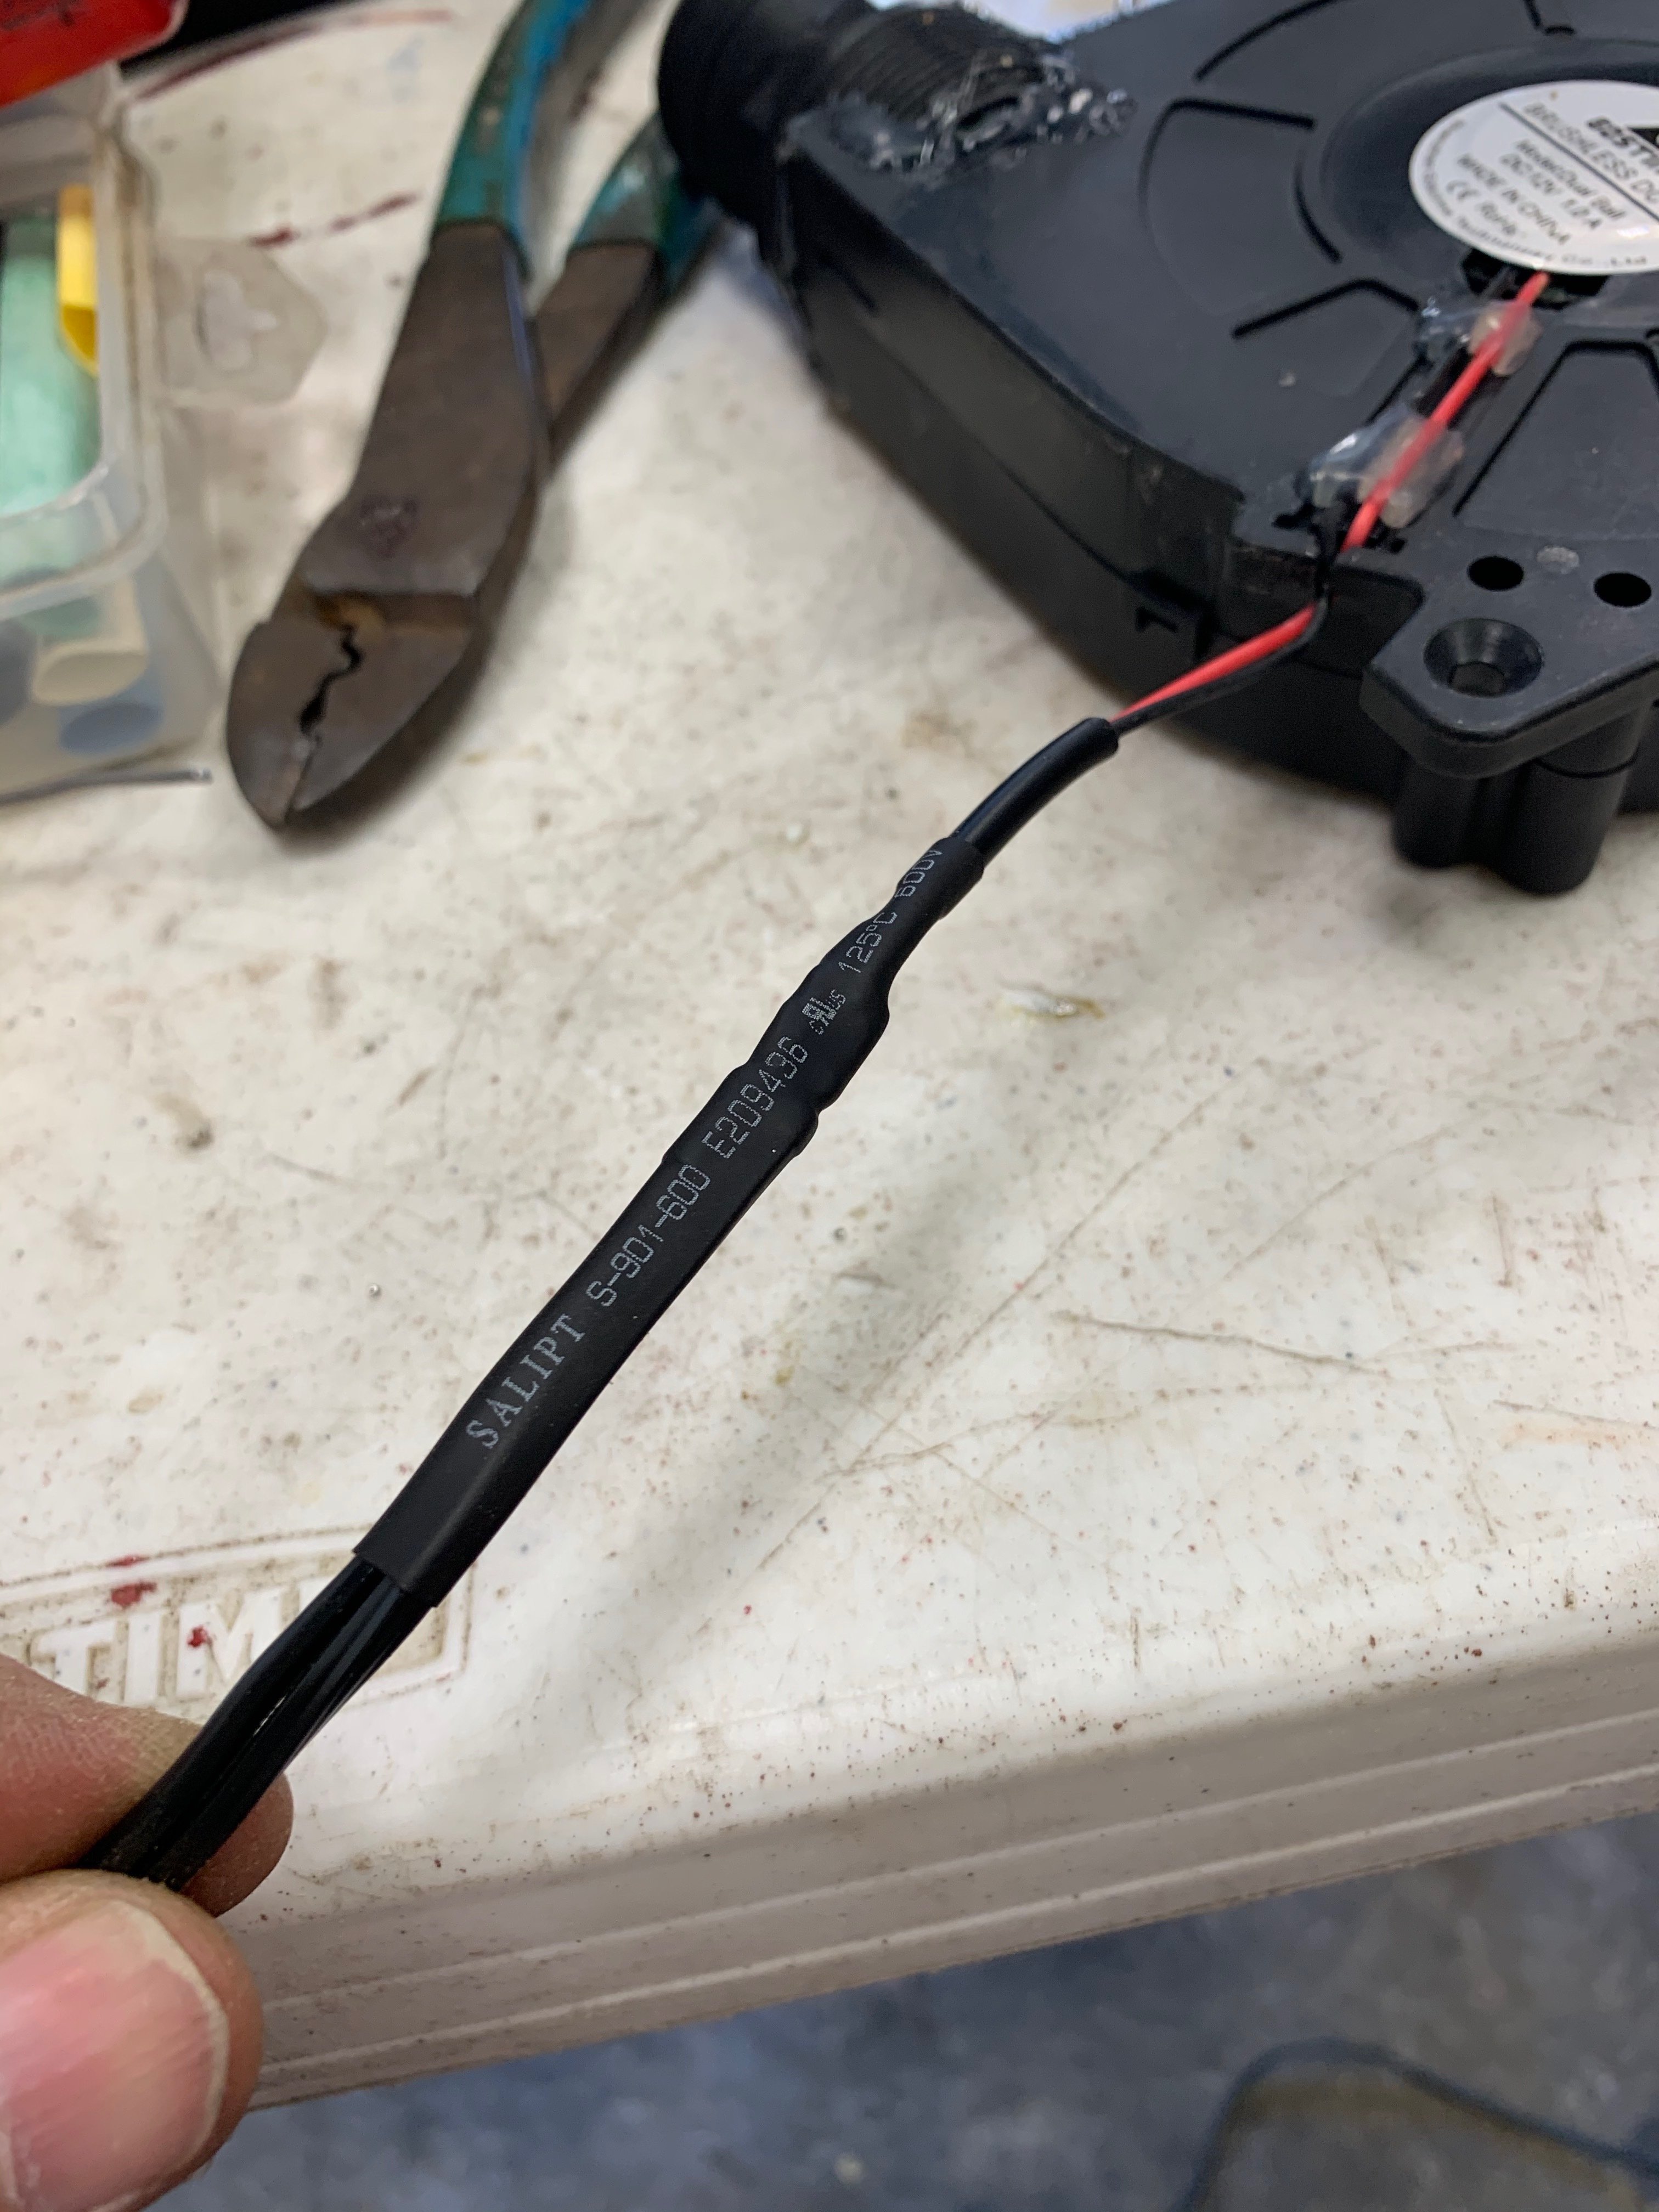
The internal fan I’m using for my tower cooler has a remote to vary fan speed and I needed to extend the wires so the fan is inside the cooler and the controller is outside (I wanted easy access/adjustability from outside).
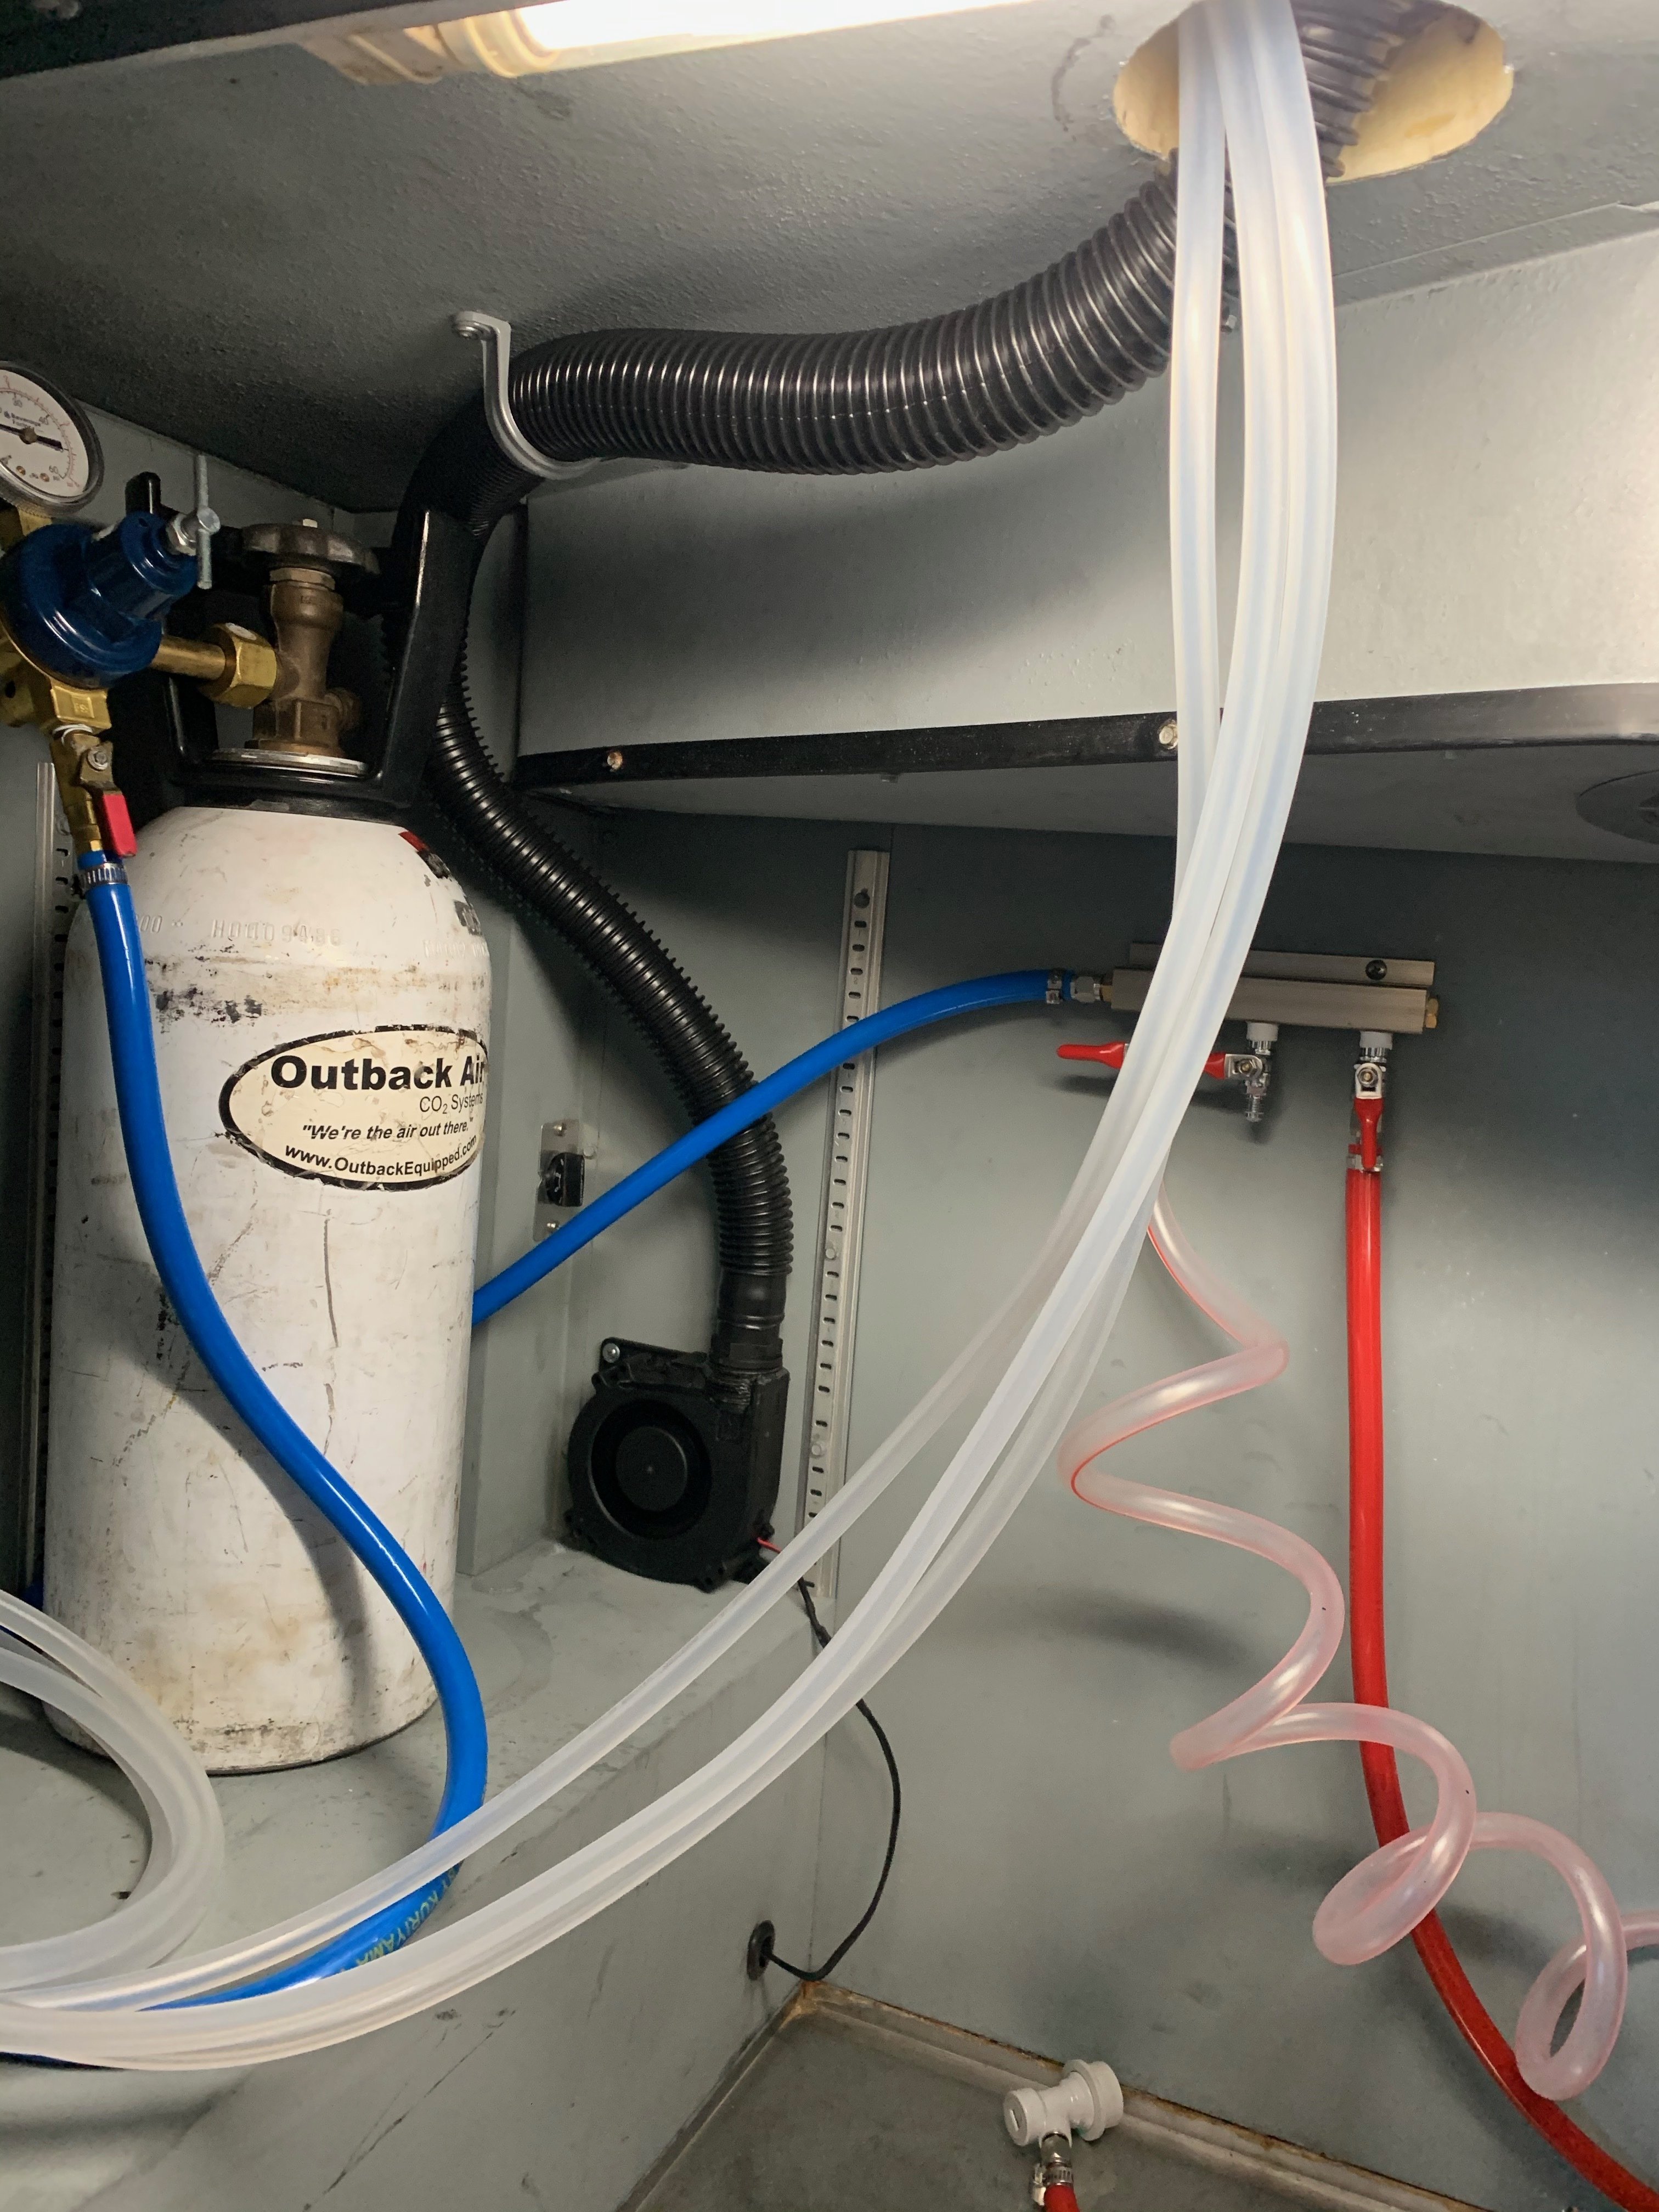
This is the inside of the cooler, fan mounted and hose running up and out to the tower.
This is the final ‘behind the scenes’ set-up inside my garage. If you look carefully you can see the variable controller for the tower cooler next to the drill.
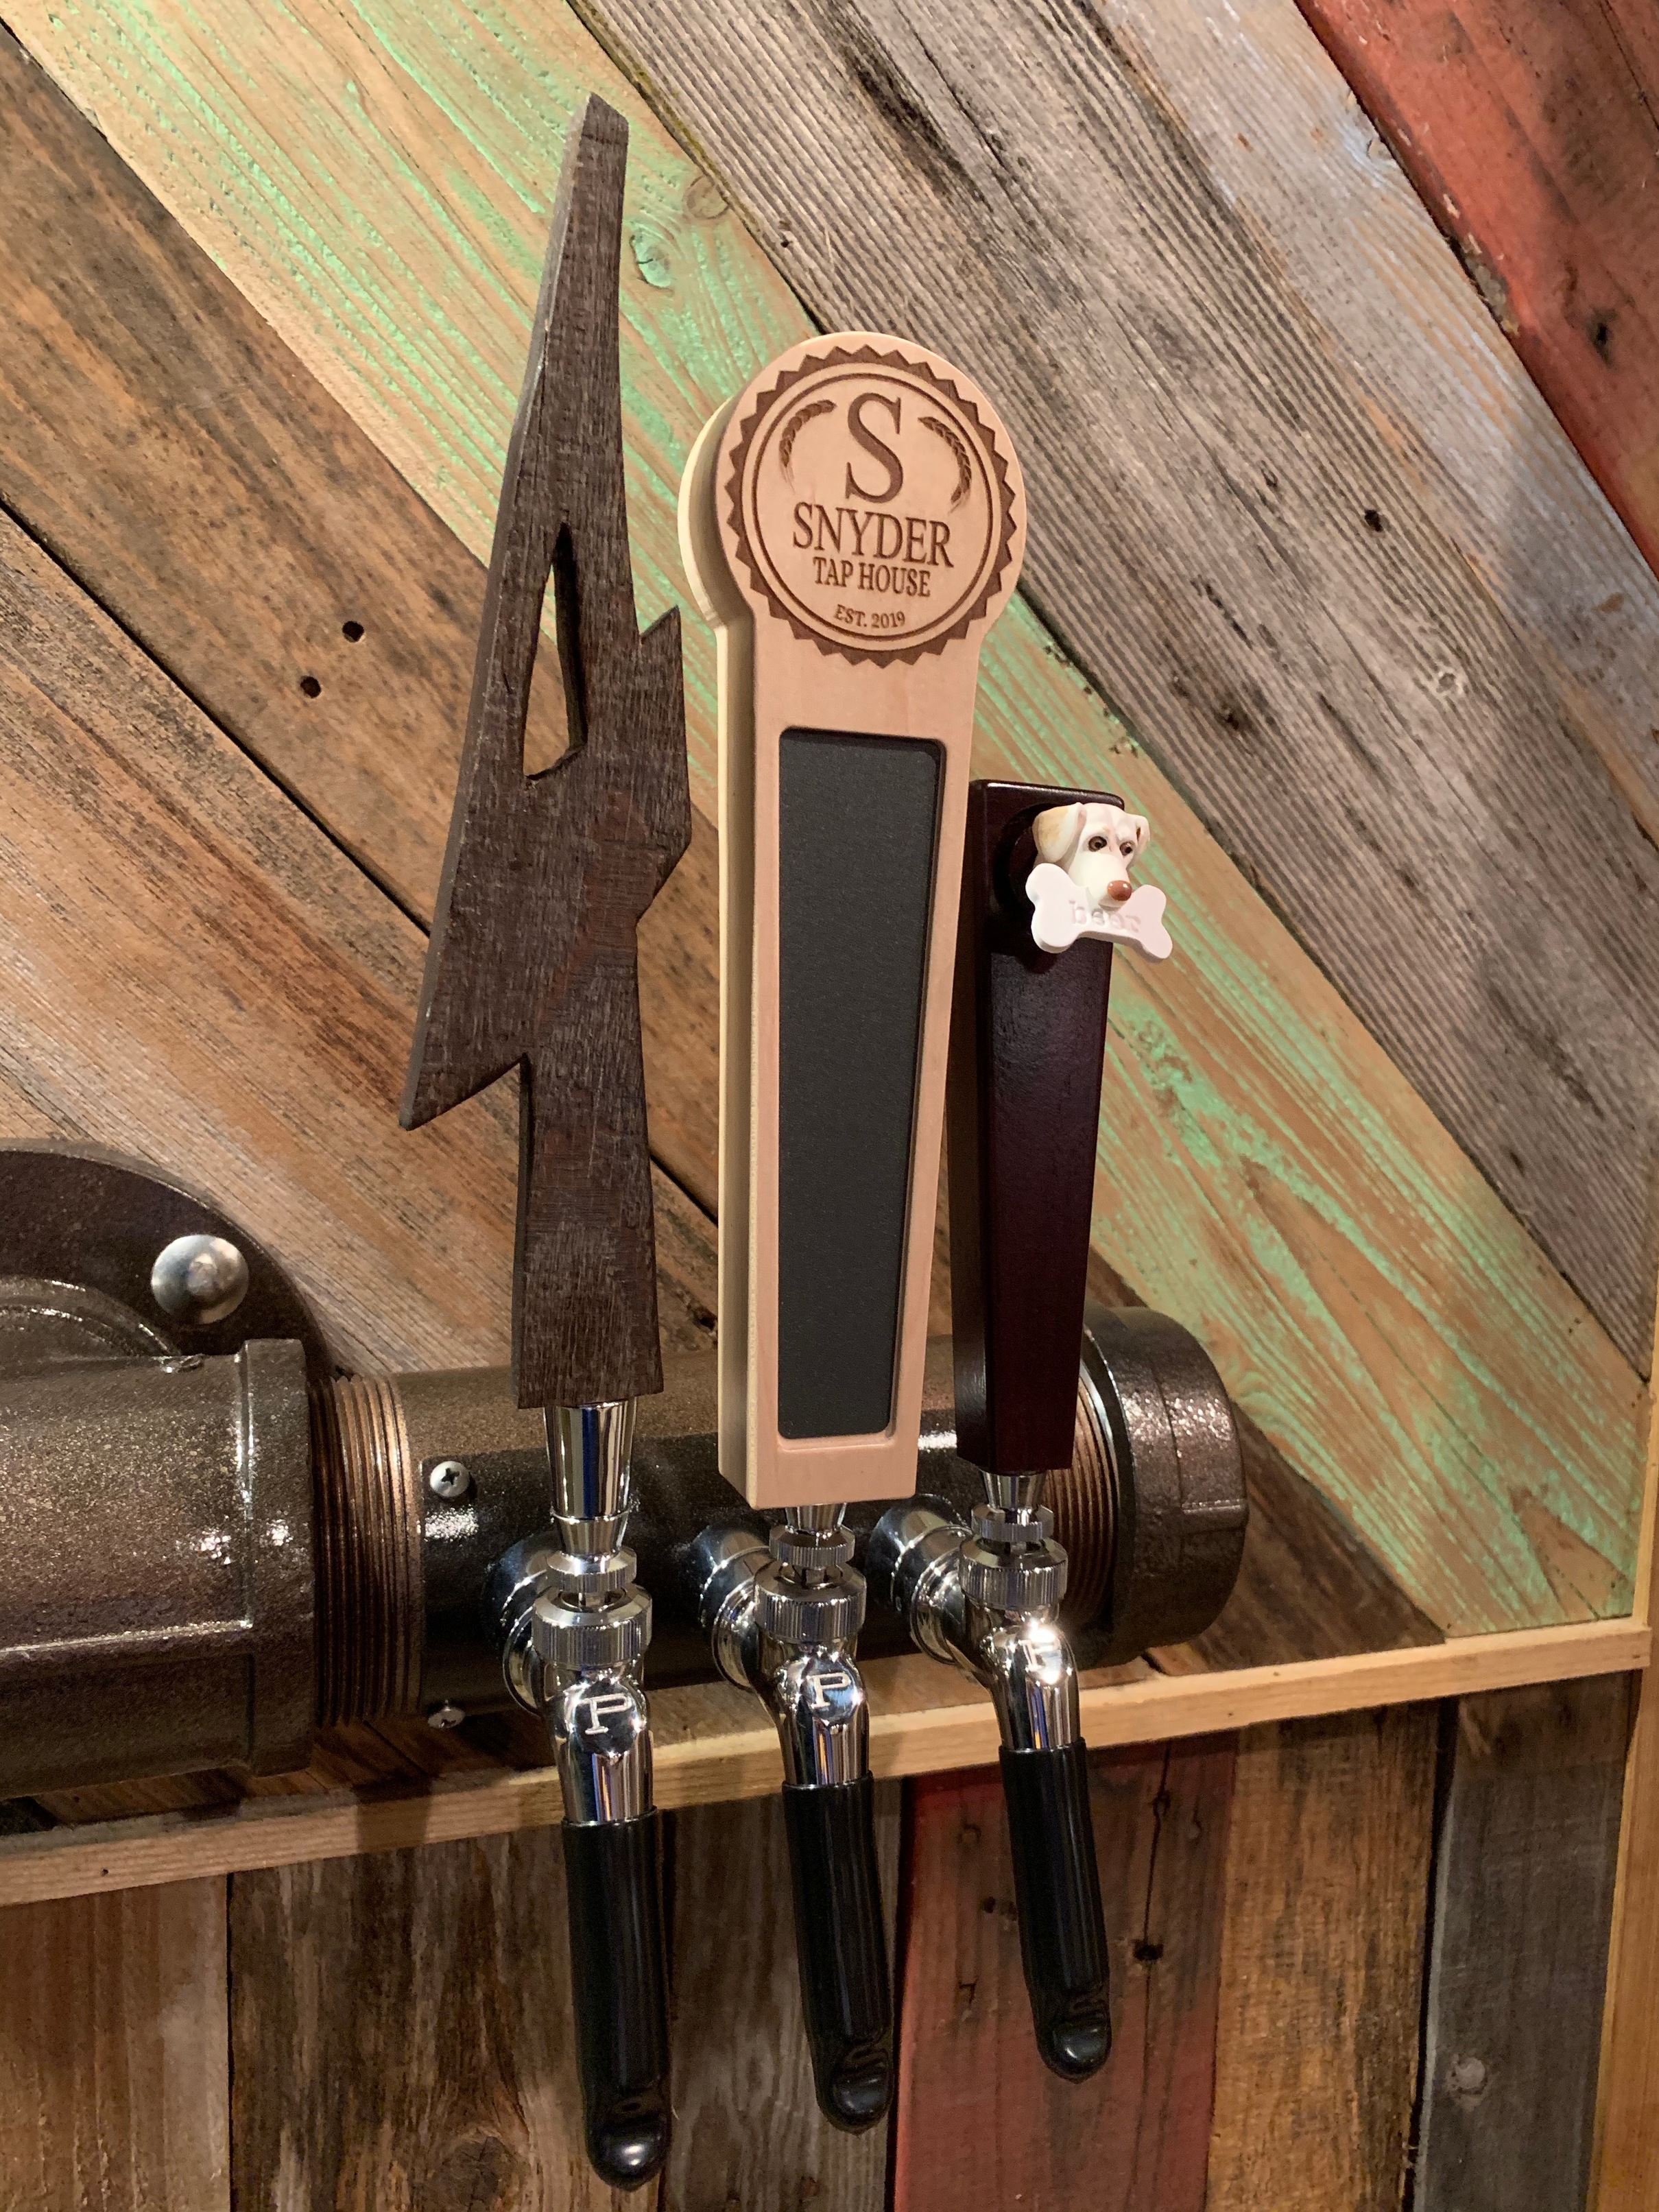
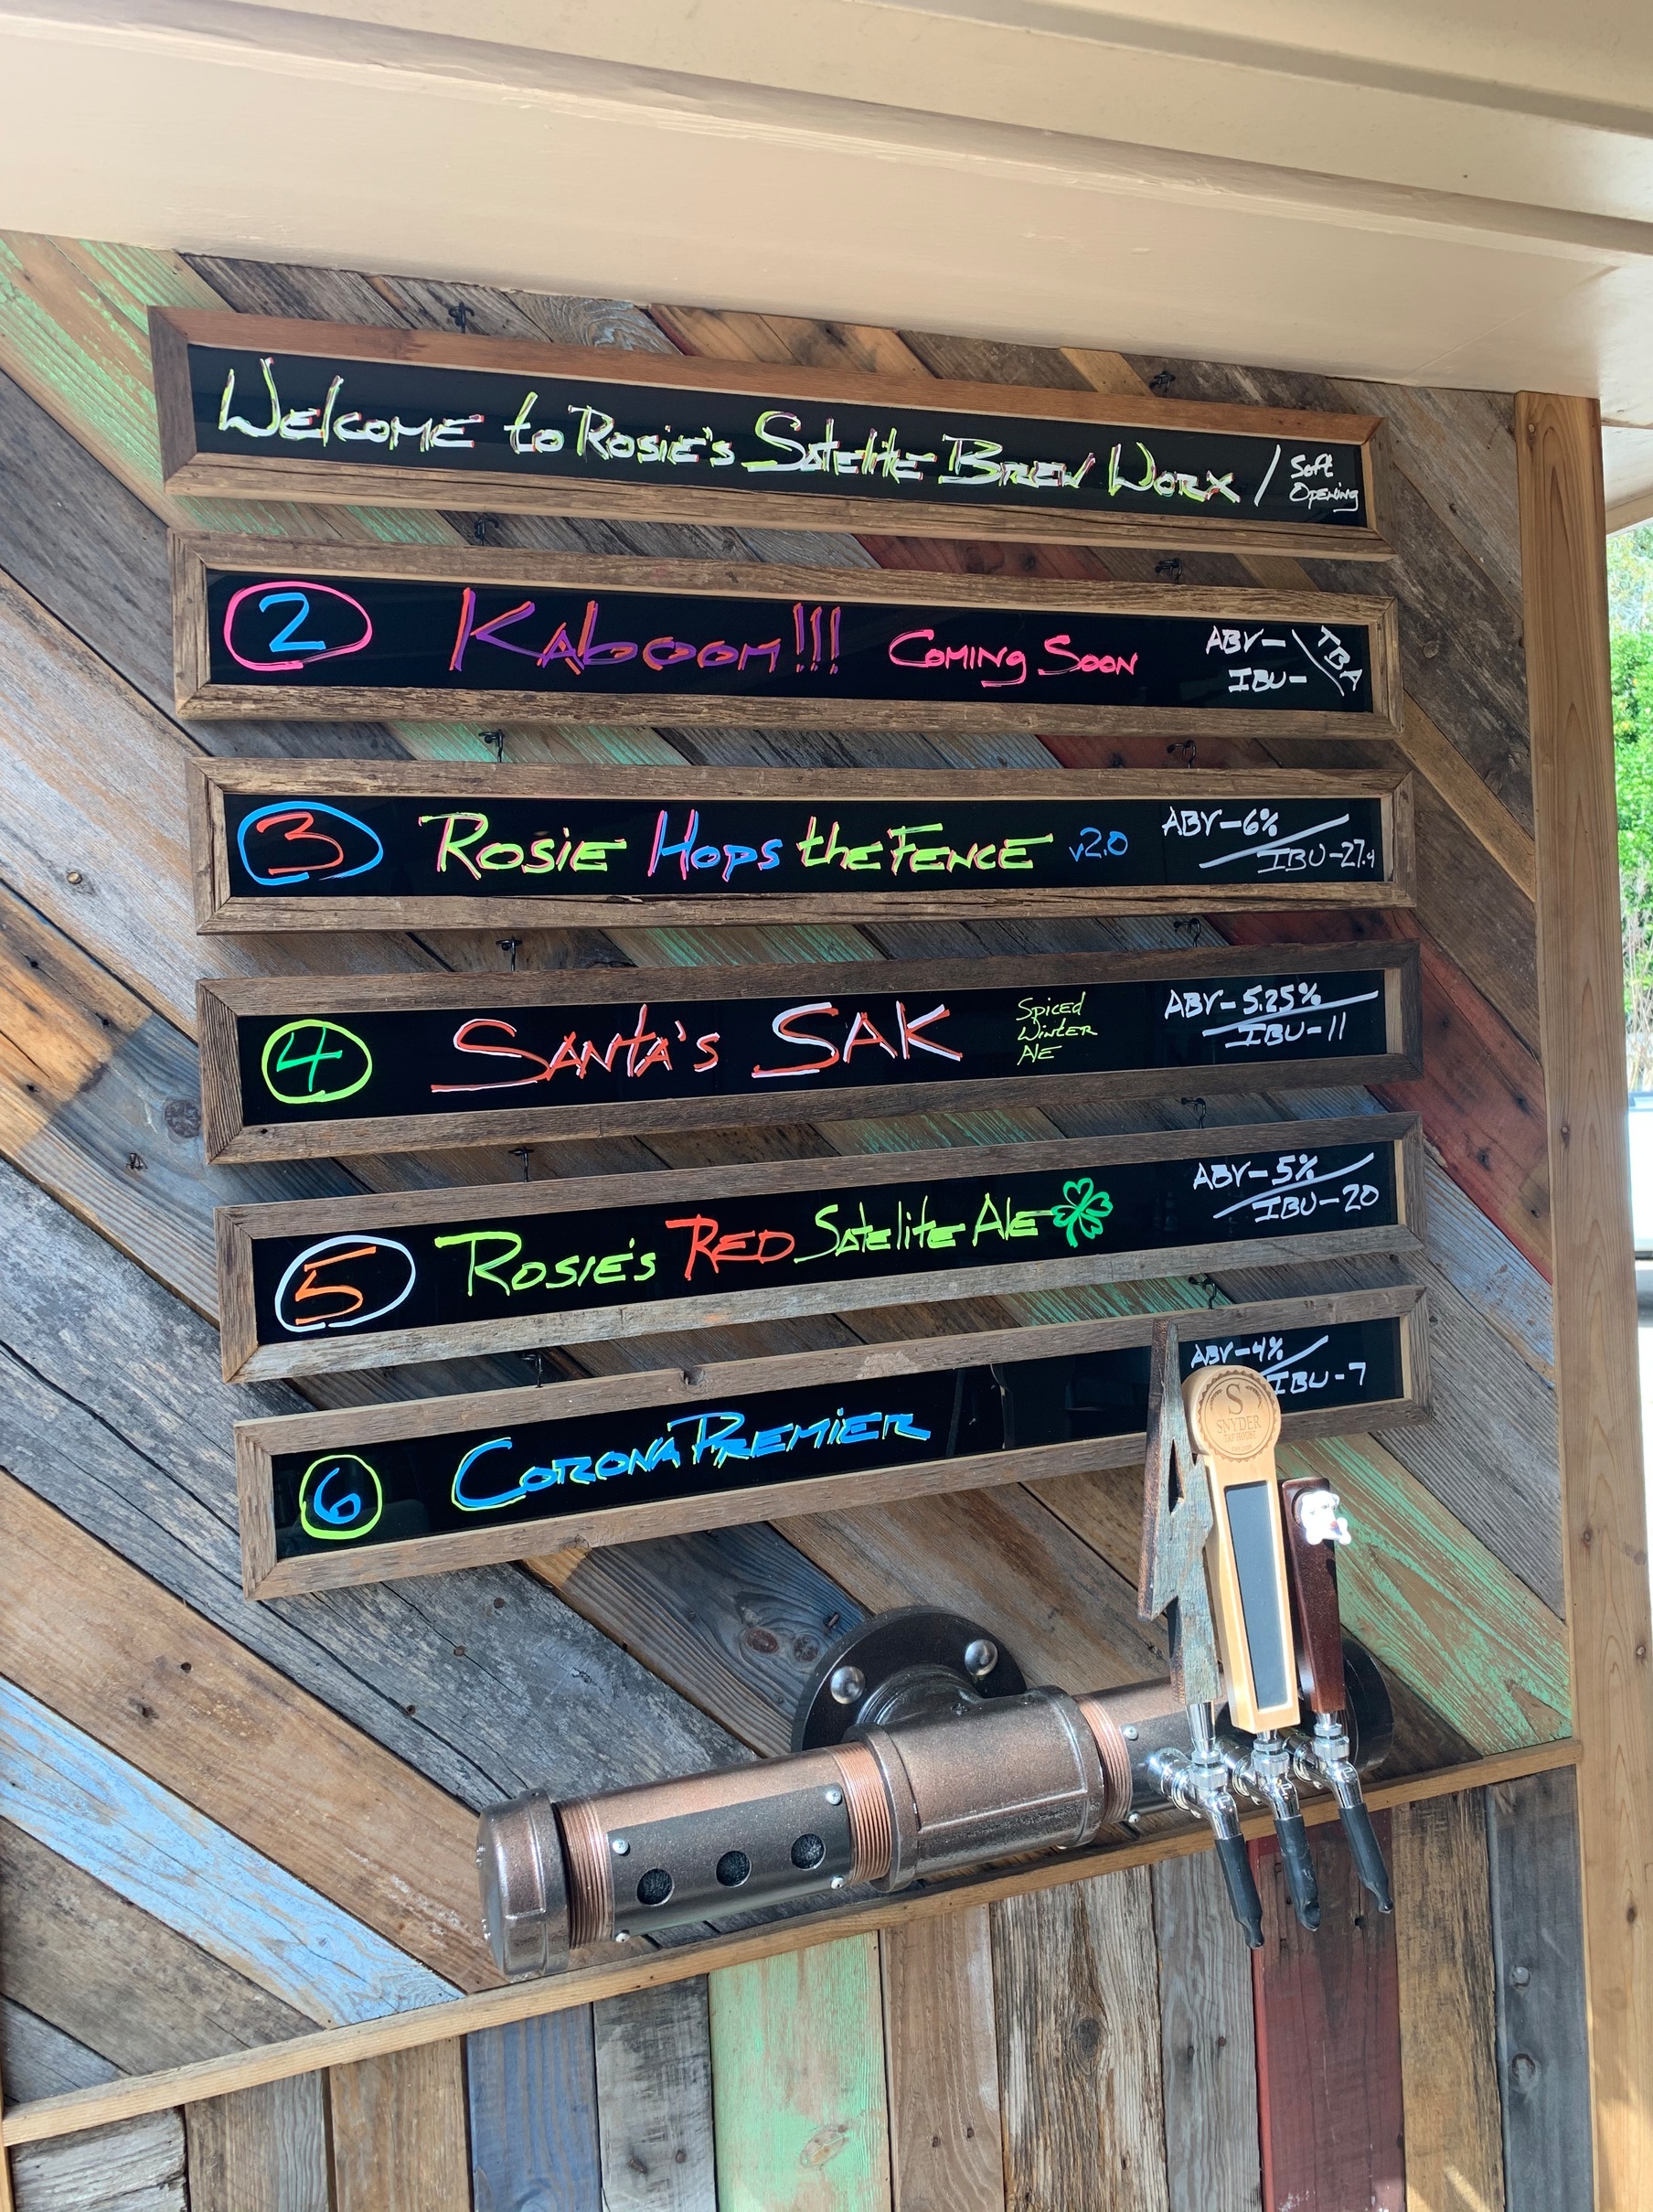
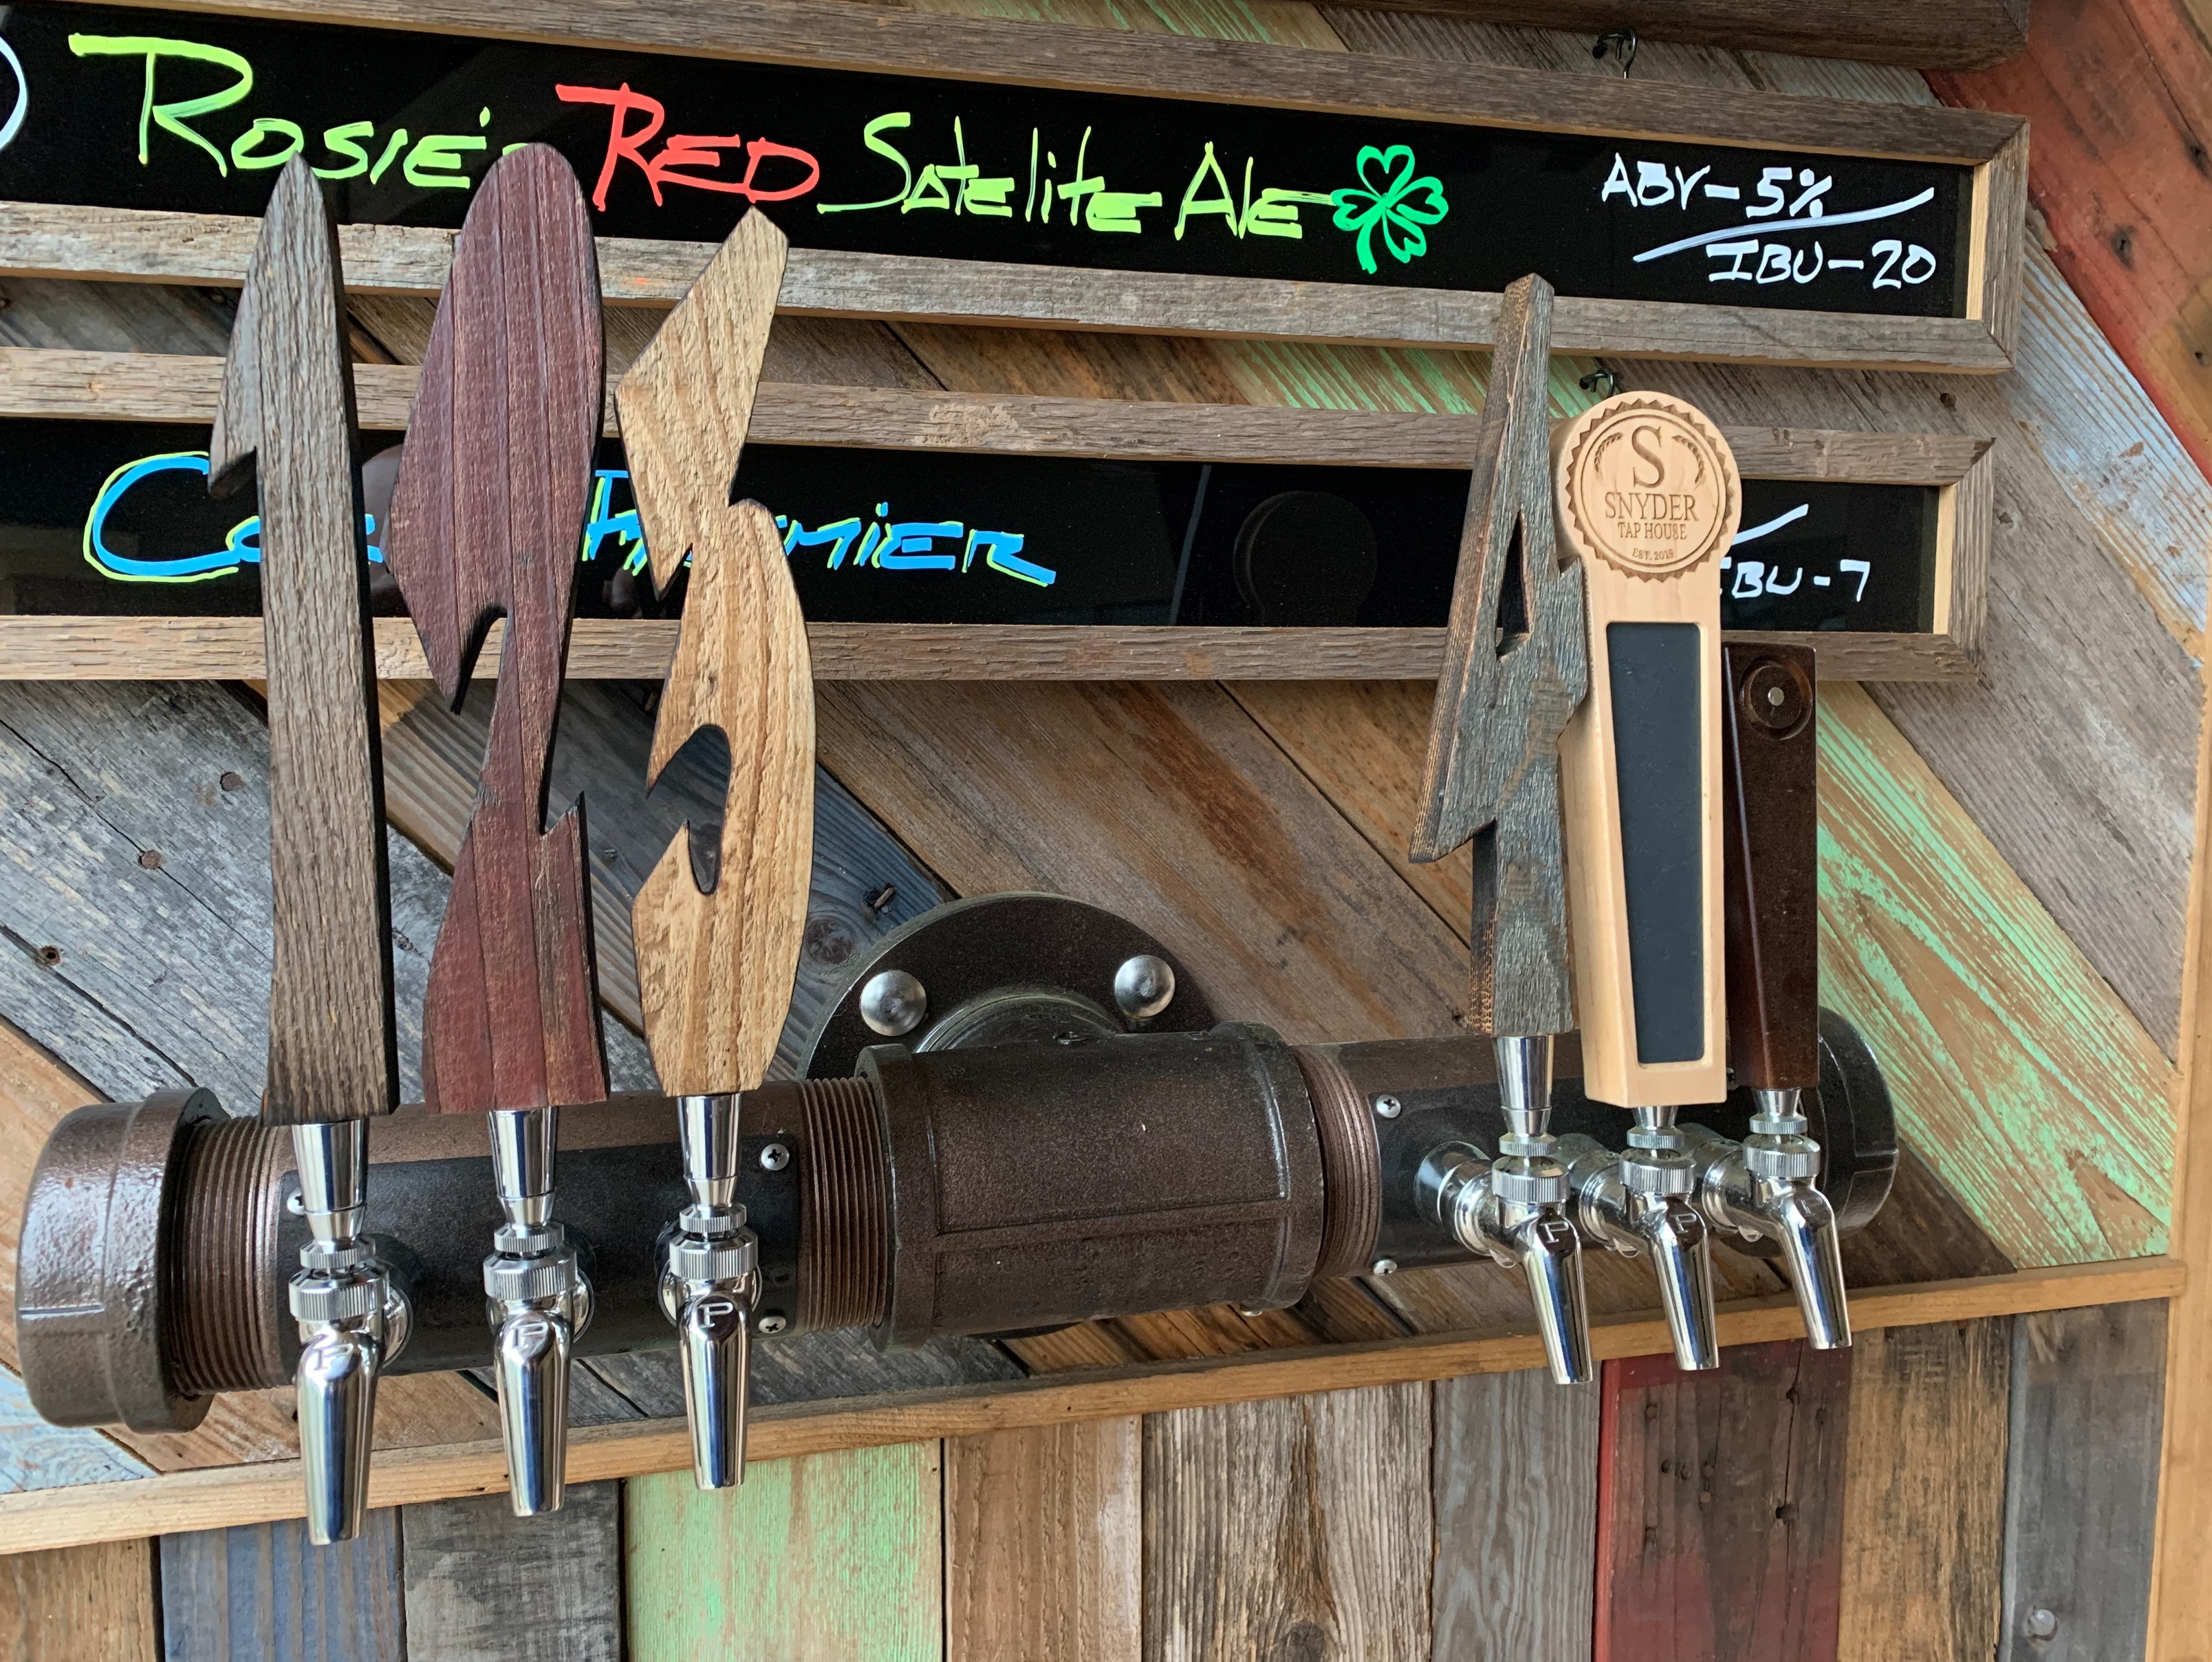
…And this is what she looks like now. Three out of the 6 are set-up and cold beer is flowing!