As far as the QD’s, This is the first time through with tri-clovers, and so far its fine. I have had the ball lock QD’s for quite some time and they do work, never mind a drip here and there. It does help to get the female end wet before hooking up. The other ones I have was a recommendation from either Pork Chop or Loopie, and they are the cam lock style. I am getting to like them better, again, to help the O-ring slip together easier, dunk the end in water before hook up. Sneezles61
First brew today! 10 gallons of a Riabock. So I will summarize abit. The electric element, controller and kettle was so great… BUT, I saved some money and got a mesh bag. It didn’t go so well, my pump cavitated, the bag wouldn’t allow the wort out… I fought with it, eventually won. I pulled it with 22 pounds of wet grain, out, very, very slowly, releasing the wort, and some was outside the kettle, I feel it was too fine a product, but took my abuse squeezing until I couldn’t tolerate the heat. Maybe the thigh master with some paddles attached to it would be a great barley squeezer! I will order another basket sooner rather than later now. I need more attention to my CFC, mounting it, and, get some more QD fittings… I lost a few quarts with the hose coming off. I did a CIP and then proceeded to polish up that beautiful kettle. The wort was chilled and into the fermenter in about 4.5 hours. Another hour cleaning and being fussy… Sneezles61
2 Likes
I’ve had the same issue with my pump when I try to recirculate with the bag. Since I have the hoist above the MT/BK I can lift the bag an inch or so and it works fine as long as I don’t open the ball valve completely.
I have a pair of the “brewer’s gloves” NB sells. i love them. They’re great for squeezing the bag as well as many other uses around the brew room since you can sanitize them.
If Suzanne Somers comes over to help you with the thigh master bag squeezing post pics. Otherwise i’d rather not see your thighs. 
3 Likes
I do have a course false bottom, unlike Suz… never mind… That keeps it up and it has about 4 gallon space. I have the hoist also. I’ll go back to the basket … I could lift the basket and as the wort was heating up, I would sparge, if you will. Sneezles61
New basket is ordered… Almost as much as the kettle… wife is seething… Sneezles61

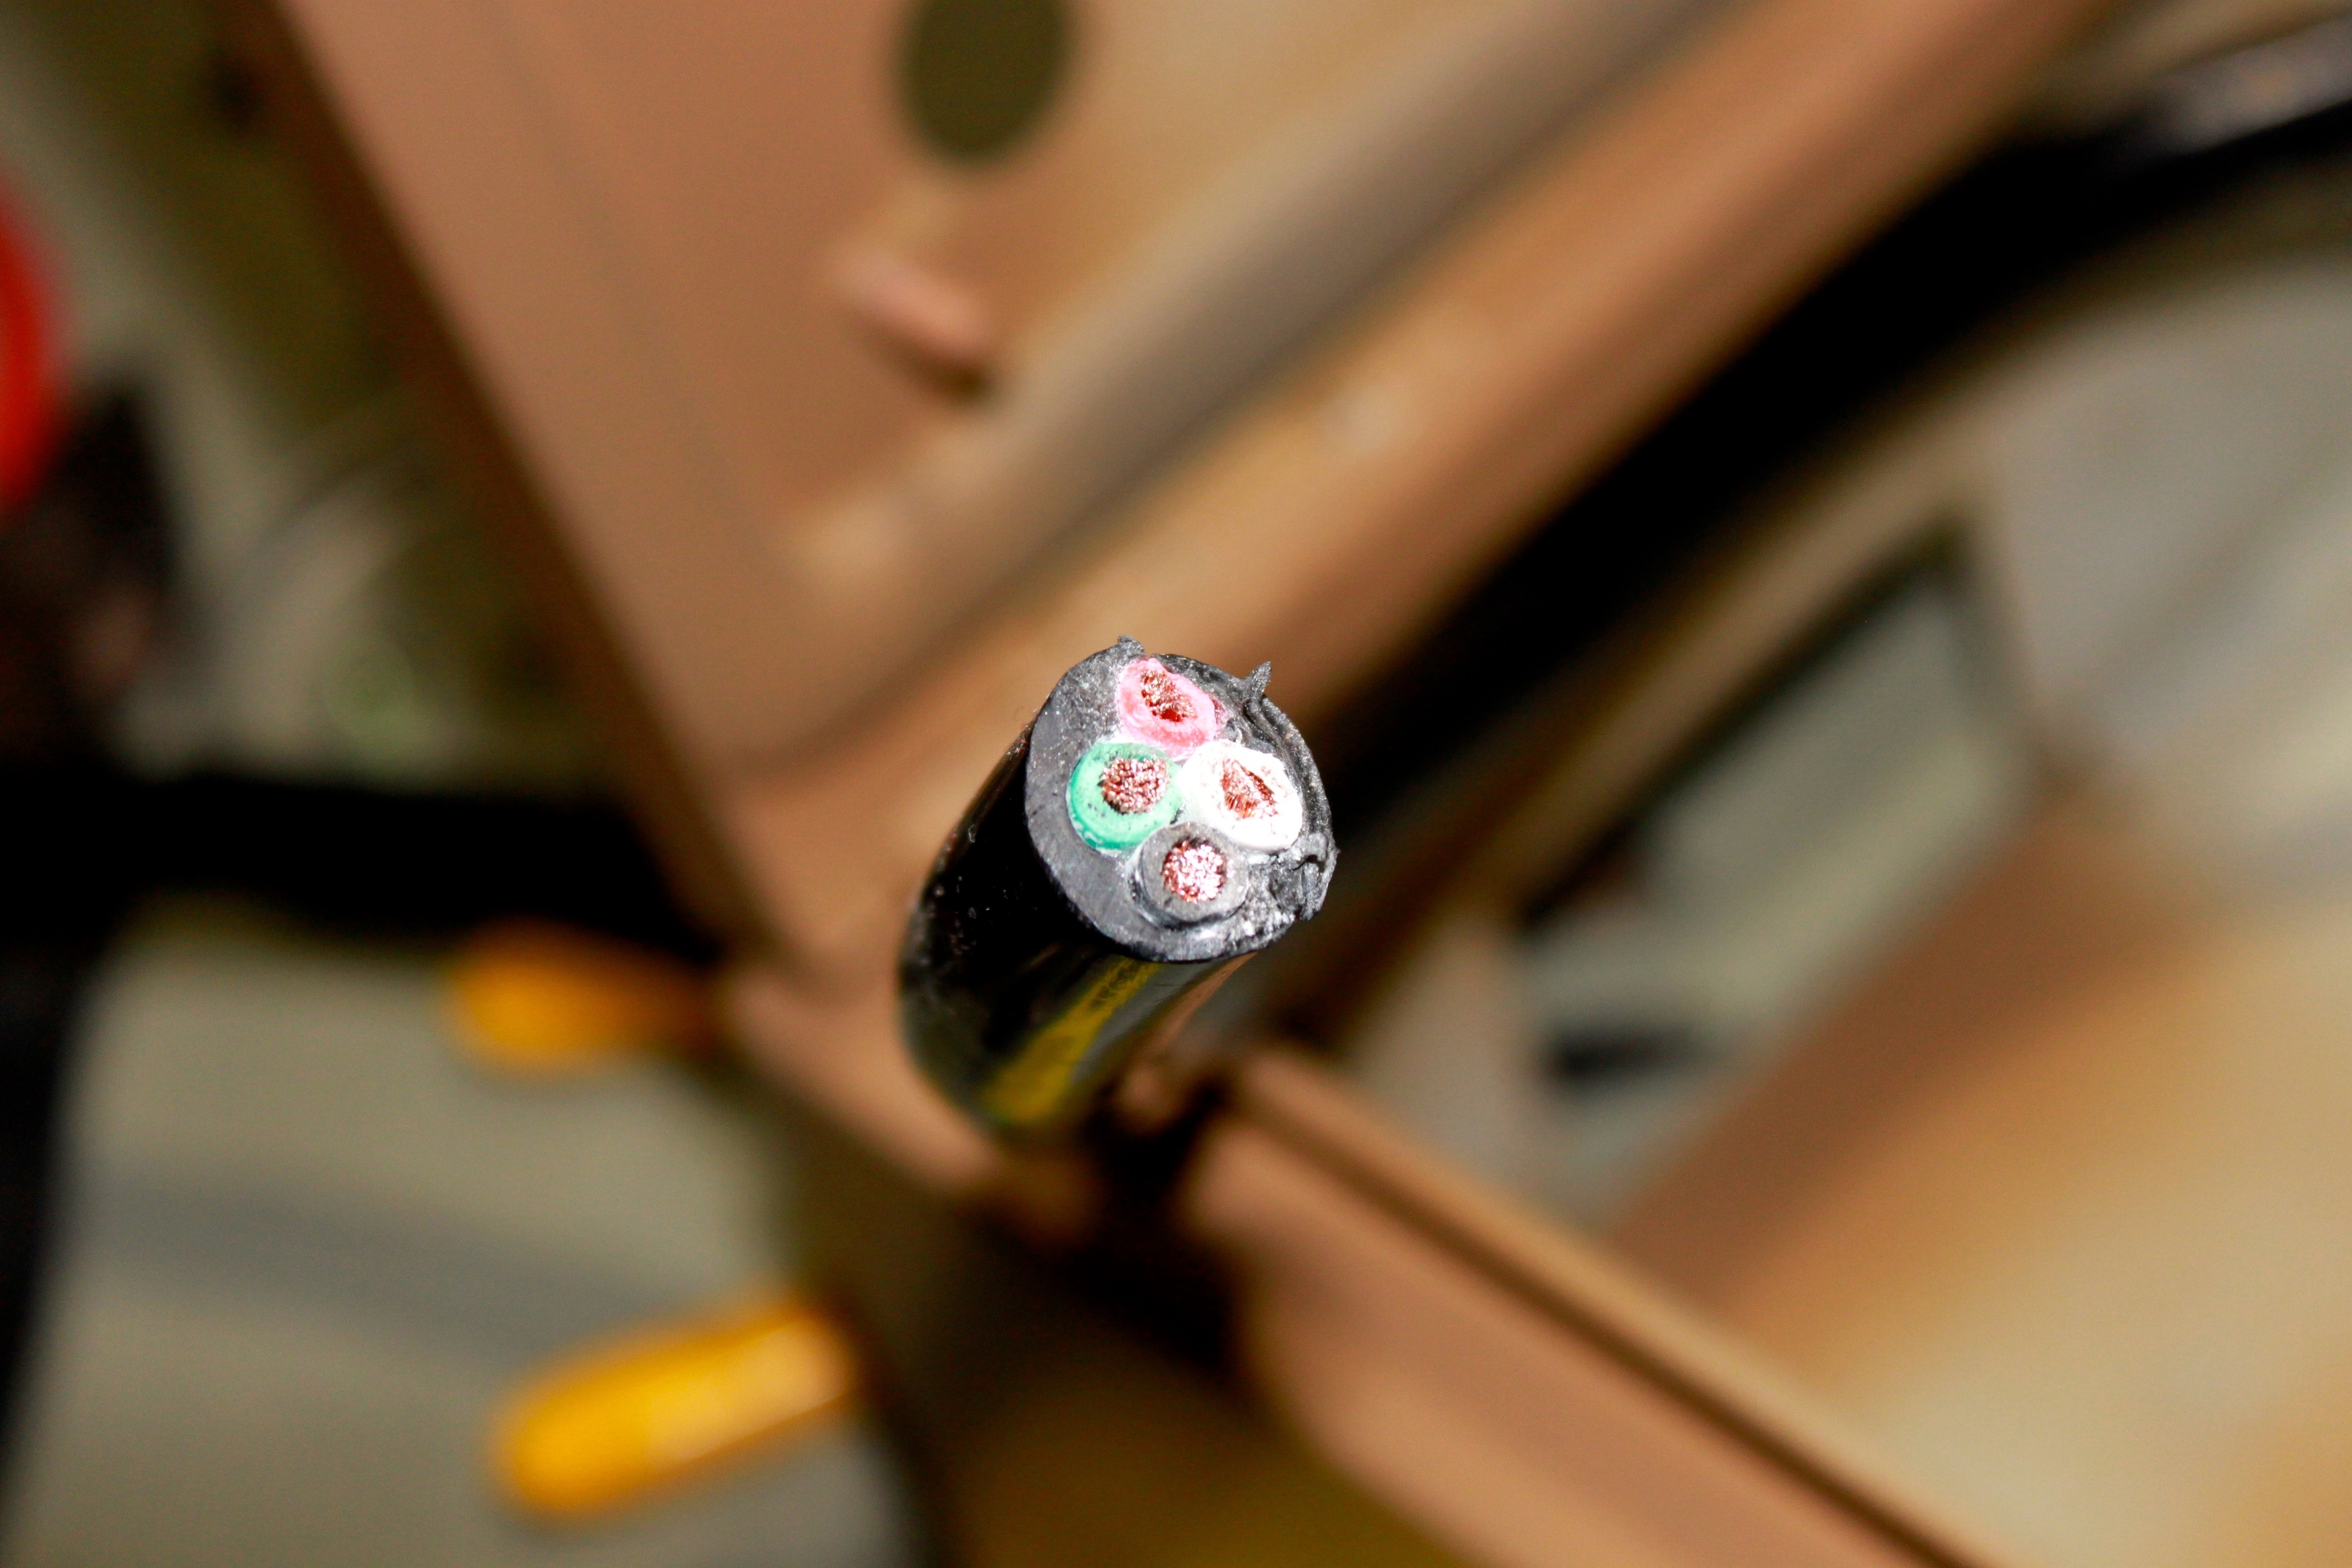
This shows all the 10 gauge wires landed short of the white and ground. The one 12 gauge black wire will be for the 110 pump, and PID power. Those will land on some terminal blocks.
1 Like
Just sampled and tested the Riabock, 1.014, very tasty! Hick up**! Kinda early for tasting 2 test jars of close to 6.4% !! It will sit a room temp now until Monday, thats when I’ll set the controls for 30*… Sneezles61
1 Like

This how I mounted the terminal blocks for the 110 volt requirements. Before I installed, I did grind some bare metal at one of those slide on bolt connectors for assured grounding. Sneezles61
1 Like
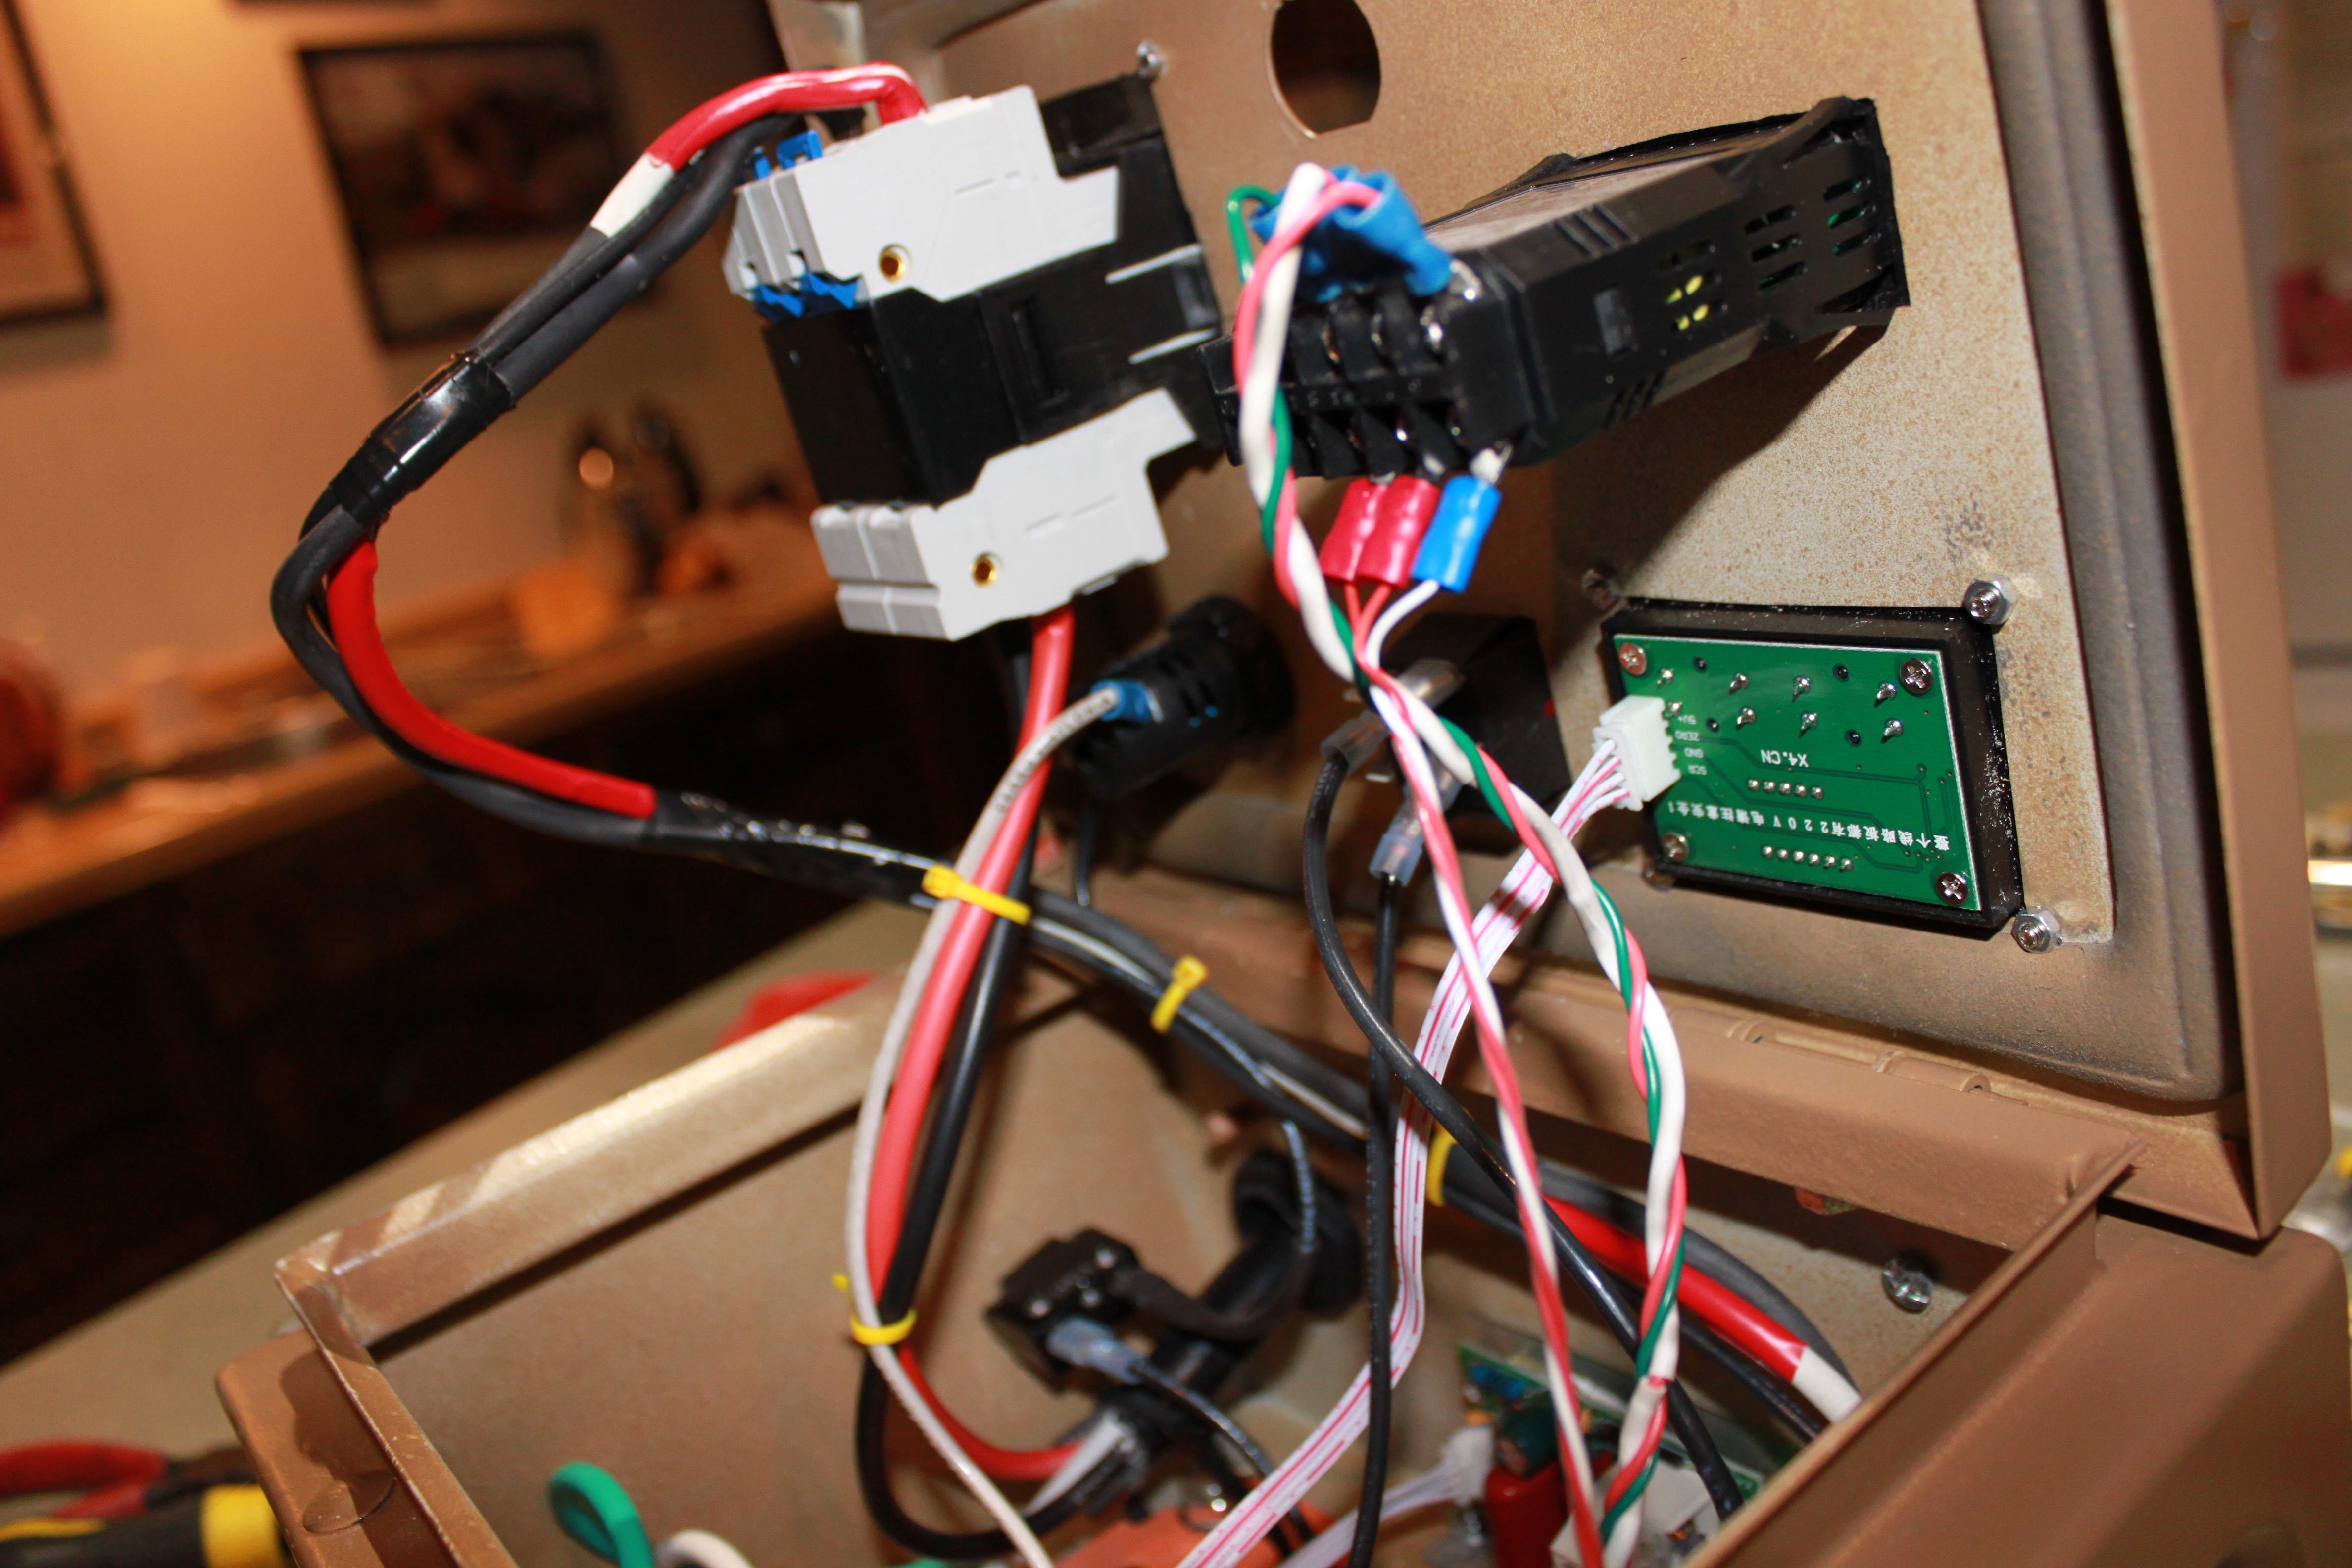
This is how it last looked before I closed it up… In the bottom middle, in the blurry area you see a black gizmo mounted to the side of the box. That is a circuit protecter I commandeered from a multi plug in for computers. It is for the 110 side of this controller. Sneezles61
1 Like
Riabock update… Its carbed, very quaffable… One keg will be for sampling… , the other will be for a May celebration! Sneezles61
sounds good! I’m coming up short on this build thread to be honest though…not sure what’s what and how they’re connected…
step by step “how to build an electric kettle for dummies” would be helpful when you get the time…
1 Like
I will. How detailed? You are electrically apt? I can start at the electric panel, or is it just the controller and kettle part you need me to expand upon? Sneezles61
I’ve installed/replaced breakers and run legs from the panel before so I can get power from the panel to the controller. It’s the controller components and how they’re connected that I’d like to know more about.
1 Like
Basket from Utah biodiesel has shipped!!! Wife was really rolling her eyes… Dannyboy, I will put a simple list together of what I have in the controller first. From there I’ll take more pictures and do my best to explain whats what… I thought I had the arrows and labeling just about under control, then, it went awry… Sneezles61
Even if you could just hand draw a little schematic and upload a picture of it. That would be great!
1 Like
OK, heres what I used to make my electric controller. I will tell you, this can be so simple. On Amazon I purchased a SCR 220 volt controller. You will see many of those, either with a twisting knob, or button pushing control. I got the button pushed controller, RioRand, 10,000 watt, 220 volt. That coupled to an electric element is really all you need to get it done.
I didn’t stop there, I also got a box to install this in. I also got a switch, kinda like a breaker, 2 poles, 32 amp. I also got got a PID, very simple one, and the temp sensor RTD, 2.5" probe with 1/2" MPT. I went for the option to employ a male XLR connector and the braided 8’ cable. There is another switch to turn the pump on and off… nothing fancy there. A light to let me know when the main switch is on… All from Auber instruments. The main wires into the box, and to the SCR and the female plug for the element are 10 gauge. The element came from brewers hardware, the one with a male plug end on it and to be put into a triclover. Very nifty setup, Spike also has the same thing going.
I’ll get to drawing this up soon… really, it was simple… There is the electric brewery way, which I could’ve done, yet wanted an economical way to achieve the same thing, except I have to watch and control things… more cost effective and keeps you involved also. Sneezles61

Let me know if you can see whats here. Sneezles61
3 Likes
Love it! Awesome job, Sneezles61!
1 Like
I knew you had this in you. Nice work!
1 Like