Its really not that complicated Dannyboy… Brewdvm, I do plan to use a GFCI at the main panel. I wasn’t too interested in sub dividing the power with breakers at the box … keeping it simple. However, there will be a fuse link for safety purposes. The temp monitoring piece has really eluded me. I look online and ask how to do this with different ways to ask… I think I may have to go with a PID and RTD just to watch/monitor the temps… I have a slimmer box so my heat sink for the SCR will be on the outside of the box. Yes, mine will be a fancy oven controller, if you will, but it will get the job done very nicely, and did I say… simple?  Sneezles61
Pulled the trigger on a spike 20 gallon kettle! Now I have to find a big chest freezer to keezer it! Sneezles61
When I have a chance, I’m going to put together some wiring diagrams for a few simple approaches to an electric brewing system and post them here. I think theelectricbrewery.com does a great job on how to build some fairly complex systems, but they don’t really go into why they are built this way, and they assume the builder has a good understanding of electricity. I had to do a lot of research on other websites and other sources to get a good understanding behind why these systems are built the way they are, and I had done a decent amount of my own electrical work before that. I think a few simple wiring diagrams with basic explanations would go a long way in helping others to make the switch. Stay tooned!
2 Likes
If I knew how to do that and put on the PC, would have done that… I’ll see if I can find someone about my area that can help a dumb swede out! Sneezles61
Im sure there is a young whipper snapper out there to help you 
I reached out to Mr. Stake, first name is Tent… He does photo’s stuff and editing… May have to give him a few growlers of up coming Dopple Bock… small price to pay! Sneezles61
Doing more research… I’m finding Auber instruments as a great source for the electric brewing controlling gizmo’s. Those of you interested should visit auberins.com Sneezles61
1 Like

Sorry for the delay. Here is the simplest electric brewing wiring diagram I could think of. I am not an artist! The wires outside the box are inside cords in case the drawing creates any confusion. In this scenario, I’m using a 40amp SSVR from Auber Instuments. The website actually shows a wiring diagram for just the SSVR and rheostat to get you started. Get a metal box big enough to add the relay and the heat sink. I think together they are about 6 inches tall in combined height. So you’ll need at least 7 to 8 inches of height. It might be better to have a small exhaust fan to help dissipate the heat from the heat sink, but that adds complexity. The easiest option would be to mount the heat sink outside the control box through a hole so that it’s still attached to the relay. theelectricbrewery.com has good pictures of this on their build.
Pick up a drier cord from a hardware store and securely attach it to the control box with a 1" wire lock. These are the things that lock all your wires to your house’s main panel if you want to see what they look like. A 30 amp 3 wire setup has the 2 hot wires (red and black) and a ground wire (green). In case you are wondering why there is no white neutral wire, in 220v setups, each hot wire uses the other hot wire as the neutral. This allows for 4 times the wattage than a simple 110v setup. More modern 220v appliances require a 4 wire cord because some of the features of the appliance need only 110v. But let’s just stay with the 3 wire setup for now to keep things simple.
edit: I think some 3 wire drier cords actually have a black and a white wire (instead of red) for the hot wires and a green for neutral. The 4 wire appliance cords have black and red for hot, white for neutral, and green for ground. It really doesn’t matter as long as you know what each wire is for in your cord and that the connections are consistent throughout the system (ie. attach white to white, black to black, etc.).
Connect either the black or red wire from the drier cord to one of the load screws on the relay. Run another wire (10 gauge, preferably the same color) from the other load screw on the relay to one of the hot wire screws on the outlet for the kettle power cord. The other hot wire from the drier cord runs directly to the other hot wire screw on the outlet for the kettle cord. The third wire of the drier cord is the ground wire which is very important. You should run that wire to a screw or bolt attached to the control box so that the entire box is grounded. Then from that point, run a green 10 gauge wire to the ground screw on the outlet for the kettle cord. Run another wire (16 gauge is probably plenty big) to the ground fork on the rheostat.
Run two 16 gauge wires from the other 2 screws of the relay to the Number 2 and 3 pins on the rheostat.
For the kettle cord, get the Hot Pod element enclosure from BrewHardware.com. It’s the easiest way to connect the wires and ground to the heating element in the kettle.
That’s it! If you want to add more safety features and get more complicated, read my previous posts on the subject. As long as you have everything grounded, this would be a relatively safe setup. Of course, turn the rheostat to 0 and unplug everything when not in use for added safety.
1 Like
Yes you are way ahead of me when it comes to doing that diagraming on the computer. My intentions is to go to 3 wire 240, 2 hots and a neutral plus a ground. I see there are two different type switches as a main switch FOR the panel. I will opt for the one from Auber that resembles a circuit breaker. The other one, switch relay, will use the power from one of the two legs, to operate the coil, which is the the switching mechanisms. See the reason for 240 volt 3 wire, I will have to borrow power from one leg for my pump, and I will incorporate a PID solely for its ability to show the temperature. I see there are temp readers too, but Auber has a PID thats about $20.00 less. In fact, once done here, I will be ordering these gizmo’s. I wish I had more time to devote to this project, but, I will take what I can… Hoping in Feb. I can assemble the controller, test it , then start post pictures and diagrams. I’m not building a Cadillac, just a plain old chevy… Sneezles61
1 Like
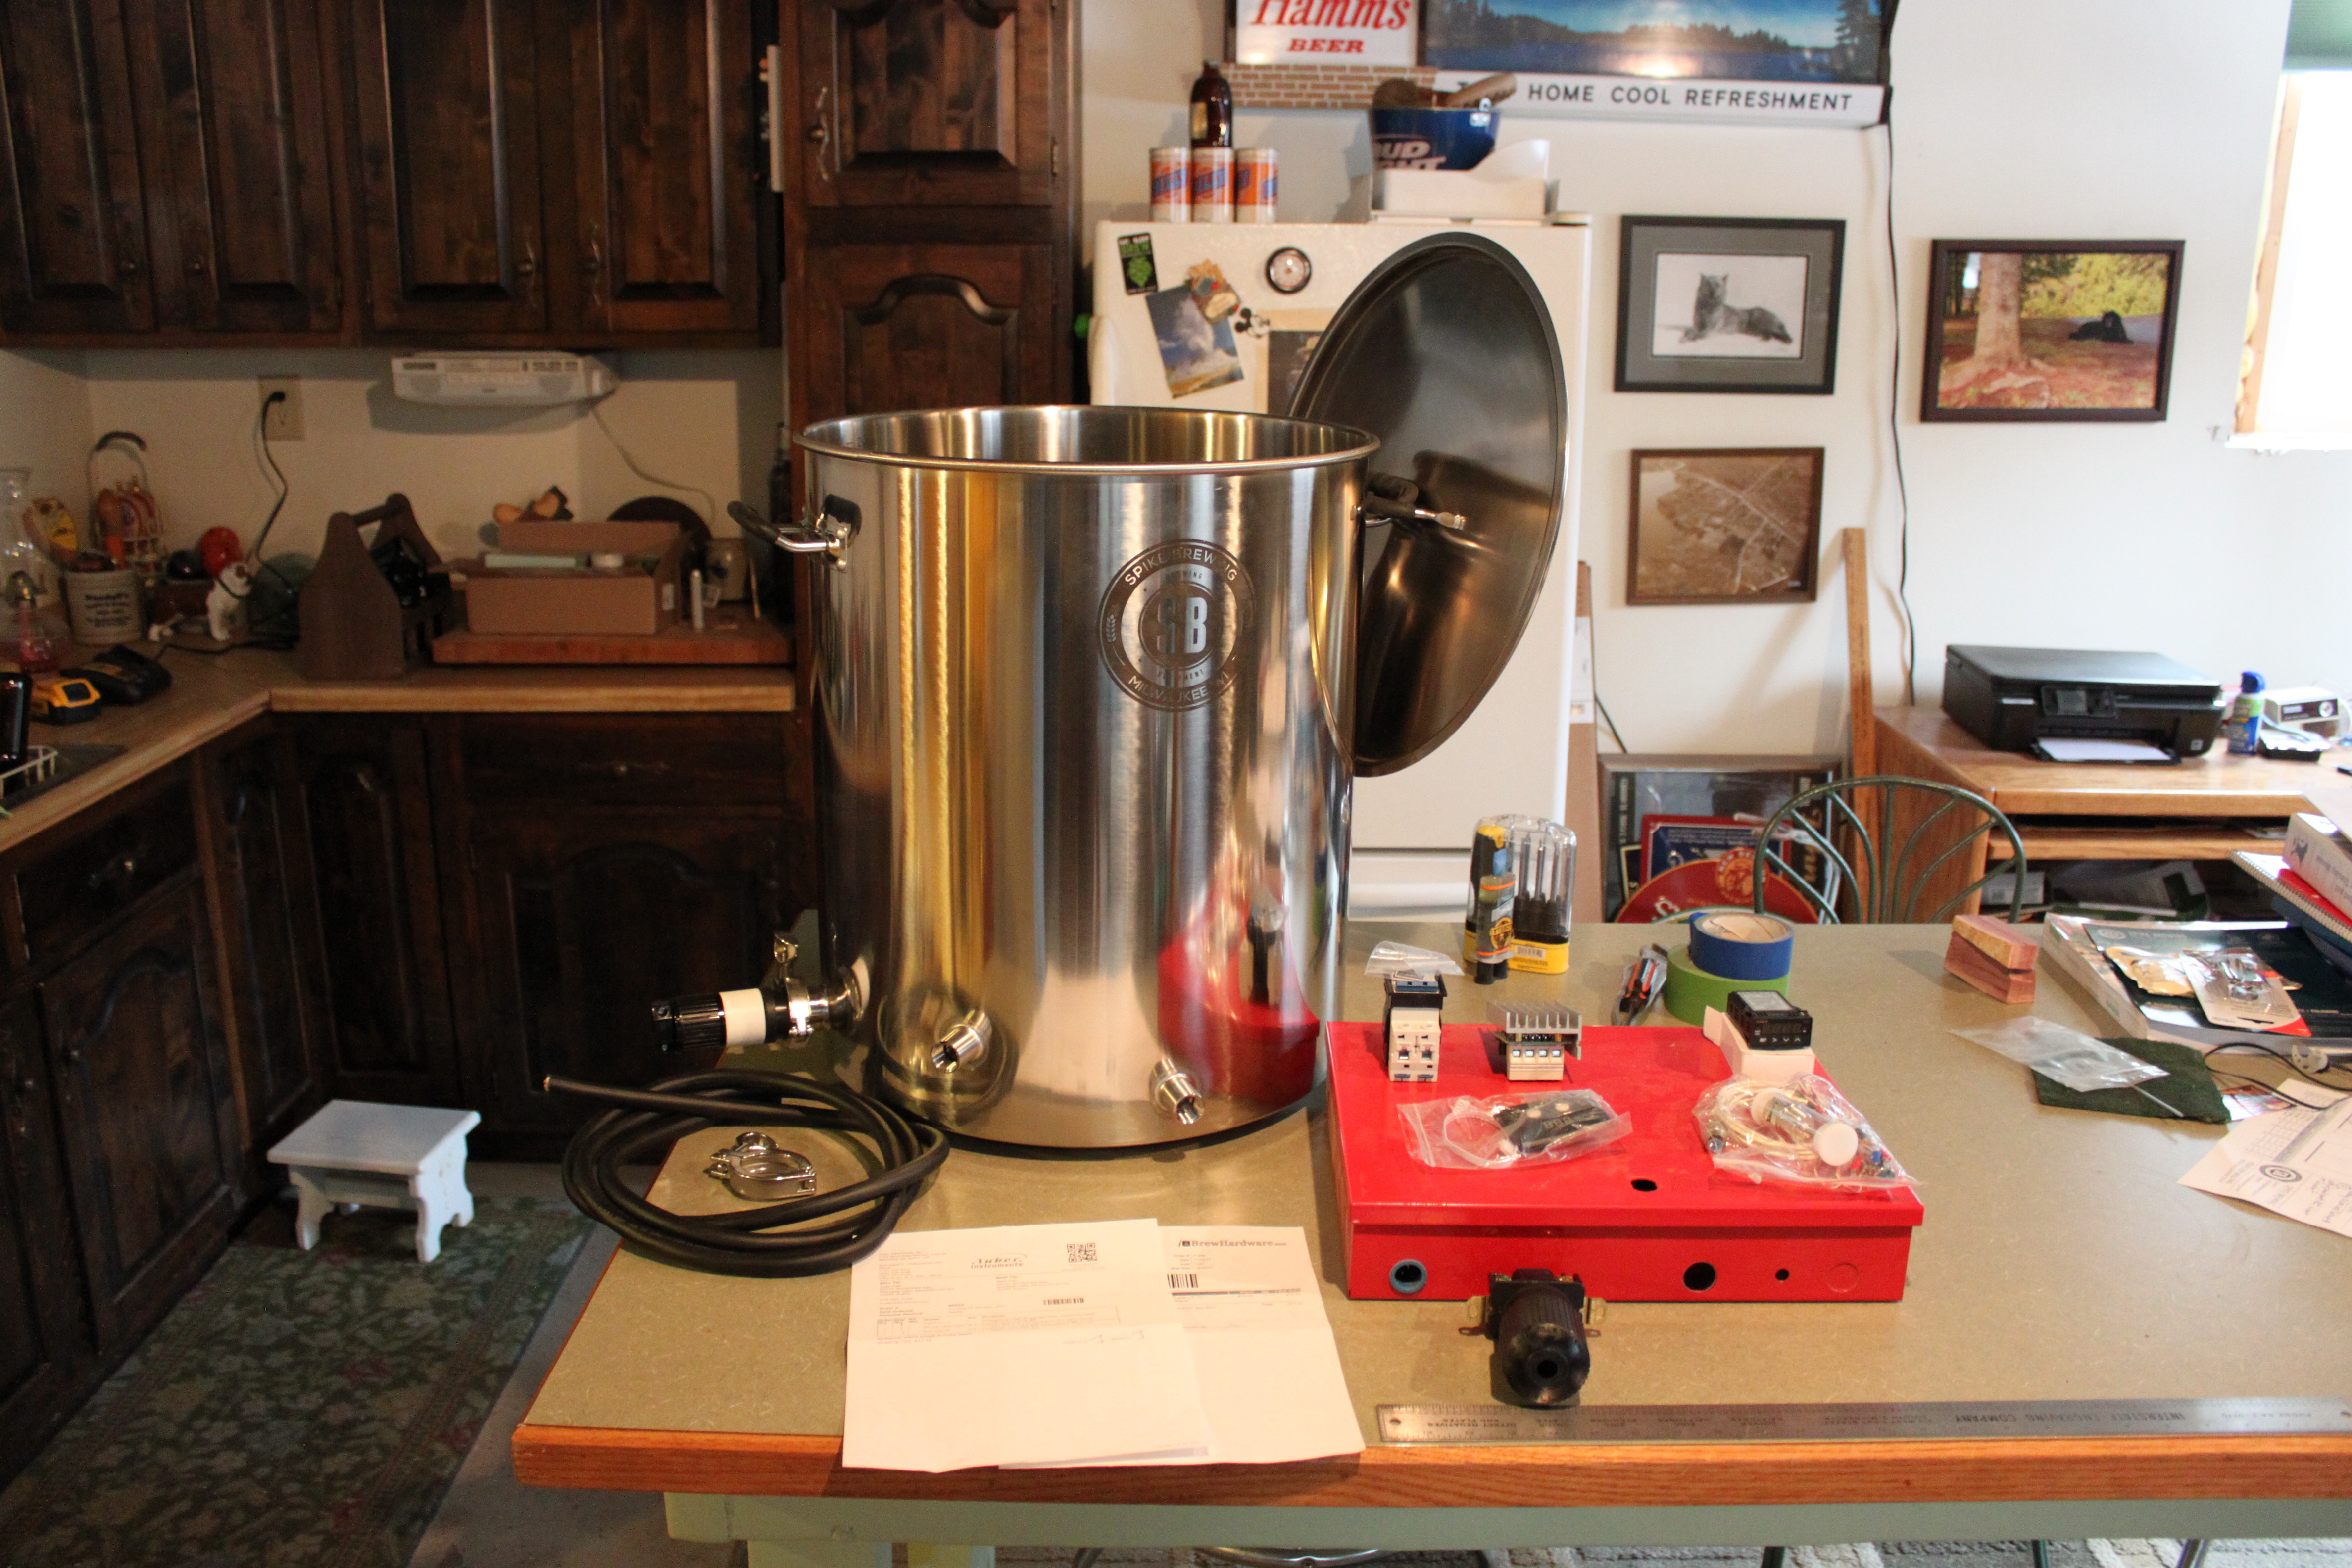
Spike kettle show up today! Man, is that impressive… I have some more parts showing up soon, so I have to find a W/E to layout the enclosure and assemble it. Sneezles61
1 Like
I have all my parts, short of internal wire and connectors. So this W/E I will do a layout on my cabinet, and just look at it… plotting and scheming… I have a main switch for the panel its self, the SVR to control the element, an economy PID that will be solely used to display temp, and a water tight threaded 2.5" probe and wire. I have my connectors, l6-30r, to connect to the panel to the element in the kettle. I’m going to try to post a picture of this process soon… Sneezles61
1 Like
Pretty sweet looking kettle.
1 Like
You took a picture!!! So proud 
1 Like
And I didn’t have any help! I forgot to say, I will also add a light to identify the power is on. Another switch with for an outlet that will control my pump. Sneezles61
I’ve got all the gizmos on hand now, short of my GFI breaker. I will start laying out the panel, taking some pictures to post. I think I can lay myself off after next week, and thats when I will concentrate on my build. I will do a miabock as my first batch to see how it works. Sneezles61
3 Likes
Looking forward to this!
1 Like
Well, I cut my gas sculpture to fit my new Spike kettle yesterday. This AM, I laid out all the openings in the box and cut and prefit all those gizmos. I sanded and painted the box and now its hanging in front of the wood stove with a fan blowing very warm air on it! I should be able to start assembling it later today. I have been taking pictures, which I intend to post after I get this unit up and running. I also am going to try get a vid together for Spikes give away comp… Would like to do a conical fermenter next! SSSSHHHHH, don’t let my wife know!! Sneezles61
2 Likes