Before diving deep into kegging, I did a lot of searching and reading on this forum and learned a lot. Fortunately most of a keg setup is easily expandable so its easy to add, and spend, more later.
Some up-front thoughts on what your final set-up might be will save you some time and money however.
I’ll certainly agree with the used keg suggestions above. Try KegConnection and CornyKeg.
Stainless steel faucets and connections are best. If you go with cheaper ones first, you may end up buying twice.
During my learning, several posts recommended Perlick Faucets. I followed that advice and I’m very happy with my 630SS.
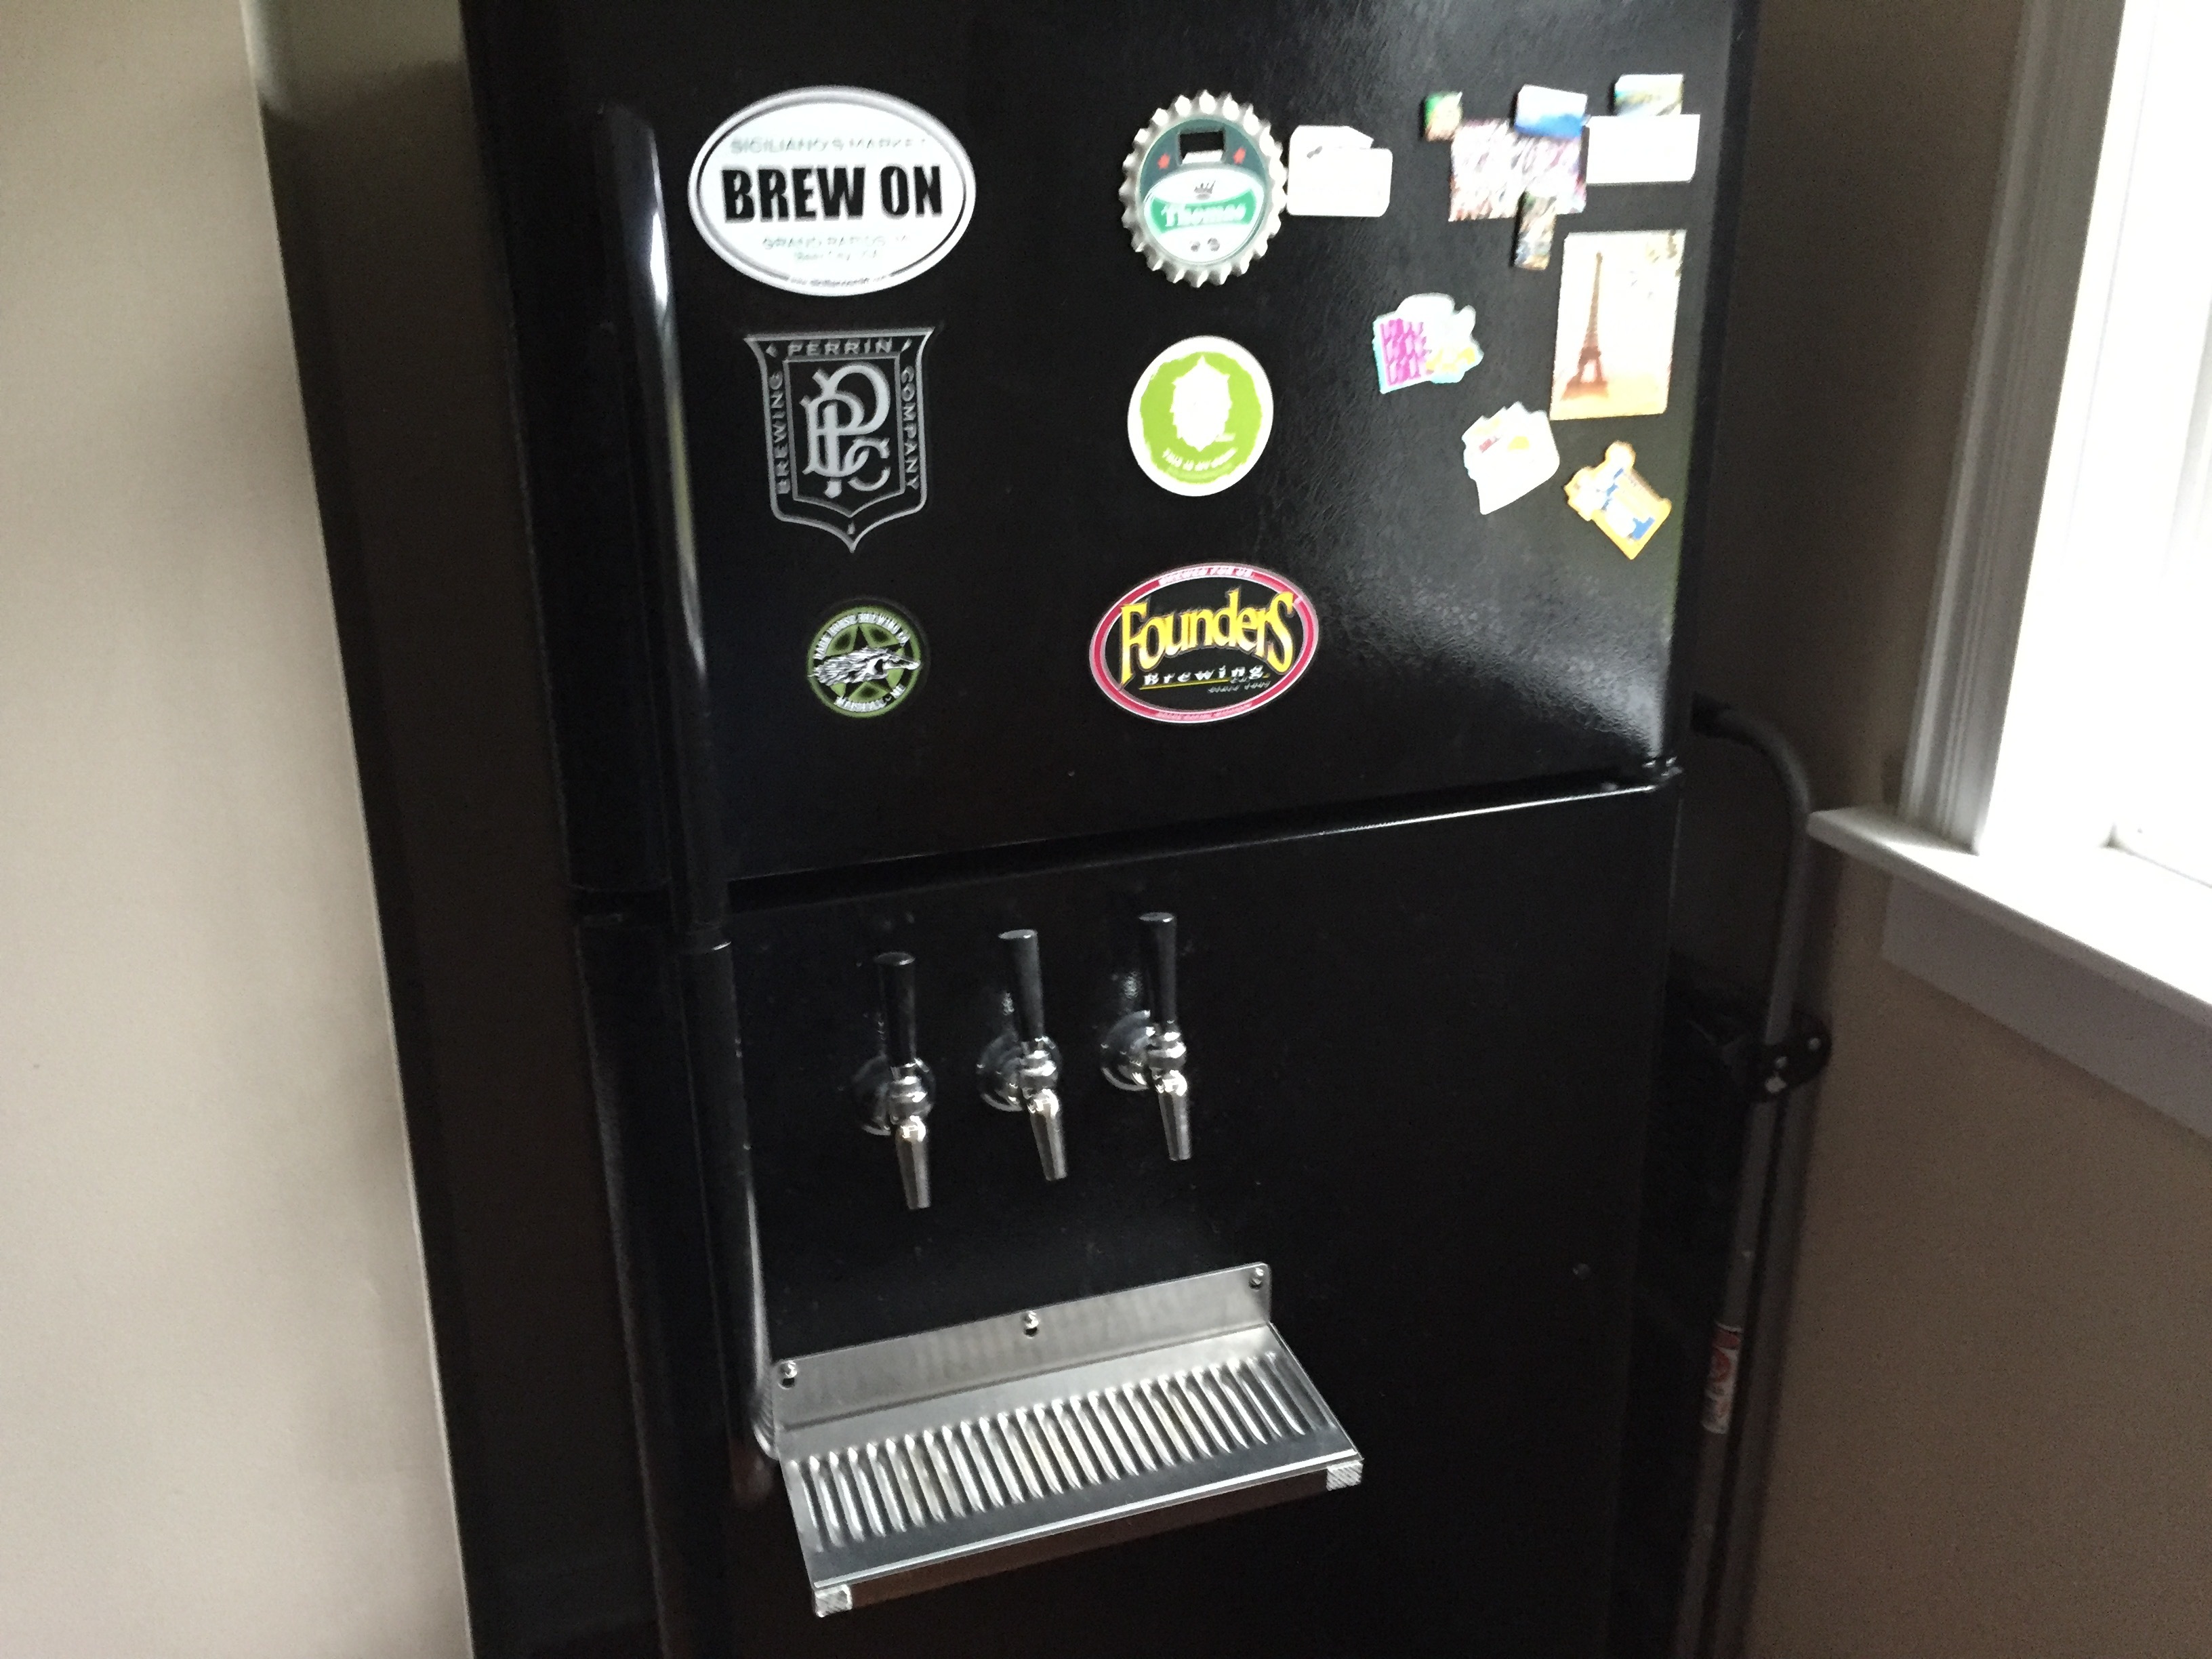
I’ve got a 4 tap keezer and 8 used corny kegs. I went with pin lock kegs based on the idea that it is harder to mix up gas and liquid connections.
You can search for keezer and kegerator here to see several setups. For what its worth, you can find a post on my setup here:
There you will see a dual pressure regulator (not to be confused with dual gauge). I have since added a third regulator. All 3 are on a single 5lb CO2 tank. I also agree with above comments that a 2nd tank would be nice. That may be in my future.
Some tips:
If you are planning a multi-tap, multi-keg setup, lines of differing color help when it is all stuffed into a keezer or kegerator. I have clear liquid lines, red gas lines off two regulators and blue gas lines off my third regulator.
In addition to color, lines come in different sizes and qualities. I found this guide helpful.
The reason for multiple regulators is that you may want to serve different beer styles at different pressures, depending on what you like. I have soda water at 30 psi, most ales at 12 psi and porters / stouts at 9 psi - more on pressure below.
Gas manifolds allow feeding multiple kegs from the same regulator. Check valves there prevent beer from backing up from one keg to another, and, into the regulator, which can cause it to fail.
Oetiker clamps on the lines are much better than band clamps. Clamp sizes are specific to line sizes, and you need a tool for them. They are intended to be somewhat permanent, but are easy to cut off.
“MFL” connections allow for easier cleaning, line swapping and set-up changes.
As for pressure:
Search for carbonation chart. Different beers styles generally are served at different levels of carbonation. You probably already know this from bottle carbonating. Carbonation level (the amount of CO2 dissolved in the beer) is a function of both pressure and temperature. Fortunately, you control both of these. Decide what temperature you like your beer at and set your temperature controller. Then for that temperature and your beer style(s), use the carbonation chart to determine the desired pressure(s) to set your regulator(s).
Once you’ve got that, then you can calculate the proper liquid line length using a calculator like this one.
You will probably want to experiment some with temperature, carbonation level (CO2 pressure) and line length but doing it in that order will help keep you sane. Start with lines a bit longer than recommended - its easier to make them shorter and longer. ![]()
By the way, the high pressure gauge on the regulator will hold a constant pressure, based on temperature, until your CO2 tank is nearly empty, then it will drop fairly quickly. It is not a great indication of how much CO2 you have left.
Good luck, have fun and please share what you learn with the rest of us.